B
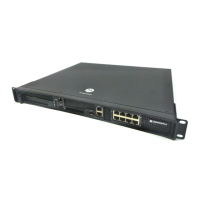
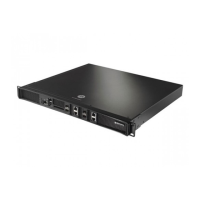
Appendix E • RFPM and Power Supply Modules
APEX1000 All-Purpose Edge QAM Software Version 2.4.x • Installation and Operation Manual
305
573408-001-a
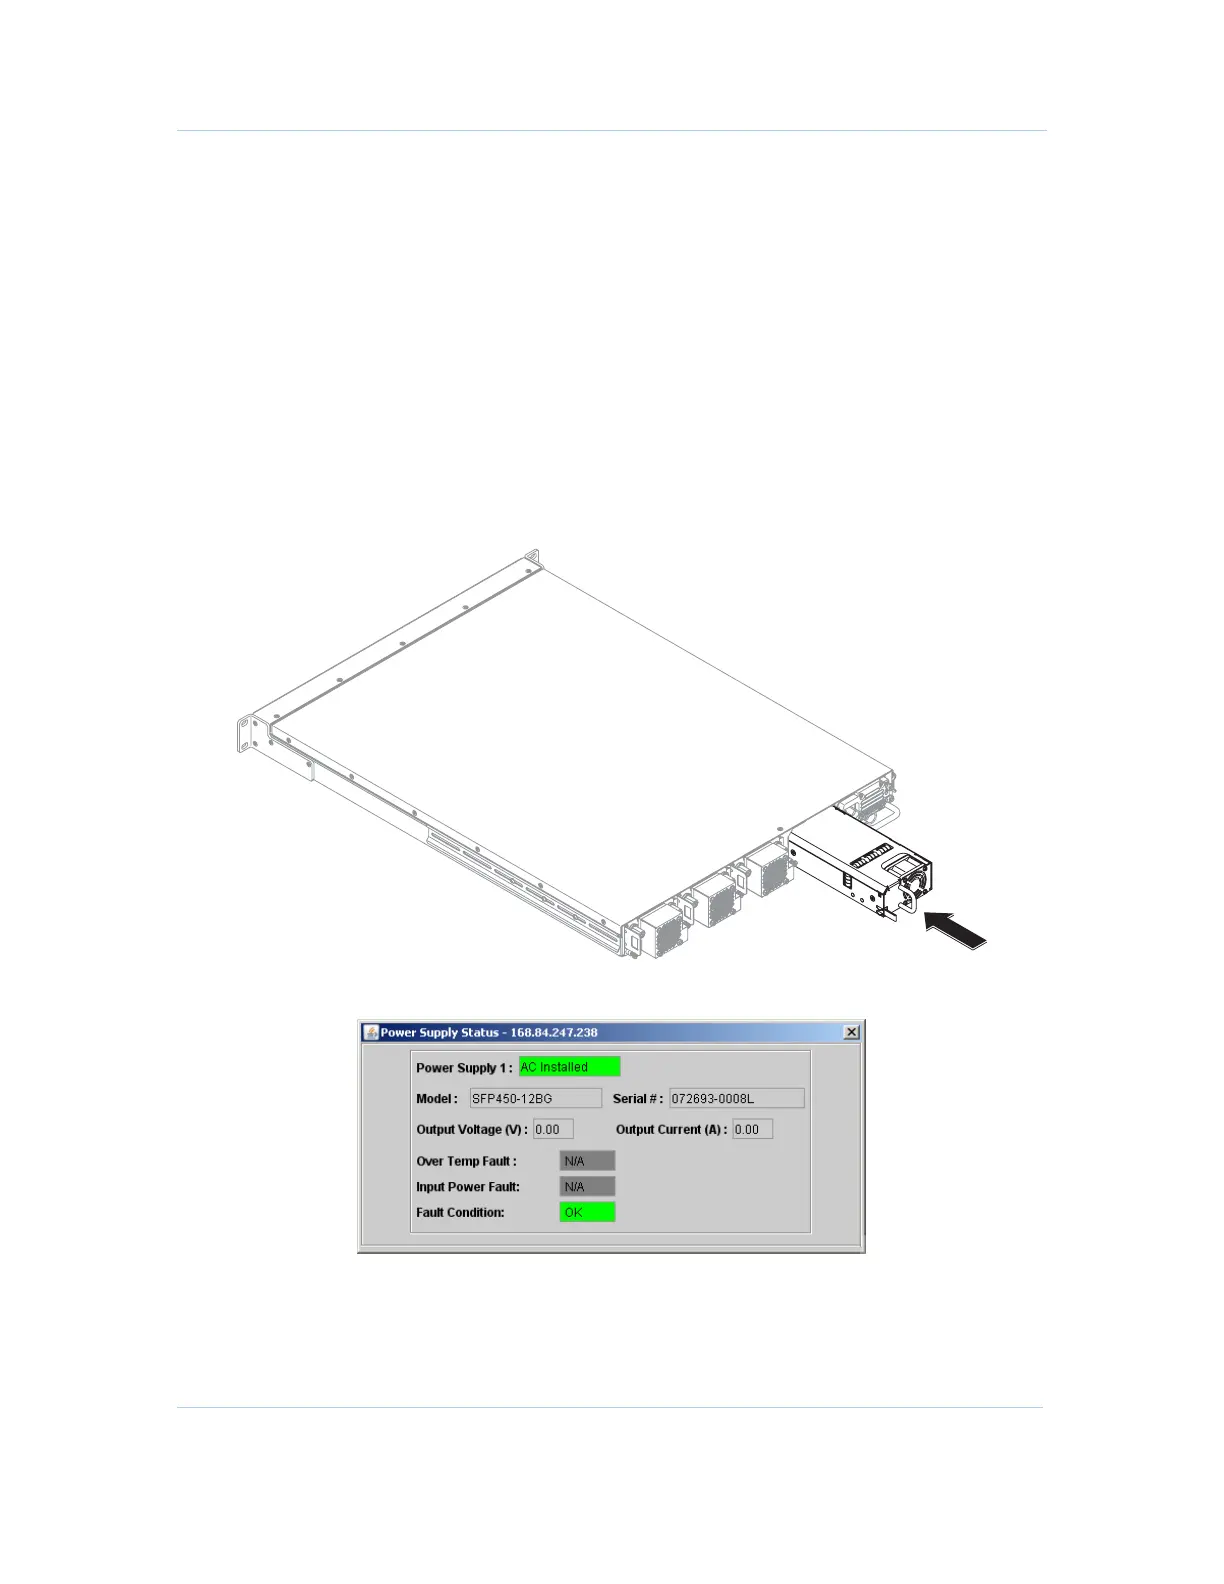
2. Position unit so that slotted top left corner matches the profile of the insertion well.
(This is to prevent incorrect insertion and potential damage to unit and chassis.)
3. Slide the module in until you hear a clicking sound and it is flush with the other units.
4. Re-attach the power cord.
5. Verify successful installation by accessing the
Power Supply Status window.
Installing a Power Supply Filler Module
1. Identify the slot where the filler module is to be installed.
2. Position unit so that slotted top left corner matches the profile of the insertion well.
(This is to prevent incorrect insertion and potential damage to unit and chassis.)
3. Slide the module in until you hear a clicking sound and it is flush with the other units.
4. The fan is powered from the rear connectors; you should hear the fan running to
indicate a successful installation.
5. Confirm a successful installation by accessing the
Power Supply Status window:
 Loading...