Roche Diagnostics
48 Operator’s Manual · Version 3.0
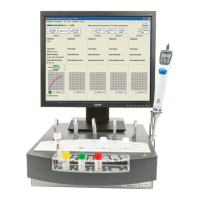
2 Installation Multiplate® analyzer
Installing the printer
Installing the printer
This section describes installation of all available laser printers used with the analyzer:
o Lexmark MS310d (default)
o HP LaserJet Professional P1102
o HP LaserJet P1009
o HP LaserJet P1006
o HP LaserJet P1020
Currently, the HP LaserJet Professional P1102 printer is used as default printer.
If your printer type is newer than the models listed, follow the same installation
procedure outlined below but use the new driver file instead.
Perform the following tasks to install a printer:
1. General preparation before printer installation
2. Installation of the printer
3. Post installation
General preparation before printer installation
To start an installation of a printer on the analyzer, it is necessary to have the
appropriate printer driver available.
o Check if the printer driver is already pre-installed.
o Copy the printer driver from the USB storage device to the analyzer, if required.
If you install your analyzer the first time, or if it has been returned from repair, the
printer driver has already been copied to the hard-disk.
p To check for the printer driver
1
Open Windows Explorer and navigate to C:\Installer\Driver \Printer.
2
Check in the printer folders if your printer driver file is already installed.
3
Do one of the following:
o If the printer driver is not installed, copy the driver from the USB storage
device as outlined below.
or,
o If the printer driver is already installed, directly go to Installation of the printer
(p. 49).
s
p To copy the printer driver from the USB storage device
q
Perform this task if there is no pre-installed printer driver file on the analyzer. Contact your
Roche Service representative to obtain the driver.
1
Switch on the analyzer and log on to the Windows operating system as
administrator.
u For details, see Passwords for operating system (p. 149)