38 Basic Operation ODIN Intercom Matrix
Intercom Port Allocation
The Port Allocation Table is used to support and allocate the different types of intercom port assignments across the intercom
system. Physical hardware, such as AIO and 2-wire devices, and network port devices, such as RVON and OMNEO, can be
mapped to any port in the intercom. For more information, see “Port Allocation Table” on page 125.
For more information on IFL Interconnection Schemes, see the Interconnecting ODIN Frames application guide.
Allocate Ports from the Front Panel of ODIN
To allocate ports from the front panel of ODIN, do the following:
1. Rotating the right encoder knob, navigate to the Configuration icon.
2. Click the right encoder knob.
The Configuration Menu appears.
3. Rotating the right knob, navigate to the System menu icon.
4. Click the right encoder knob.
The System menu appears.
5. Rotating the right encoder knob, navigate to the Port Allocation Table menu icon.
6. Click the right encoder knob.
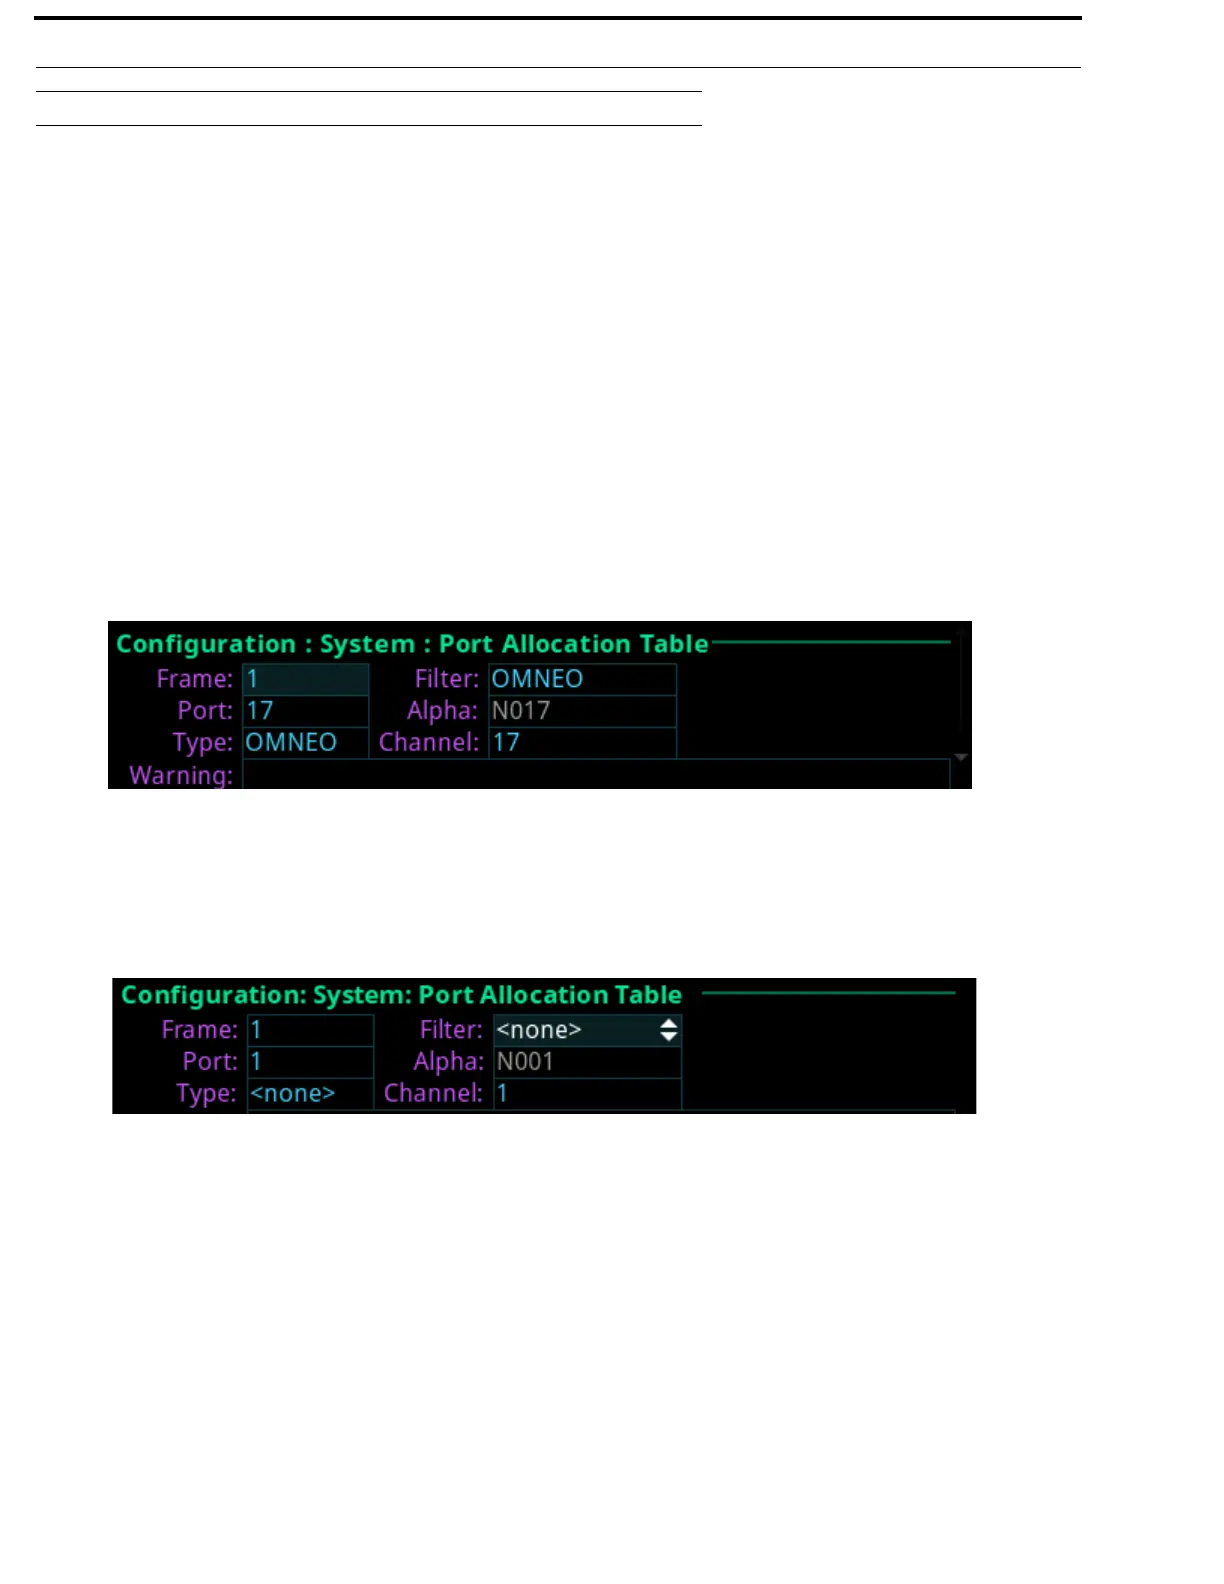
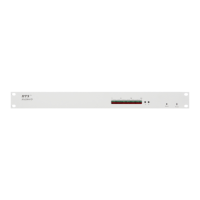
The Port Allocation Table screen appears.
NOTE: To move from field to field, rotate the right encoder knob. To scroll the screen up and down, rotate the left
encoder knob. To modify a field click the right encoder knob. To exit a screen click the left encoder knob.
7. Rotating the right encoder knob, move the focus to the Filter field.
8. Click the right encoder knob.
The Filter field becomes active.
9. Rotating the right encoder knob, scroll to the desired filter (for example, AIO, 2W, OMNEO, RVON or <none>) to filter
the ports.
NOTE: The Filter field is used to find certain types of ports quickly to either modify or delete assignments.
10. Click the right encoder knob to confirm the selection.
All the ports with the selected filter are scrollable.
11. Rotating the right encoder knob, move the focus to the Port field.
12. Click the right encoder knob.
The Port field becomes active.
13. Rotating the right encoder knob, scroll to the port to assign the desired allocation.
14. Click the right encoder knob to confirm the selection.
The Alpha field changes to display the default alpha. This field is read only. Changes this field can be made on the Ports
screen (Intercom Setup | Alphas | Port).
15. Rotating the right encoder knob, move the focus to the Type field.