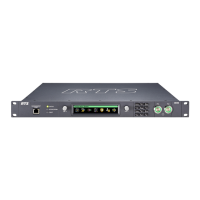
ODIN Intercom Matrix Installation and Maintenance 53
Configure the Control Port Interface
The Control Port screen is used to configure the network interface used for AZedit, Trunk Master, and frame-to-frame
communications in multi-frame systems
To configure the Control Port interface, do the following:
1. Rotating the right encoder knob, navigate to the Control Port icon.
2. Click the right encoder knob.
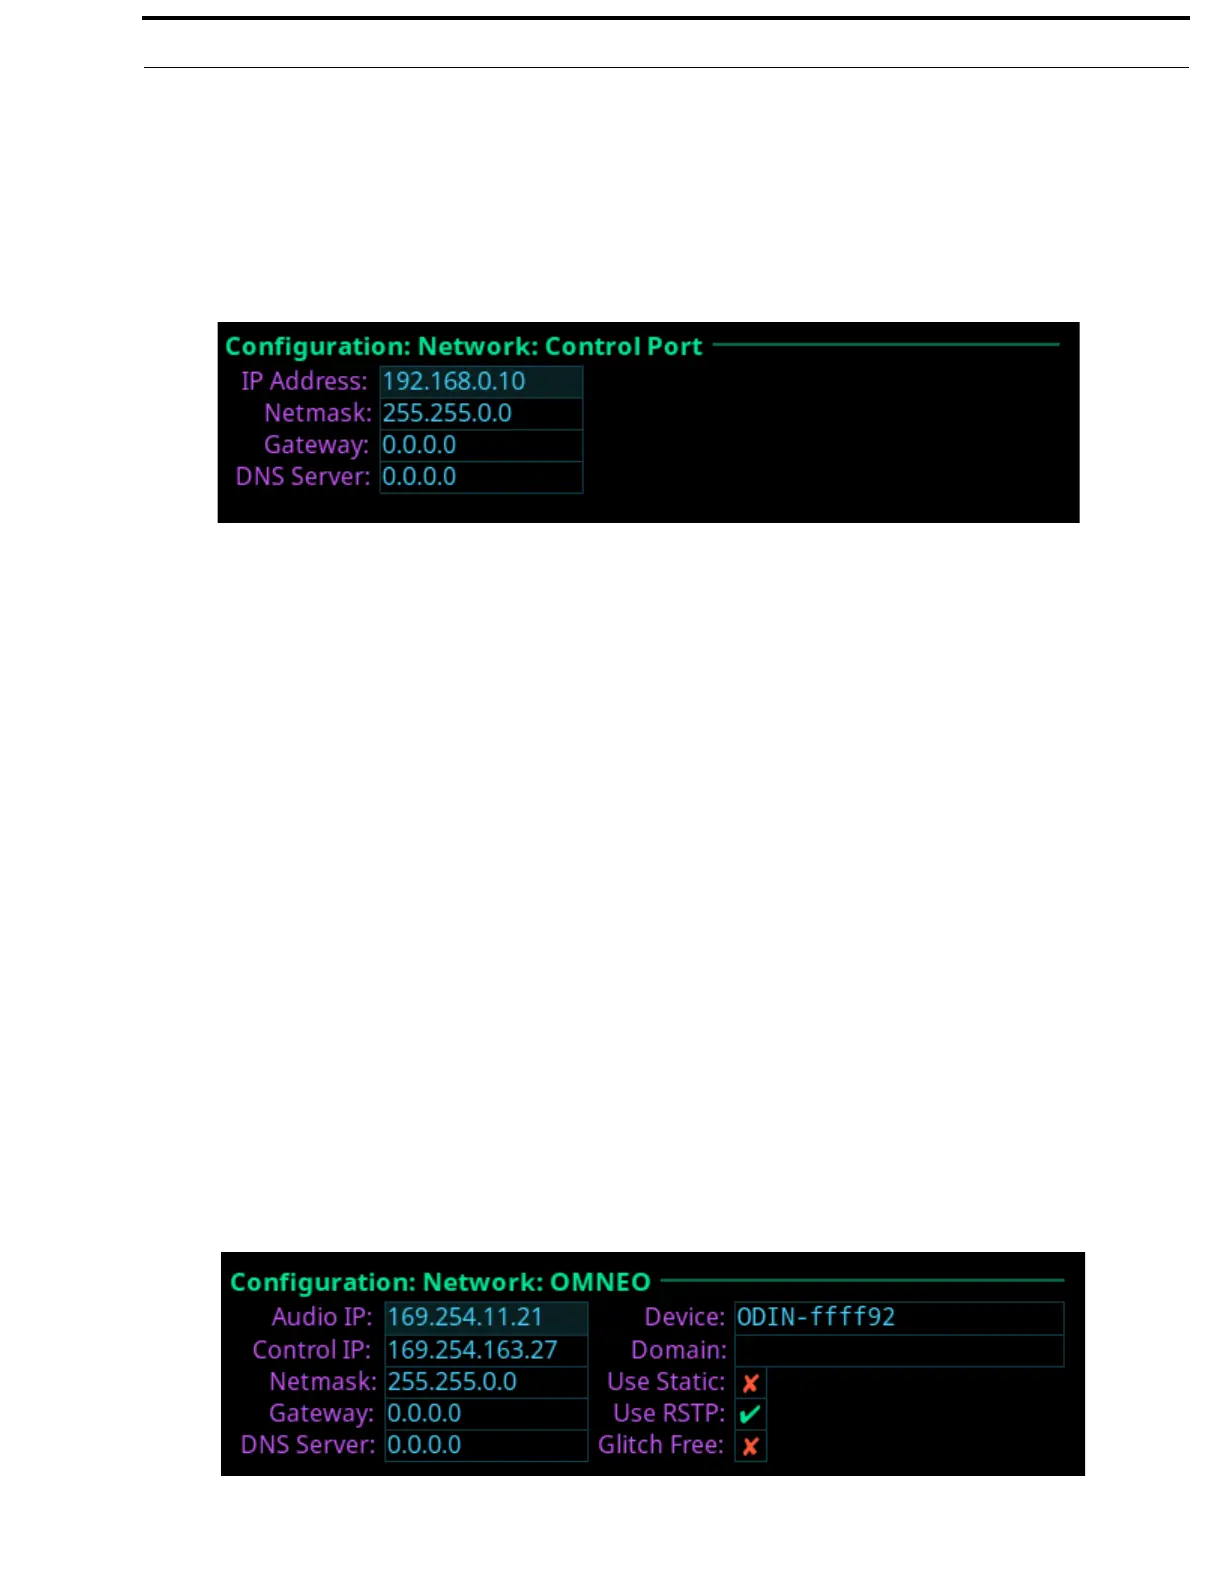
The Control Port Configuration screen appears.
NOTE: The default IP Address is 192.168.0.10.
3. In the IP Address field, enter the IP Address of the Control Port.
4. In the Netmask field, enter the Netmask, if different than what is shown.
5. In the Gateway field, enter the gateway address, if applicable.
6. In the DNS Server field, enter the DNS server Address, if applicable.
7. Click the left encoder knob to exit the Control Port Screen.
A confirmation to save or discard changes appear.
8. Rotate the right encoder knob to the desired action.
9. Click the right encoder knob to confirm the selection.
10. Click the left encoder knob to exit the Control Port Screen.
The Network Menu icons appear.
Configure the OMNEO Interface
To configure the OMNEO interface from the front panel, do the following:
1. Rotating the right encoder knob, navigate to the OMNEO icon.
2. Click the right encoder knob.
The OMNEO Configuration Screen appears.
NOTE: By default, the OMNEO interfaces have a link local address. If there is a DHCP server available, the IP Address
is provided by the DHCP server. This configuration should be done only if the user wants to set a Static IP
Address for the OMNEO interface.
This configuration is also used to change the device name, or change the RSTP or Glitch Free settings (even if
DHCP is being used).
 Loading...