PN 9001098
Rev. A
6-15
SATO M-10e TT/DT Printers Service Manual
Section 6. Replacement Procedures
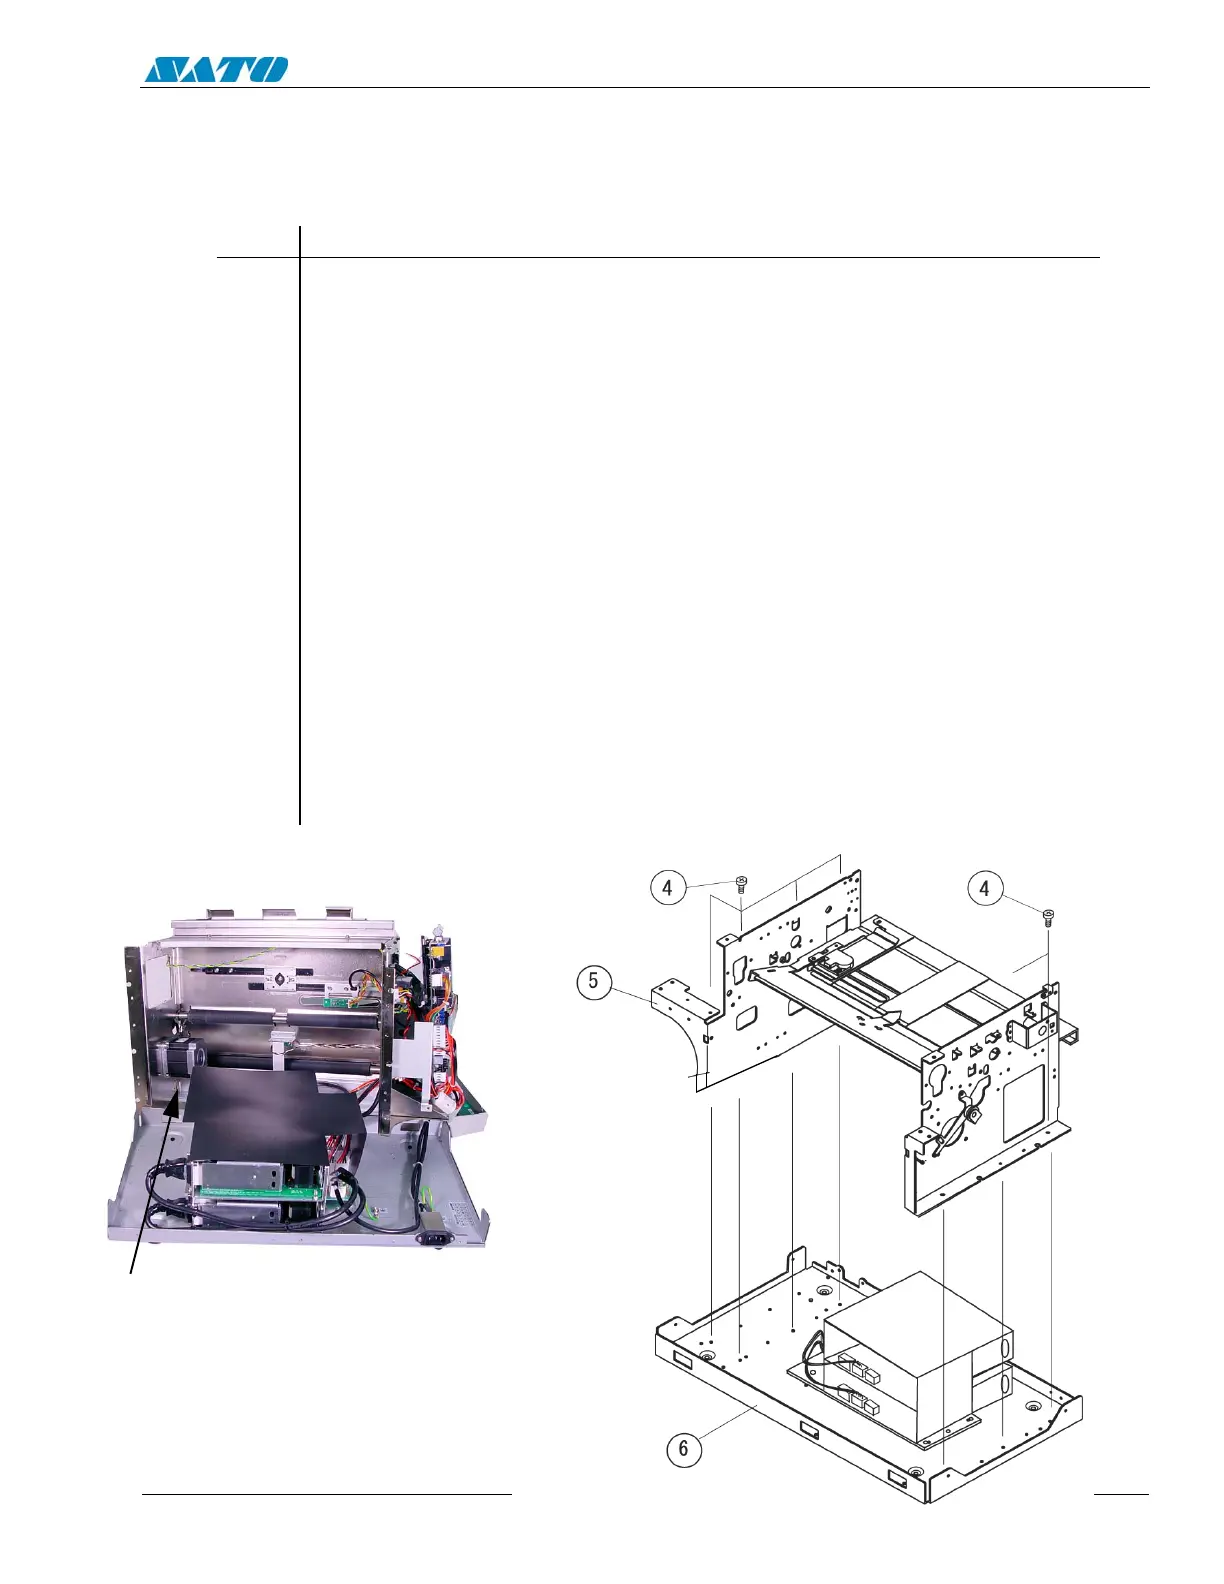
6.11 Replacing the Stepper Motor
STEP PROCEDURE
1. Switch the printer OFF and disconnect the power cord.
2. Remove ribbon and label stock if installed.
3. Refer to Section 6.2 and remove the covers.
4. Refer to illustrations on pages 6-15 and 6-16.
Remove (7) Item 4 screws to detach the main chassis from the base.
5. Remove (4) Item 1 mounting screws holding the stepper motor to the frame.
Detach the motor from the belt.
6. Unfasten and remove Item 7 screws and Item 8 Pulley from the motor shaft.
7. Detach the cable connection.
8. Remove and replace the motor.
9. Reattach the cable connection.
10. Reattach the base to the main chassis.
11. Adjust belt tension as outlined in Section 5.2
12. Replace the covers.
The Stepper Motor is used to transmit motion to the print mechanism for precise print
positioning. The stepper motor transmits torque to the label feed roller, the platen roller, the
ribbon feed roller, and the ribbon rewind spindle.
DETACH THE
MAIN CHASSIS
FROM THE BASE
STEPPER
MOTOR

 Loading...


