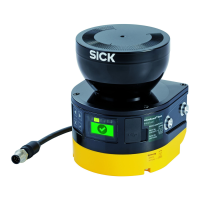
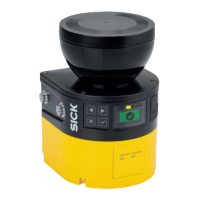
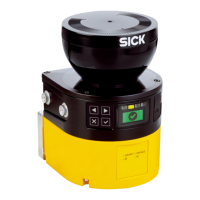
1. Make sure that the environment is clean and clear of fog, moisture, and dust.
2.
First clean the safety laser scanner from the outside, so that no foreign bodies
penetrate into the open device.
3. Unscrew the fixing screws for the optics cover.
4. Slowly and carefully detach the optics cover from the safety laser scanner. If the
seal of the optics cover sticks to the safety laser scanner, carefully detach the
optics cover using a screwdriver.
5. If necessary, remove contamination from the sealing groove and the bearing sur‐
face of the safety laser scanner. Use residue-free plastic cleaners.
6. Check whether the mirror is contaminated. Remove any contamination with an
optic brush.
7. If you cannot remove the contamination with the optic brush, contact your local
SICK subsidiary.
8. Set 1.0Nm ... 1.2Nm tightening torque on the torque wrench.
9. During the following steps, wear the gloves supplied with the new optics cover.
10. Take the new optics cover out of the packaging and remove the seal’s protective
cap.
11. Remove any packaging residue if necessary.
12. Carefully push the optics cover over the mirror. Make sure that the optics cover
does not touch the mirror.
13. Place the optics cover onto the safety laser scanner. Make sure that the optics
cover rests over the whole area without any gaps.
14. Screw in new fixing screws, see figure 84, page 143.
15. Tighten the screws using the set tightening torque.
16. Make sure that the optics cover is clear of dirt and damage.
How to recommission the safety laser scanner
1. Properly remount the safety laser scanner, see "Mounting", page 75.
2. Reconnect all electrical connections to the safety laser scanner.
3. Carry out the optics cover calibration, see "Optics cover calibration", page 130.
4. Start the safety function using Safety Designer, see "Starting and stopping safety
function", page 125.
5. Check the effectiveness of the protective device.
°
Generally, the protective device is checked exactly as during commissioning,
see "Check during commissioning and modifications", page 134.
°
If, during project planning, the possible tolerances of the devices have been
considered and it is ensured that neither the configuration nor the wiring or
the alignment of the safety laser scanner have been changed, a function test
is sufficient, see "Thorough check of the principal function of the protective
device", page 71.
10.4 Replacing the safety laser scanner
If the safety laser scanner is damaged or defective, you must replace it.
DANGER
H
azard due to lack of effectiveness of the protective device
If an unsuitable configuration is saved in the system plug, it may cause the dangerous
state to not end in time.
►
After replacement, make sure the same system plug is used or the configuration is
restored.
►
Make sure that the safety laser scanner is aligned correctly after the replacement.
10 M
AINTENANCE
144
O P E R A T I N G I N S T R U C T I O N S | microScan3 – EtherCAT® 8025220/1L9Q/2023-08-14 | SICK
Subject to change without notice
 Loading...
