Chapter 4 - Acquiring Images Conducting an Ultrasound Exam
Terason t3000 / Echo Ultrasound System User Guide 67
• For 2D, click
• For M-Mode, click
• For Color Doppler, click
• For Power Doppler, Click
• For Directional Power Doppler, Click , then click on the Pwr
Image Control window.
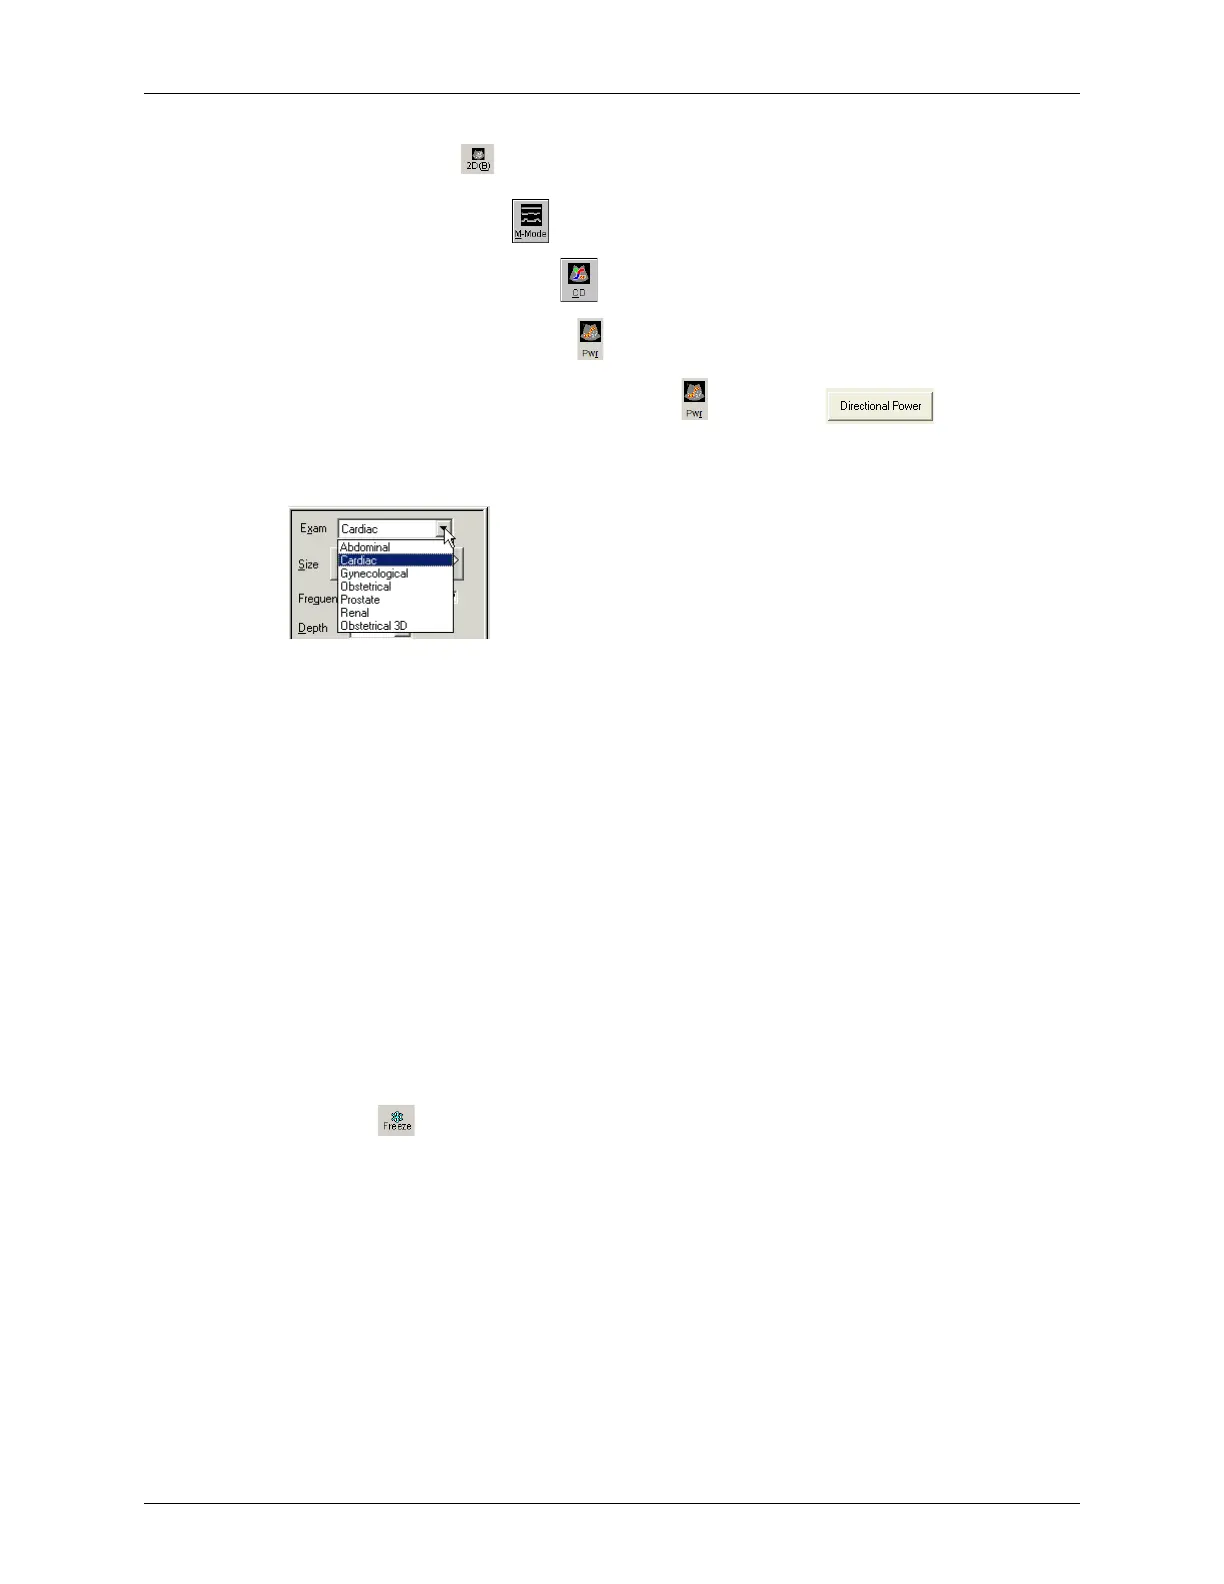
4. In the 2D Image Control tab, select an exam type from the Exam menu.
Choosing an Exam Type
The Terason software loads preset image control settings that are optimized for the
selected exam and the connected transducer. See Chapter 8, Working With Exams, on
page 212 for information about exam types and defining your own exams.
You can now use the transducer to conduct the ultrasound exam. Refer to the
appropriate clinical procedure for the exam you are conducting.
5. If necessary, adjust the 2D image controls. See Using 2D and I.Q. Controls on
page 90 for instructions.
6. If necessary, adjust the I.Q. image controls. See Controls on the I.Q. Image Control
Window on page 100 for instructions.
7. If necessary, adjust the image controls for the selected scan mode:
• For M-Mode, see Using M-Mode Image Controls on page 105.
• For Color Doppler and Power Doppler scan modes, see Using Color and Power
Doppler Image Controls on page 118.
8. Click . The Terason software automatically adds measure tabs to the Image
Control window. The measure tabs include measuring tools for the selected scan mode
(see Chapter 7, Working With Measurements, on page 150 for instructions on using
the measurement tools).
9. Add annotations (see Working with Annotations on page 81) as needed.
10. Save or print the ultrasound image. See Saving Images and Loops on page 133 and
Printing Images on page 146.