Chapter 2 - Installing Software Installing the Terason DICOM Utility
Terason t3000 / Echo Ultrasound System User Guide 44
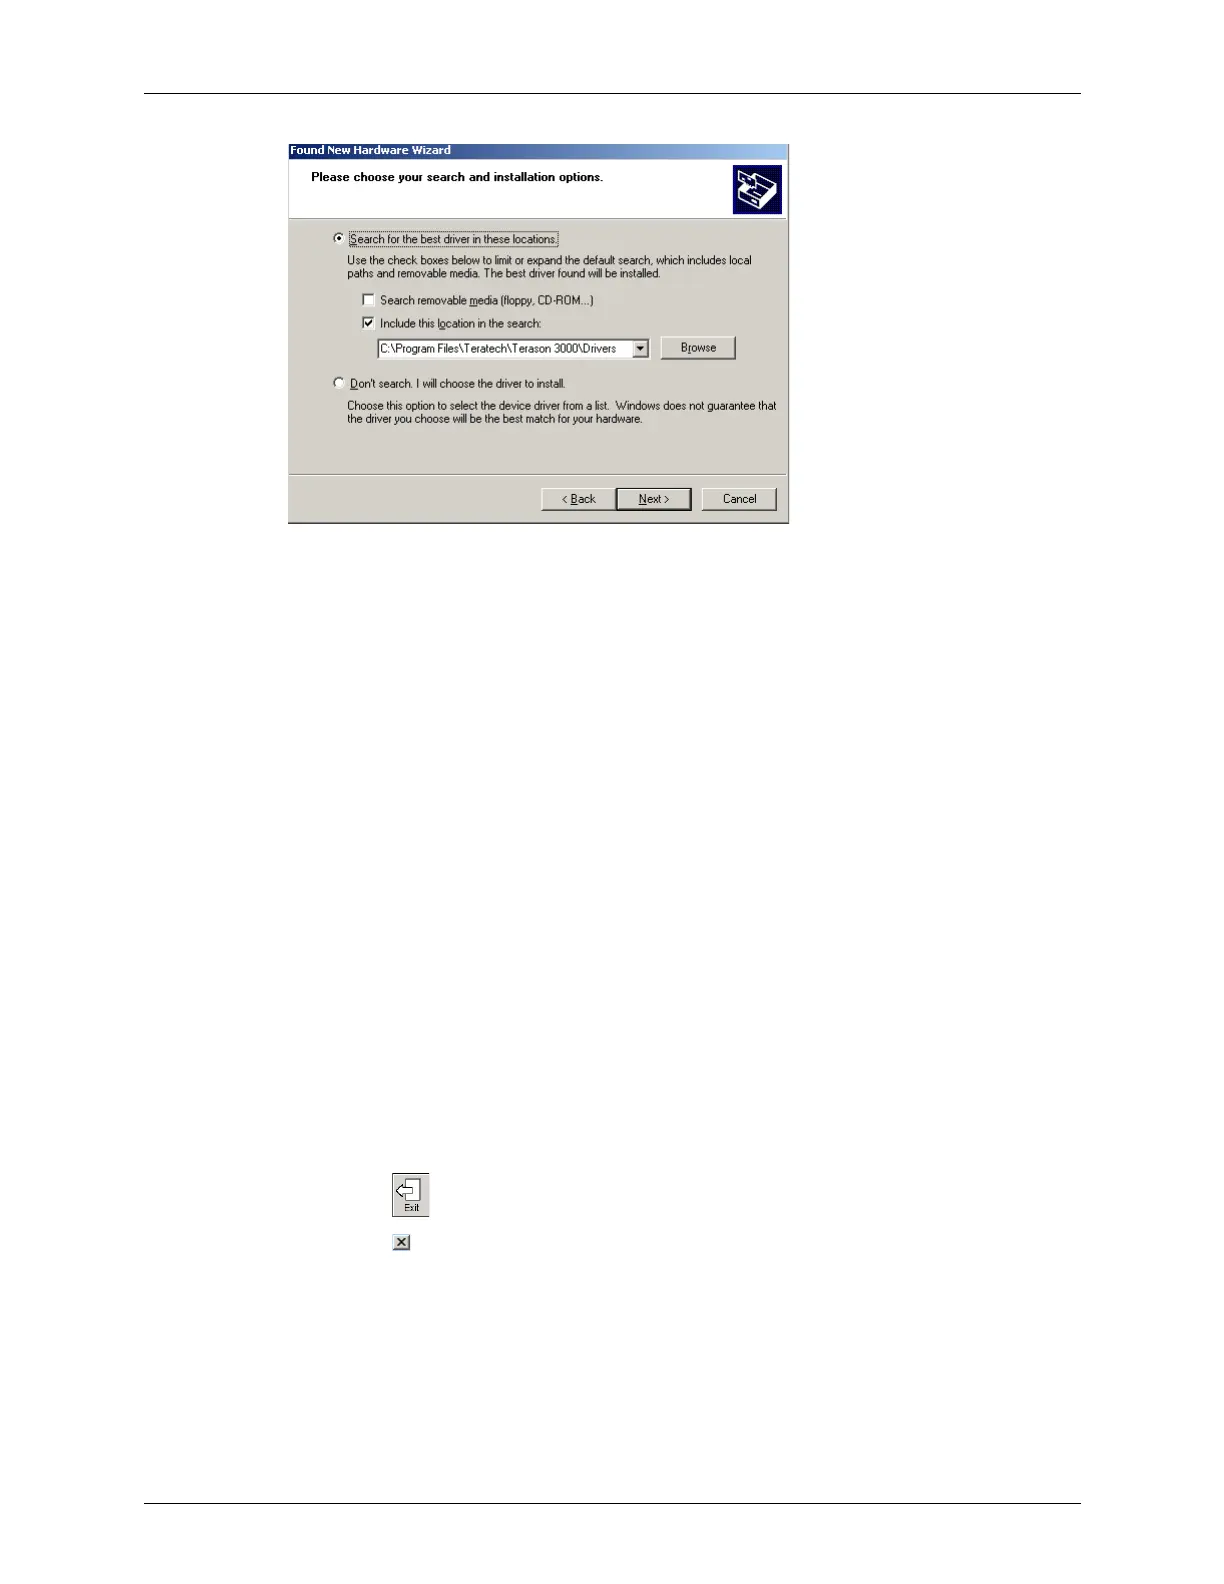
Insert Disk With Path to Drivers
9. Click Next>. The drivers install.
10. Click
Finish.
Installing the Terason DICOM Utility
The Terason software must be installed before you can install the DICOM Send/Print
utility or use the DICOM Worklist utility. See Installing Terason Software on page 37 for
instructions on installing the Terason software.
After installing the driver, you must configure it to set up the destination DICOM server
and printer. After the utility is configured, follow the instructions in Printing Files to a
DICOM Printer on page 227 or Sending Files to a DICOM Server on page 228 to use the
DICOM print and export functions. See Using DICOM Worklist on page 228 for
instruction on using Worklist to retrieve patient information.
Installing the DICOM Utility
To install the DICOM utility, complete these steps:
1. If necessary, save the active image or image loop. See Saving Images and Loops on
page 133 for instructions.
2. Exit the Terason software using one of these methods:
• Click on the toolbar at the bottom of the window
• Click in the upper right corner of the window
• Select
File > Exit
3. Install the HASP Dongle Driver:
a. Insert the installation disk into the CD drive.
b. Open the HASP Dongle Driver folder.