Chapter 11 - Using System Tools Enabling or Disabling the Color Doppler Message
Terason t3000 / Echo Ultrasound System User Guide 243
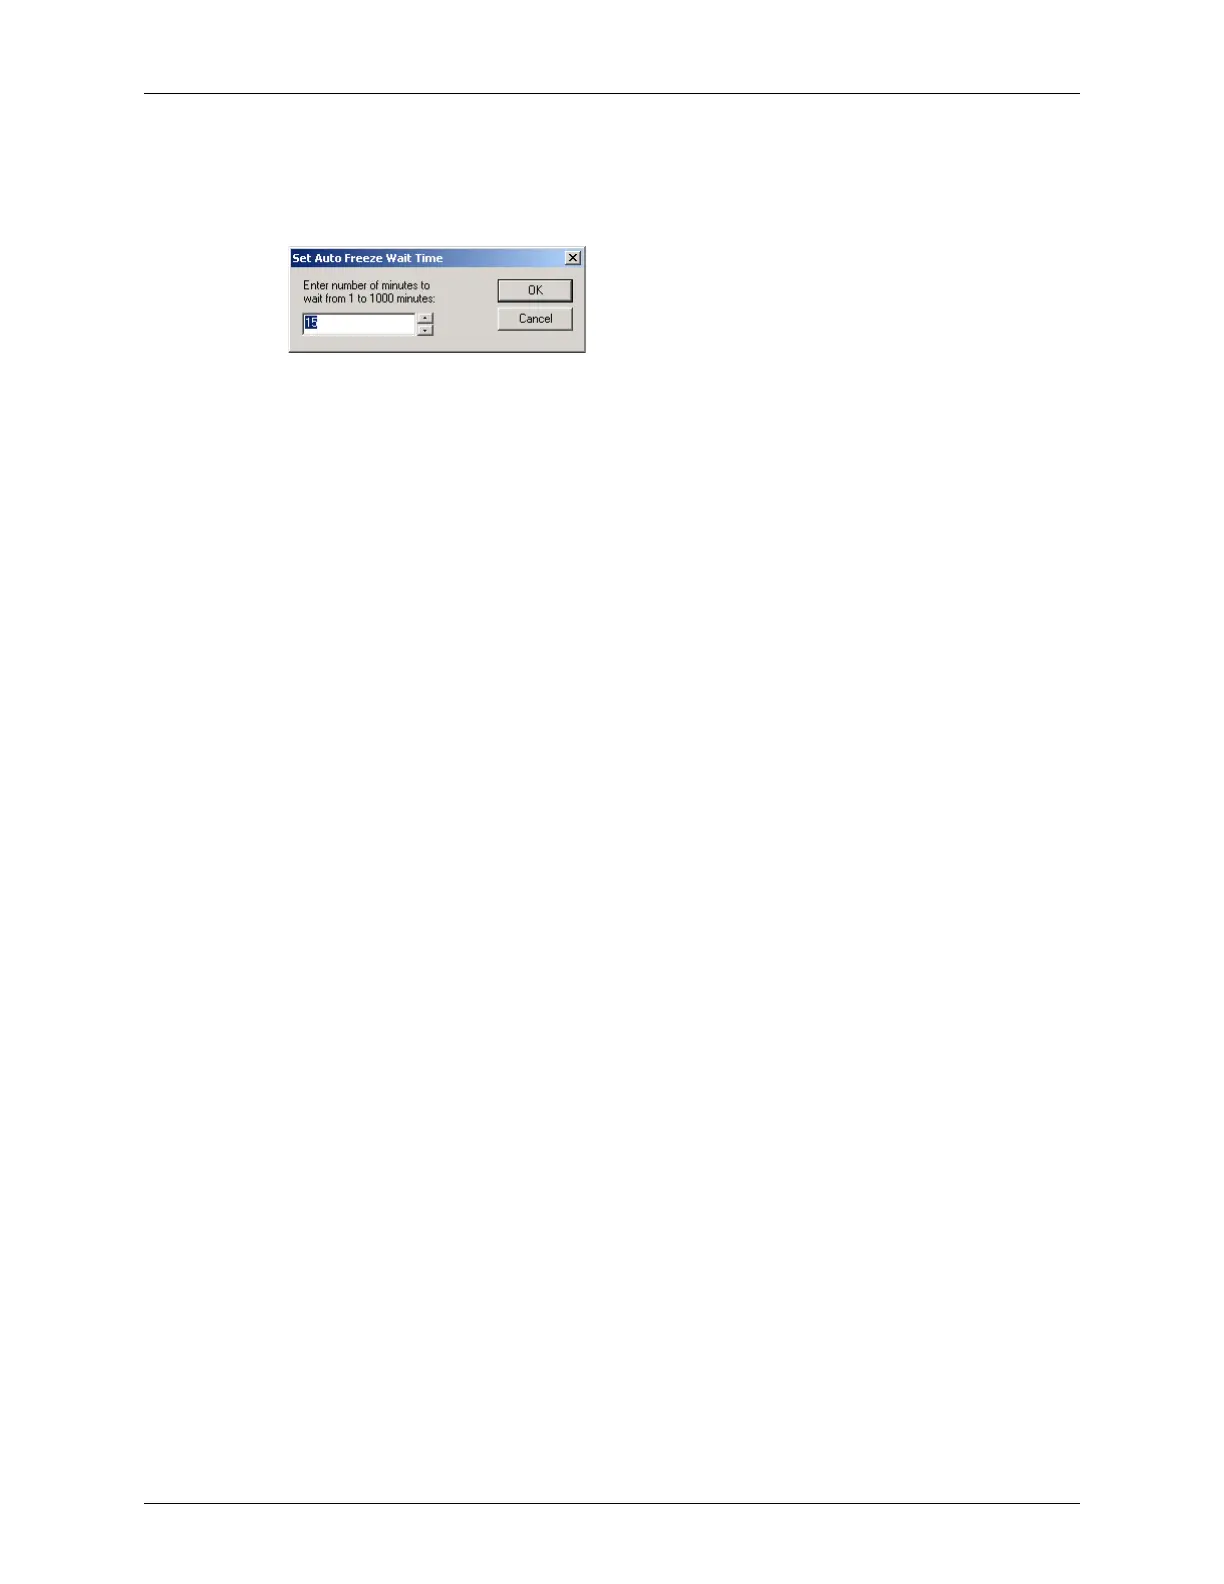
To set the time-out value, complete these steps:
1. Select
Tools > Set Auto Freeze Wait Time. The Terason software opens the Set Auto
Freeze Wait Time dialog box.
Setting the Time Out Value
2. Type the number of minutes you want to specify as the time-out value, or click the up
and down arrows to select a different value.
3. Click
OK.
When the specified number of minutes elapses, the computer shuts off power to the
transducer and displays the following message:
Terason has automatically suspended. Hit any key or move mouse to resume.
The Terason title bar changes to Terason - Suspended, to indicate that transducer power is
shut down. When you move the mouse or press any key on the keyboard, the Terason
software sends power to the transducer and removes the message box.
Enabling or Disabling the Color Doppler Message
The Show Color Doppler Message item in the Tools menu lets you control whether or not
the application displays a message when you try to save an image file with a high color
persistence setting. See Adjusting the Color Persistence on page 123 for information on
the color persistence setting.
You can use the
Tools > Show Color Doppler Save Message menu item to enable or disable the
message . Click the menu item to toggle its setting between enabled (check mark) and
disabled (no check mark).
Specifying Optional Settings
The Terason software lets you specify several optional settings. You can change defaults
that affect:
• Setting Image Save and Print Defaults, see page 243
• Changing the Display Mode Defaults, see page 247
• Setting Measurement Defaults, see page 250
The following sections describe the defaults you can set. To change options, select
Tools >
Options
, then make any changes necessary to the tabs and click OK.
Setting Image Save and Print Defaults
When you select Tools > Options, the Options window opens showing the Save tab.