FM-750 Display User Guide 29
Getting Started 3
Inserting a USB drive
1. Rotate the display so you that can see the back of it.
2. Insert the USB drive into the USB socket.
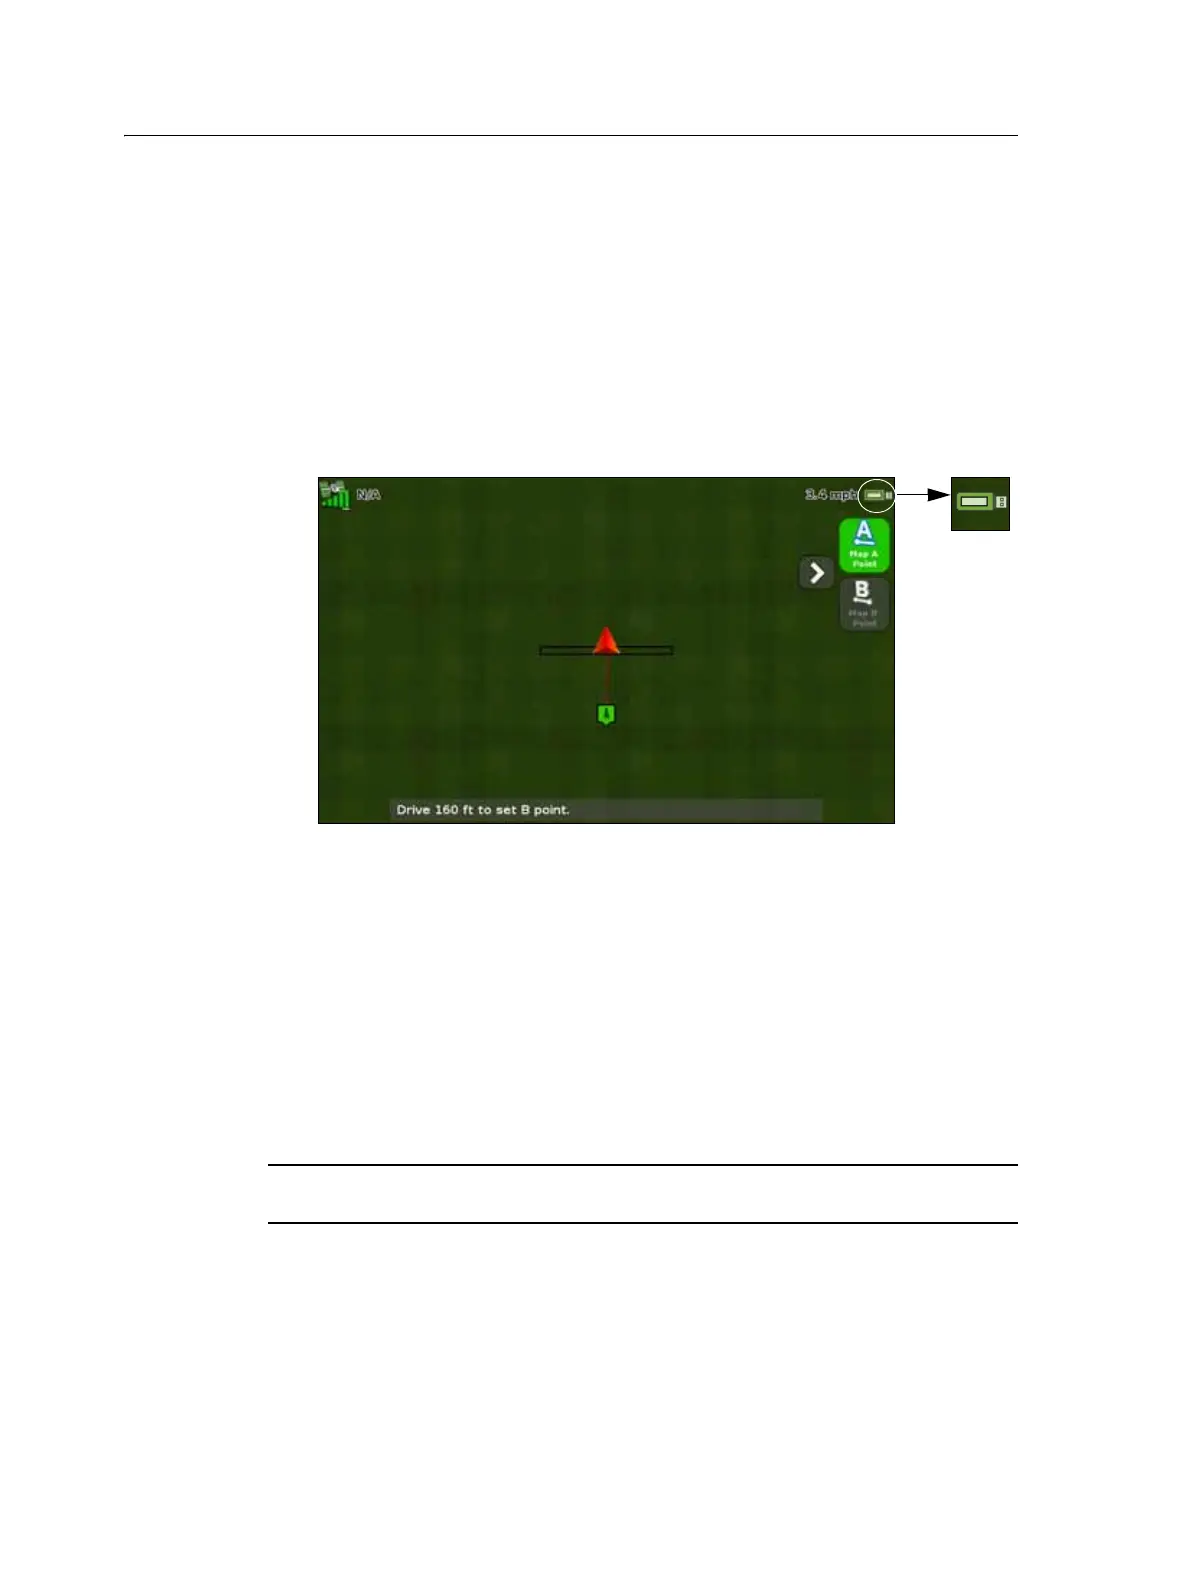
When the USB drive is properly inserted, the USB icon appears on the guidance
screen:
The color of the USB icon indicates the current state of the USB drive:
– Green: the USB drive is connected.
– Yellow: the USB drive is connecting.
– Red: the connection to the USB drive has been lost.
Removing a USB drive
1. Rotate the display so that you can see the back of it.
2. Pull the USB drive out of the USB socket.
C
CAUTION – Do not remove the USB drive from the socket while the display is writing to or
from the drive. This will corrupt the data.
Taking a screenshot
Occasionally, you may want to save a screenshot of the touchscreen, for example to
provide information for troubleshooting purposes. When you take a screenshot, the
display saves a .png file to the root directory of the USB drive.
• PNY Mini Attache 8 GB • SanDisk Cruzer
• SanDisk Cruzer Gator 4GB • SanDisk Cruzer Micro 1GB
• Toshiba TransMemory U2M-004GTA 4GB • Transcend JetFlash