User's Manual 114 Document #: LTRT-27055
Mediant 1000B Gateway & E-SBC
dGUgU2VydmV1cjCCASEwDQYJKoZIhvcNAQEBBQADggEOADCCAQkCggEAPqd4Mz
iR4spWldGRx8bQrhZkonWnNm`+Yhb7+4Q67ecf1janH7GcN/SXsfx7jJpreWUL
f7v7Cvpr4R7qIJcmdHIntmf7JPM5n6cDBv17uSW63er7NkVnMFHwK1QaGFLMyb
FkzaeGrvFm4k3lRefiXDmuOe+FhJgHYezYHf44LvPRPwhSrzi9+Aq3o8pWDguJ
uZDIUP1F1jMa+LPwvREXfFcUW+w==
-----END CERTIFICATE-----
7. Scroll down to the Upload certificates files from your computer group, click the
Browse button corresponding to the 'Send Device Certificate...' field, navigate to the
cert.txt file, and then click Load File.
8. After the certificate successfully loads to the device, save the configuration with a
device reset.
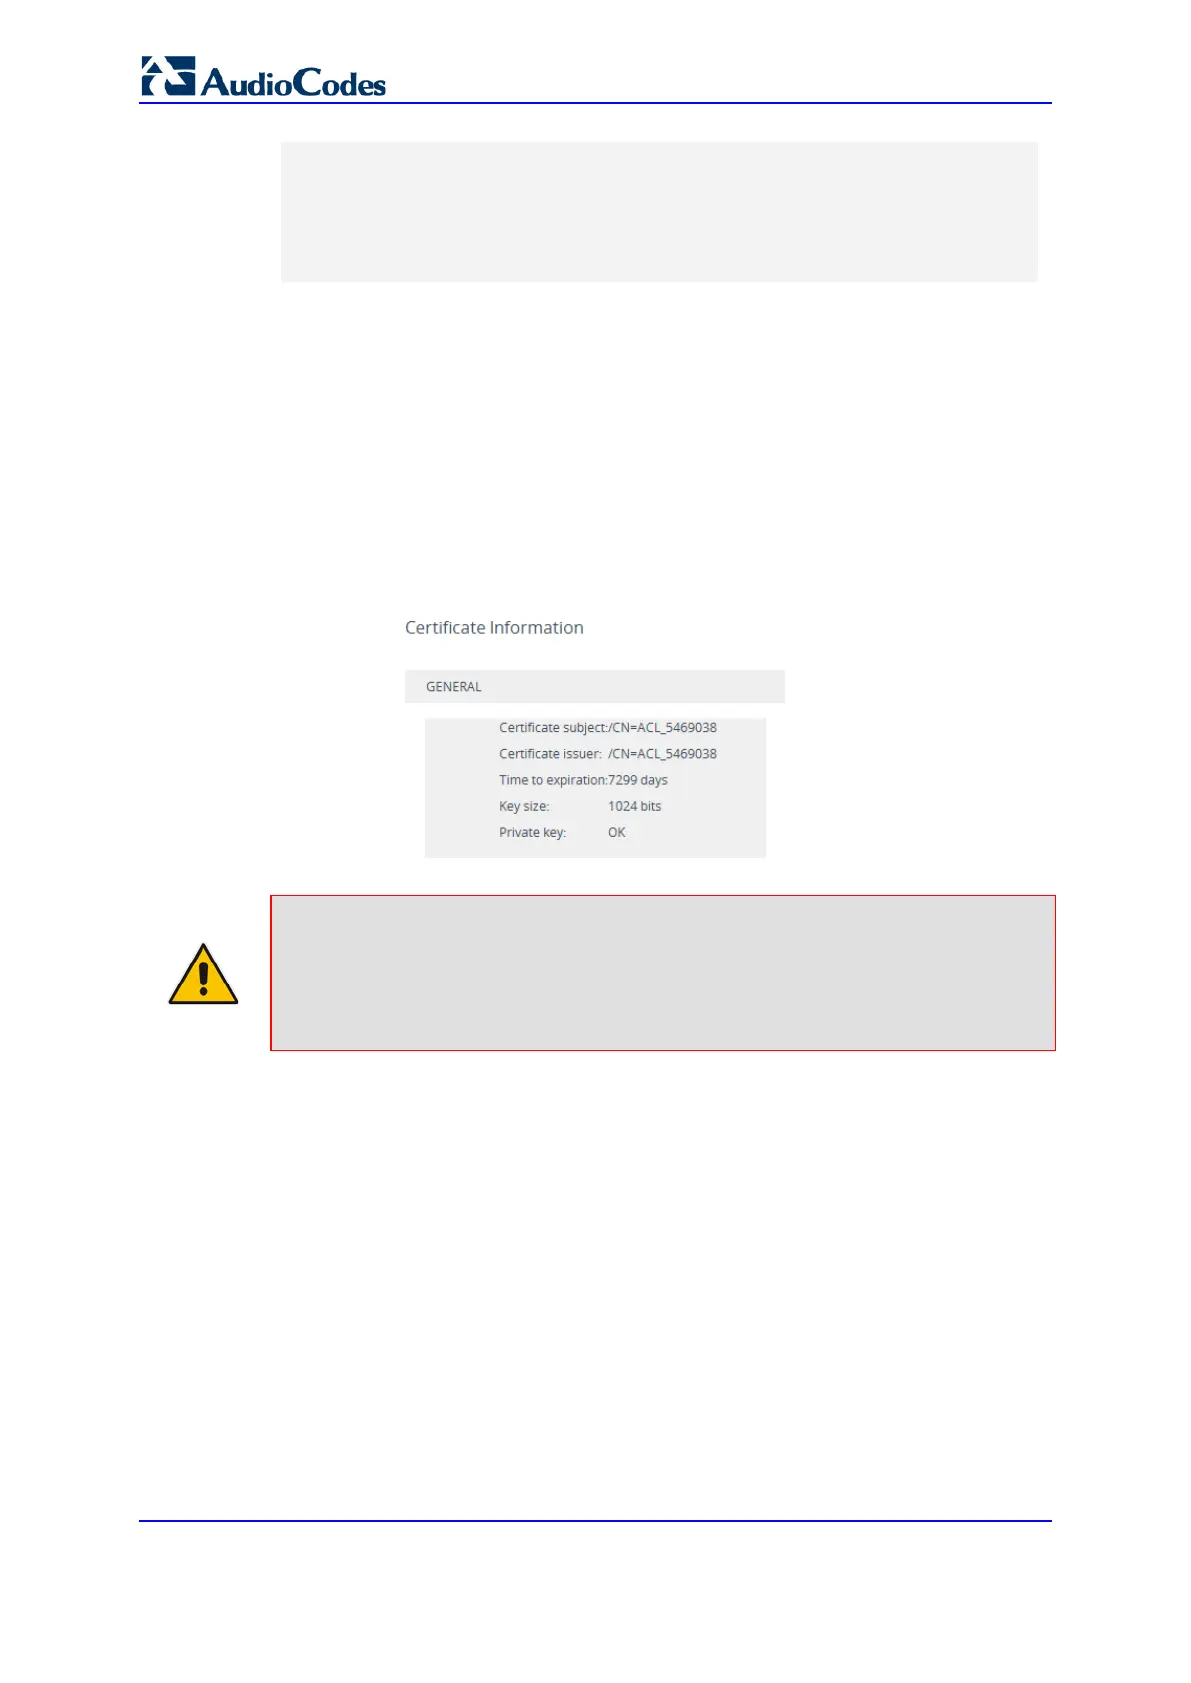
9. Verify that the private key is correct:
a. Open the TLS Contexts table.
b. Select the required TLS Context index row.
c. Click the Certificate Information link located below the table.
d. Make sure that the 'Private key' field displays "OK"; otherwise (i.e., displays
"Does not match certificate"), consult with your security administrator.
Figure 10-2: Verifying Private Key
Note:
• The certificate replacement process can be repeated whenever necessary (e.g.,
the new certificate expires).
• You can also load the device certificate through the device's Automatic
Provisioning mechanism, using the HTTPSCertFileName ini file parameter.
10.3 Viewing Certificate Information
You can view information of TLS certificates installed on the device per TLS Context.
To view certificate information:
1. Open the TLS Contexts table (see ''Configuring TLS Certificate Contexts'' on page
109).

 Loading...