123
Creating Embroidery Patterns Using Images
Tutorial 6-2: Photo Stitch 1
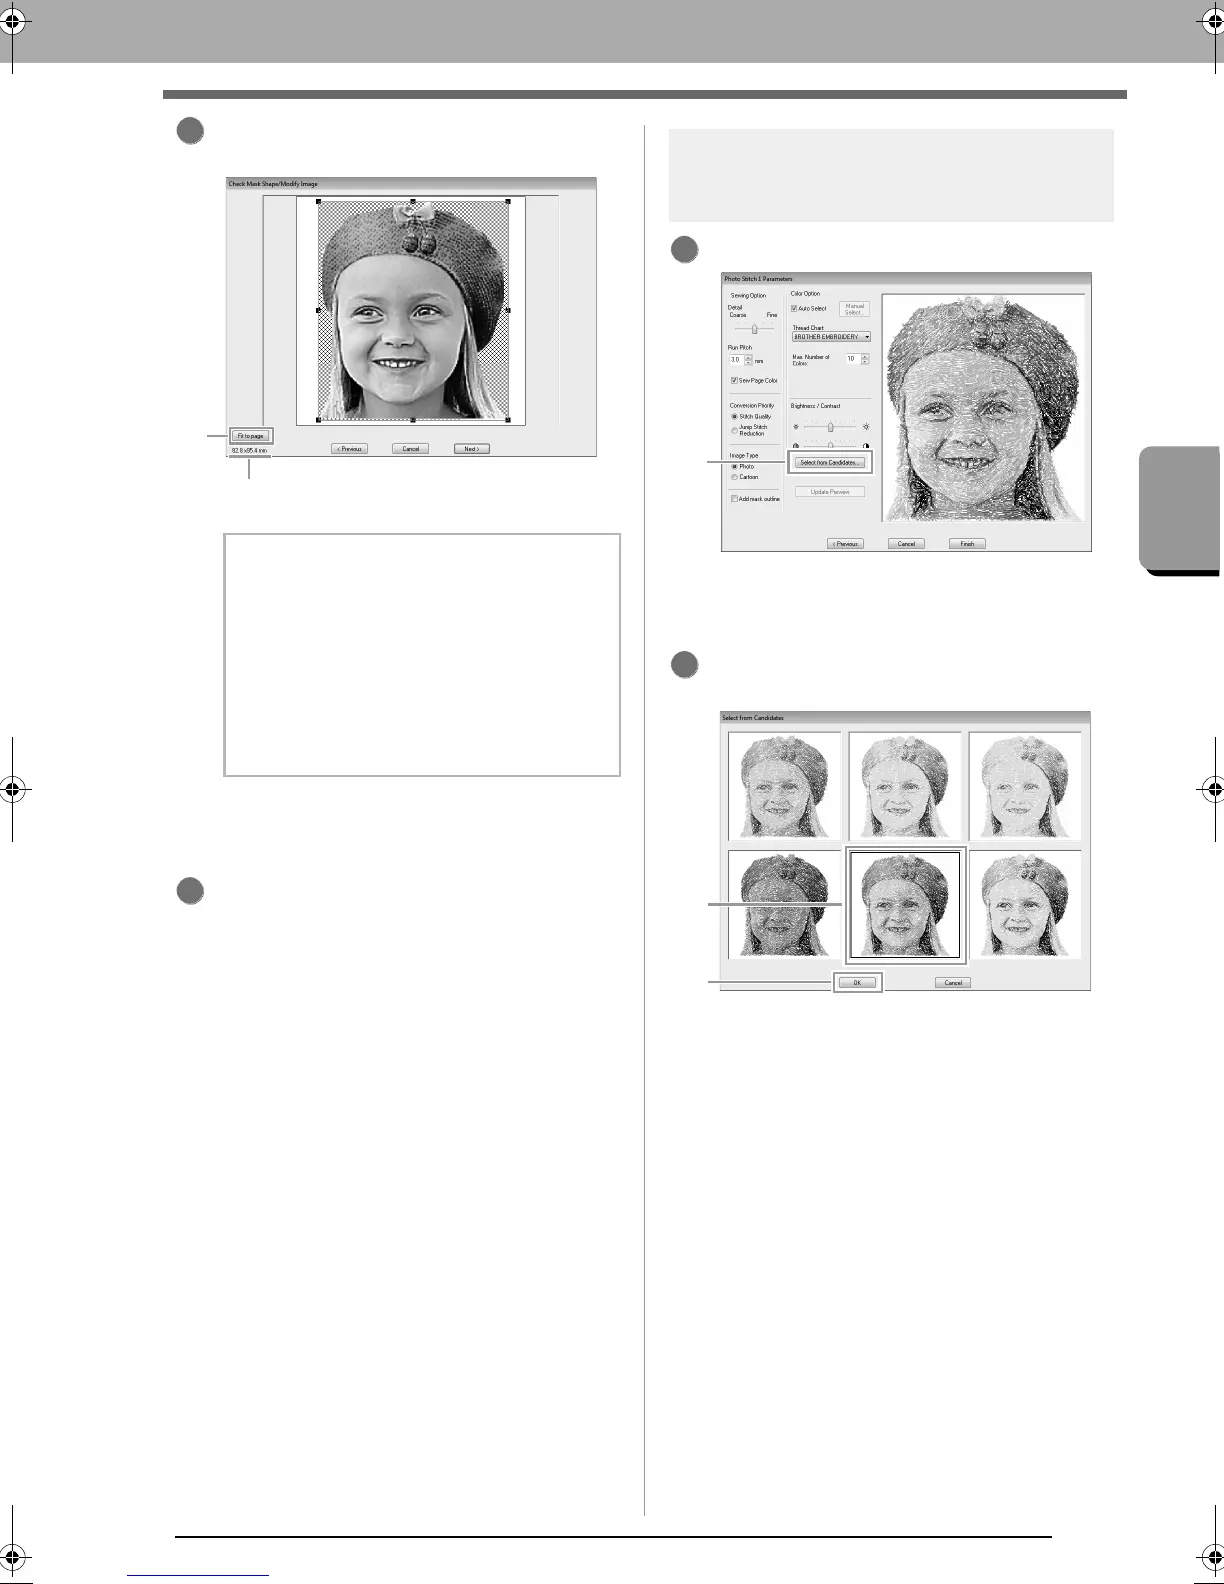
Click Fit to page (1) to change the final
finishing size.
c
“Check Mask Shape/Modify Image dialog
box” on page 135 and “Gray Balance /
Modify Image dialog box” on page 136
Check the preview of the area to be converted
then click Next.
Step 4 Automatically correcting
the image and creating an
embroidery pattern
Click Select from Candidates (1).
There are six patterns with different
brightness and contrasts based on the
original image.
Select one of the candidates (1) and click OK
(2).
This preview changes to the selected
image.
b Memo:
• The size of the embroidery pattern appears
in the lower left corner of the dialog box. The
user can change the size freely with this
display.
• For best results, change the size of the
embroidery pattern to the sizes listed below.
• Face only: 100 × 100 mm
• Head and shoulders: 130 × 180 mm
2
2
XE8656-001.book Page 123 Monday, May 24, 2010 5:44 PM
 Loading...


