233
Programmable Stitch Creator
Creating Fill/Stamp Stitch Pattern
Click 1, and then click the second and fifth
wave regions.
This region appears in blue and will be
sewn with no dropped stitches to give the
effect of embossing.
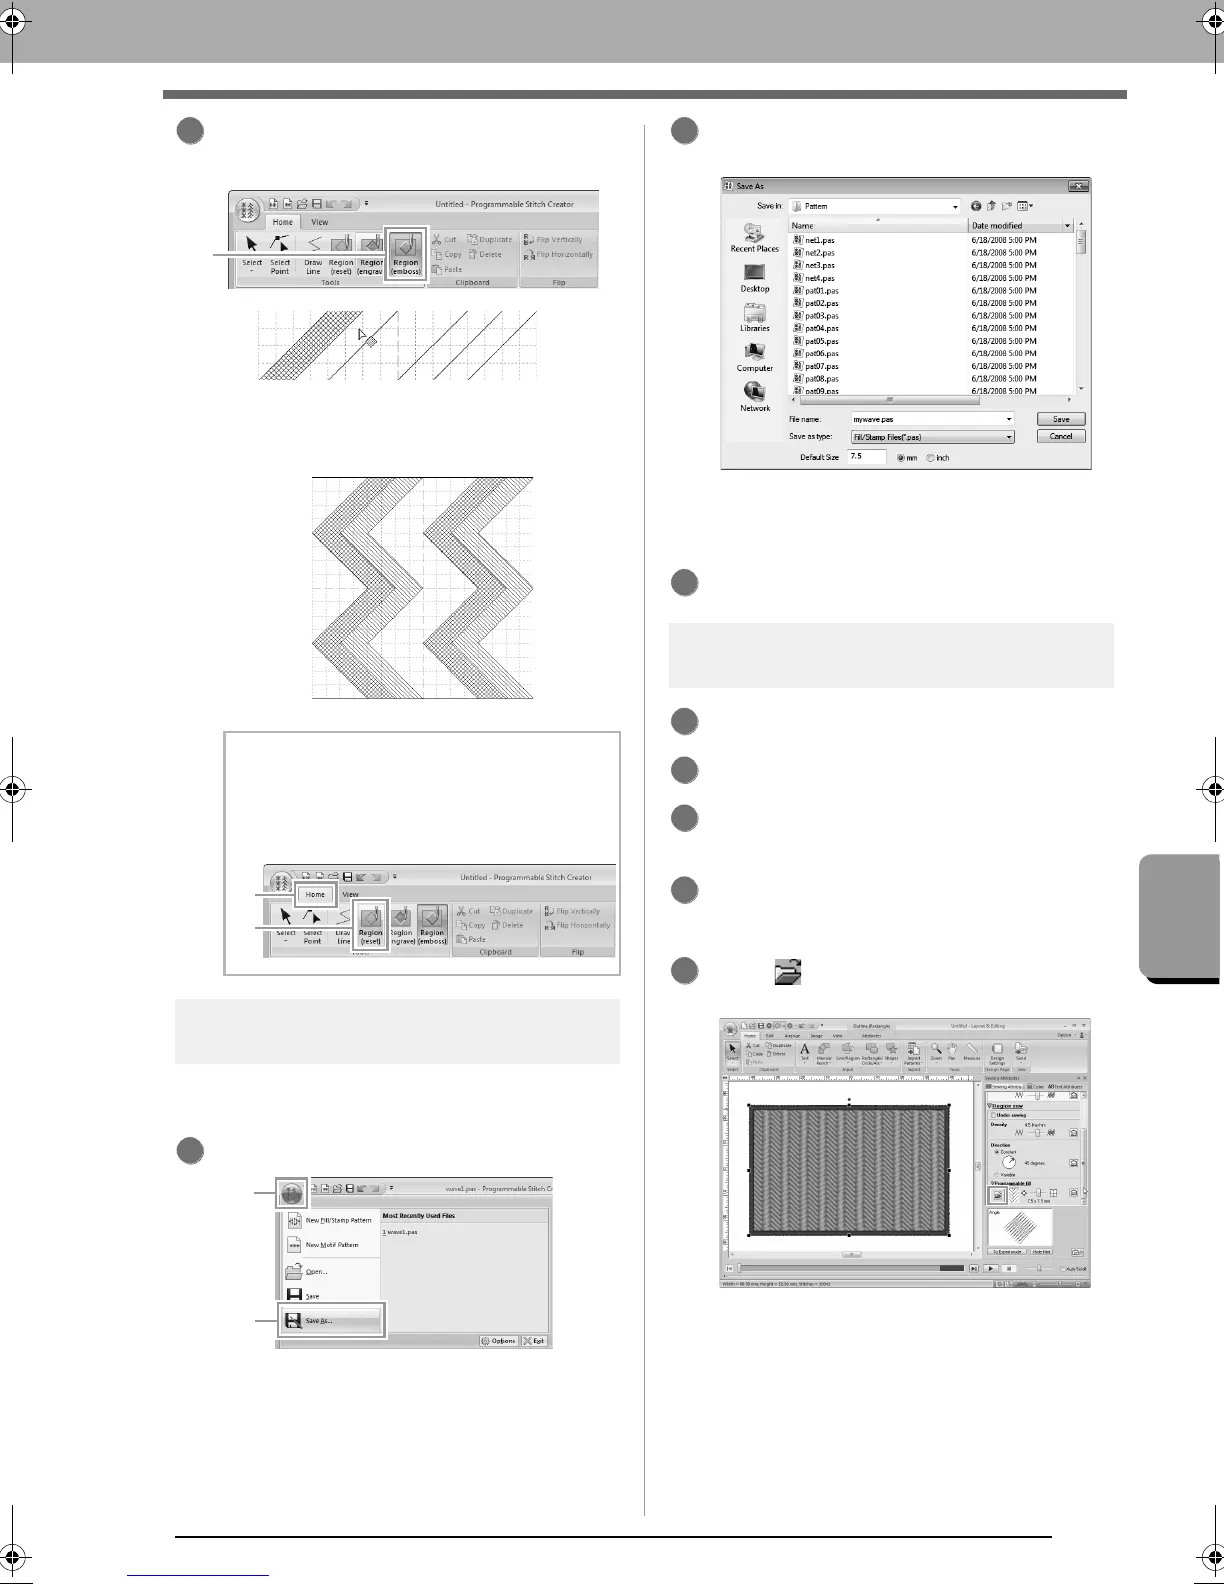
Step 4 Saving the edited fill/stamp
stitch pattern
Fill/stamp stitch patterns are saved in the .pas
format.
Click 1, then 2.
Select the drive and the folder, and then type
in the file name.
When saving a fill/stamp pattern, specify the
size beside Default Size. Click mm or inch to
select the measurement units.
Click Save.
Step 5
Using the edited fill/stamp stitch
patterns in Layout & Editing
Start up Layout & Editing.
Select an embroidery pattern.
From the Region sew type selector (in the
Attributes tab), select Prog. Fill Stitch.
Display the Sewing Attributes tab.
c
“Specifying sewing attributes” on page 58
Click below Programmable fill in the
Region sew section.
b Memo:
To remove the embossing/engraving effect,
use the
Region (reset)
tool. Click
1
, then
2
,
and then click a region with an effect applied.
3
1
2
3
1
3
4
5
XE8656-001.book Page 233 Monday, May 24, 2010 5:44 PM
 Loading...


