130
Tutorial 6-4: Cross Stitch
Tutorial 6-4: Cross Stitch
Cross Stitch embroidery patterns can be created from images.
Step 1 Importing image data into
Layout & Editing
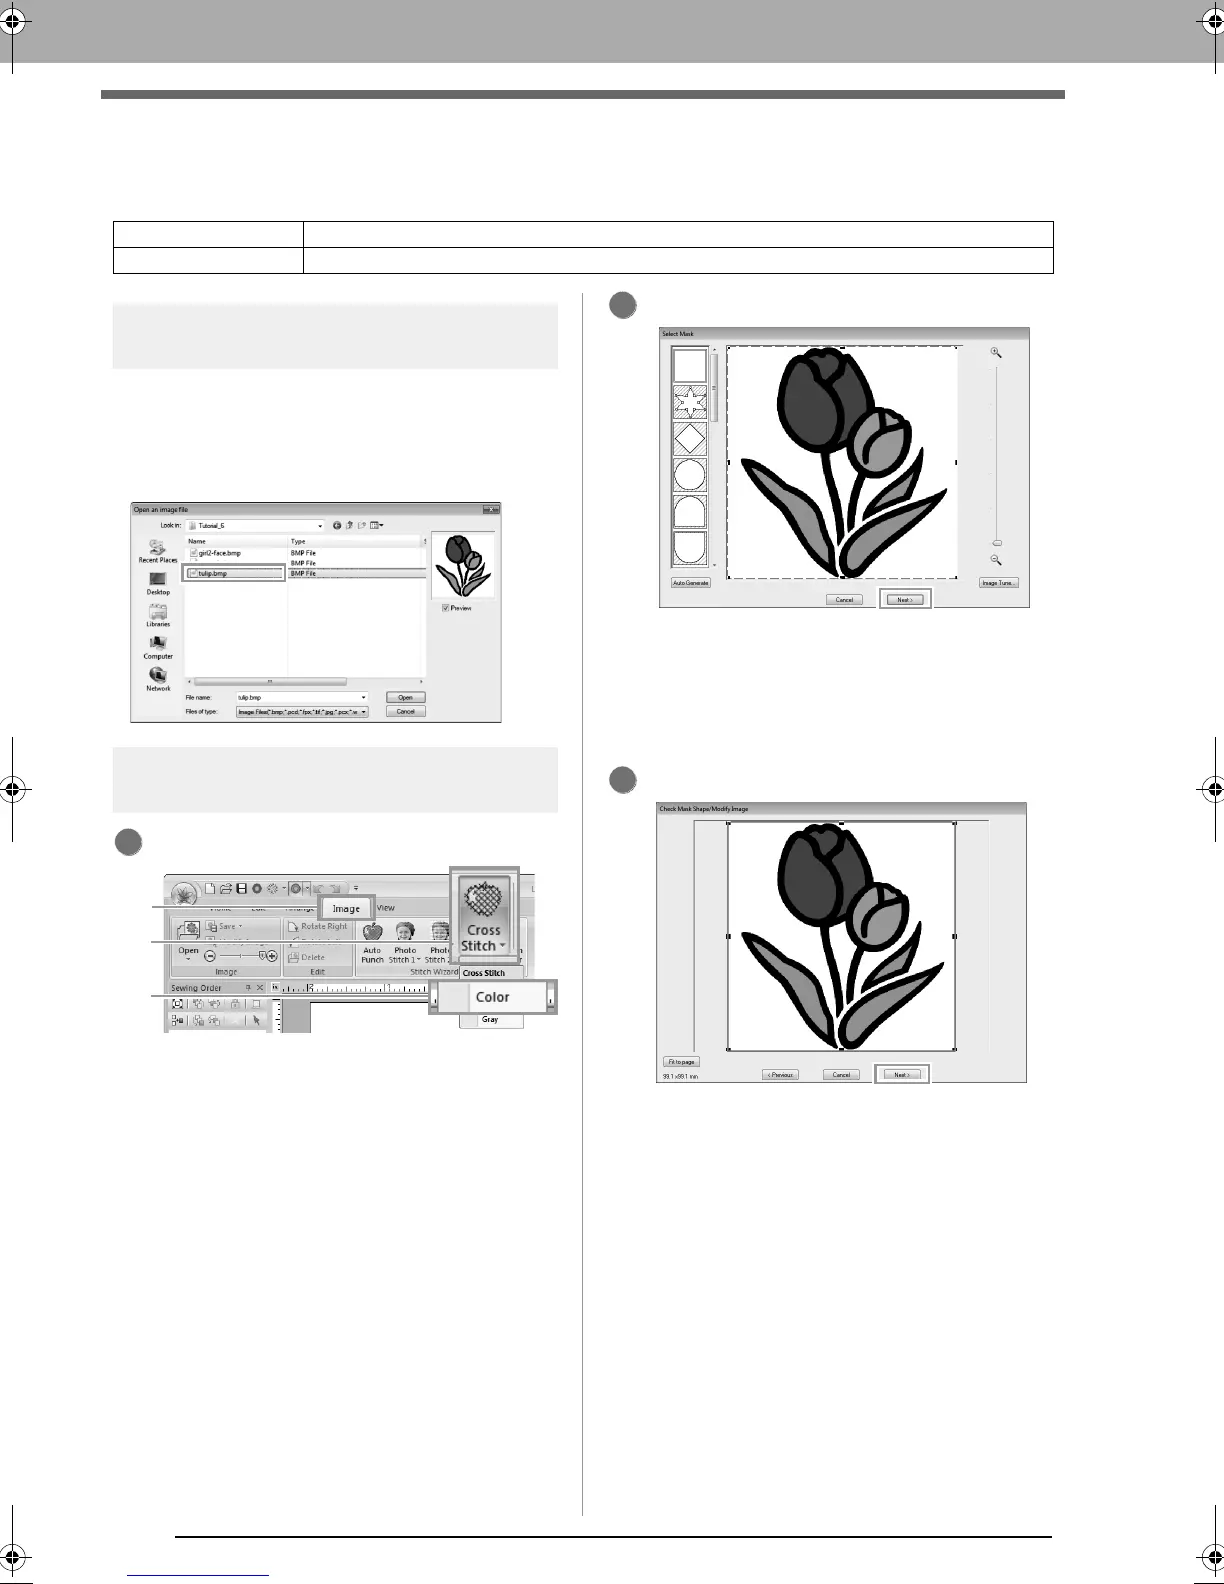
Select the Tutorial_6 folder, and then select
tulip.bmp as the image.
c
“Importing image data into Layout &
Editing” on page 119
Step 2
Starting the Cross Stitch wizard
Click 1, then 2, then 3.
Click Next.
From this dialog box, an image mask can be
applied and its size can be adjusted. For this
example, we will simply continue to the next
step.
c
“Select Mask dialog box” on page 134
Click Next.
From this dialog box, the size and position of
the image can be adjusted. For this example,
we will simply continue to the next step.
c
“Check Mask Shape/Modify Image dialog
box” on page 135
Step 1 Importing image data into Layout & Editing
Step 2 Starting the Cross Stitch wizard
3
XE8656-001.book Page 130 Monday, May 24, 2010 5:44 PM
 Loading...


