24
Tutorial 1: Getting Started
Tutorial 1: Getting Started
The sample file for this tutorial can be found at the following location.
Documents (My Documents)\PE-DESIGN NEXT\Tutorial\Tutorial_1
Step 1
Starting up Layout & Editing
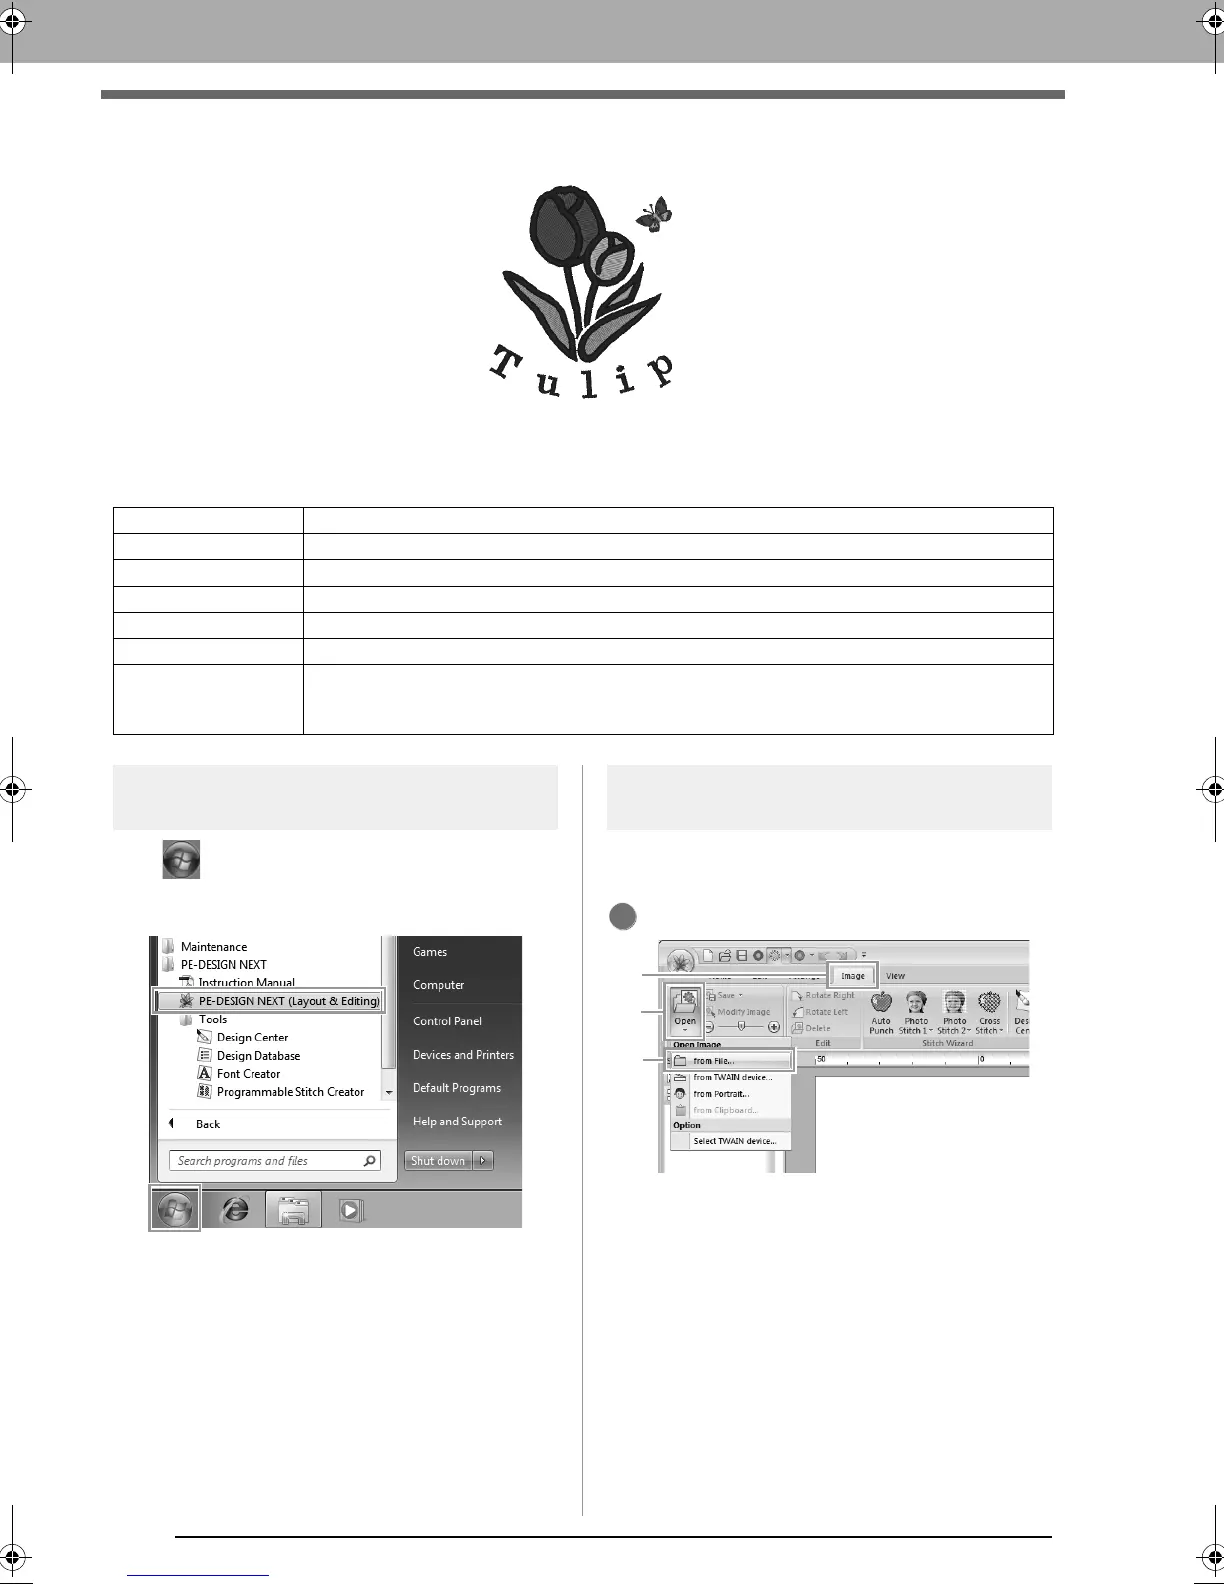
Click (Start), and then select All Programs,
then PE-DESIGN NEXT, then PE-DESIGN NEXT
(Layout & Editing).
Step 2
Using the Auto Punch function to create
an embroidery pattern from an image
Now, we will open the image of the tulip and convert
it to an embroidery pattern.
Click 1, then 2, then 3.
Step 1 Starting up Layout & Editing
Step 2 Using the Auto Punch function to create an embroidery pattern from an image
Step 3 Adjusting the embroidery pattern size and position
Step 4 Adding text and setting character spacing
Step 5 Transforming the text
Step 6 Importing and rotating an embroidery pattern
Step 7
Transferring embroidery patterns to embroidery machines
•Transferring the design to an original card
•Transferring data to embroidery machines via a USB media
1
tutorial.fm Page 24 Thursday, May 27, 2010 8:14 PM
 Loading...


