149
Operations for Specific Applications
Tutorial 8: Manual Punching
Tutorial 8: Manual Punching
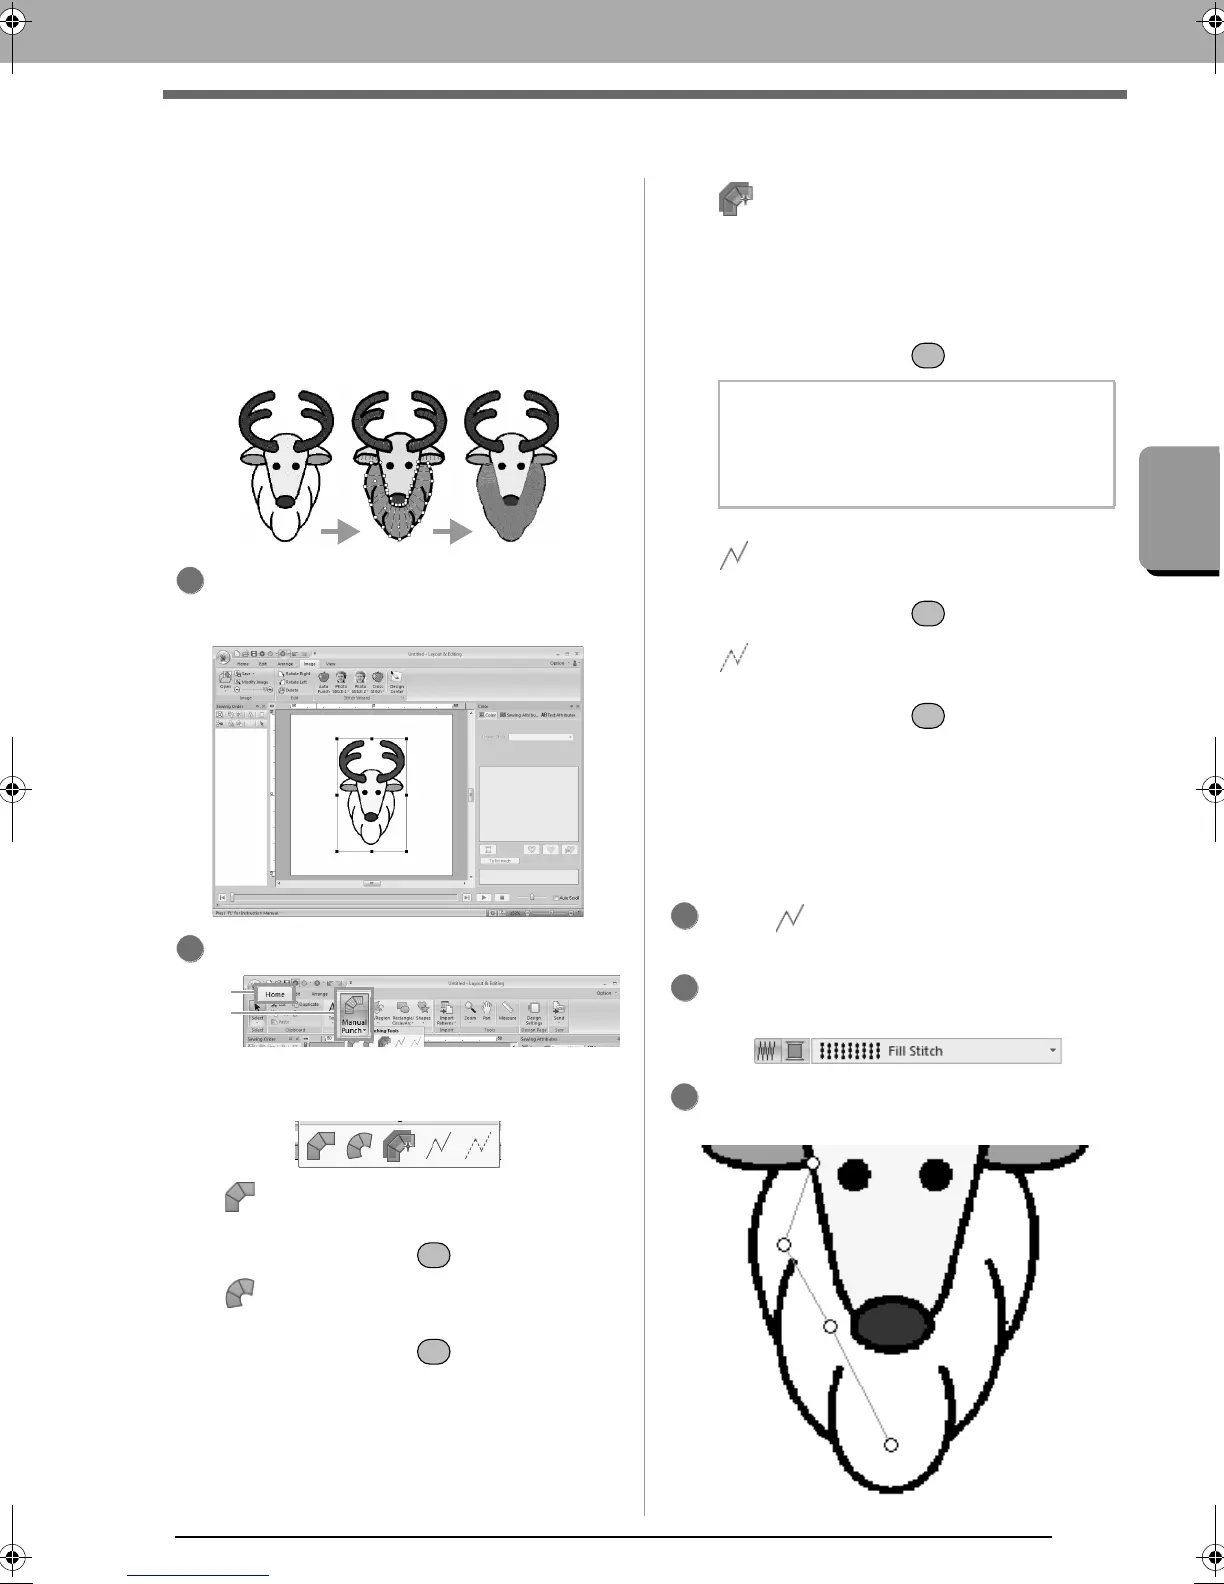
The following example shows how the Manual
Punch tools are used to draw a beard over the
image of the reindeer (Rudolph.bmp), which is
used as a template.
The template and finished pattern are provided in
the following folder.
Documents (My Documents)\PE-DESIGN NEXT\
Tutorial\Tutorial_8
Import the file Rudolph.bmp.
c
“Importing Image Data” on page 137.
Click 1, then 2.
Five buttons appear:
:
This is used for creating straight block-
type punching patterns (region sewing).
(Shortcut key: )
:
This is used for creating curved block-
type punching patterns (region sewing).
(Shortcut key: )
: This is used for semi-automatically
creating straight block-type punching
patterns.
By semi-automatically tracing, points
can be specified along the lines of a
template.
(Shortcut key: )
: This is used for creating running-type
punching patterns (line sewing).
(Shortcut key: )
: This is used for creating feed-type
punching patterns (jump stitches).
(Shortcut key: )
c
“Jump Stitch and Jump Stitch Trimming”
on page 270.
While creating a manual punching pattern,
you can switch between the various tools. This
is very easy if the shortcut keys are used.
Click to start drawing a running-type
pattern.
Select Fill Stitch as the block sew type and
SILVER as the punch color.
Click in the Design Page to specify points 1
(start point) through 4.
1
2
b Memo:
If the semi-automatic block-type punch tool is
used for drawing, an image must be imported
to be used as a template.
3
4
5
XE8656-001.book Page 149 Monday, May 24, 2010 5:44 PM
 Loading...


