142
Tutorial 7: Print and Stitch
Tutorial 7: Print and Stitch
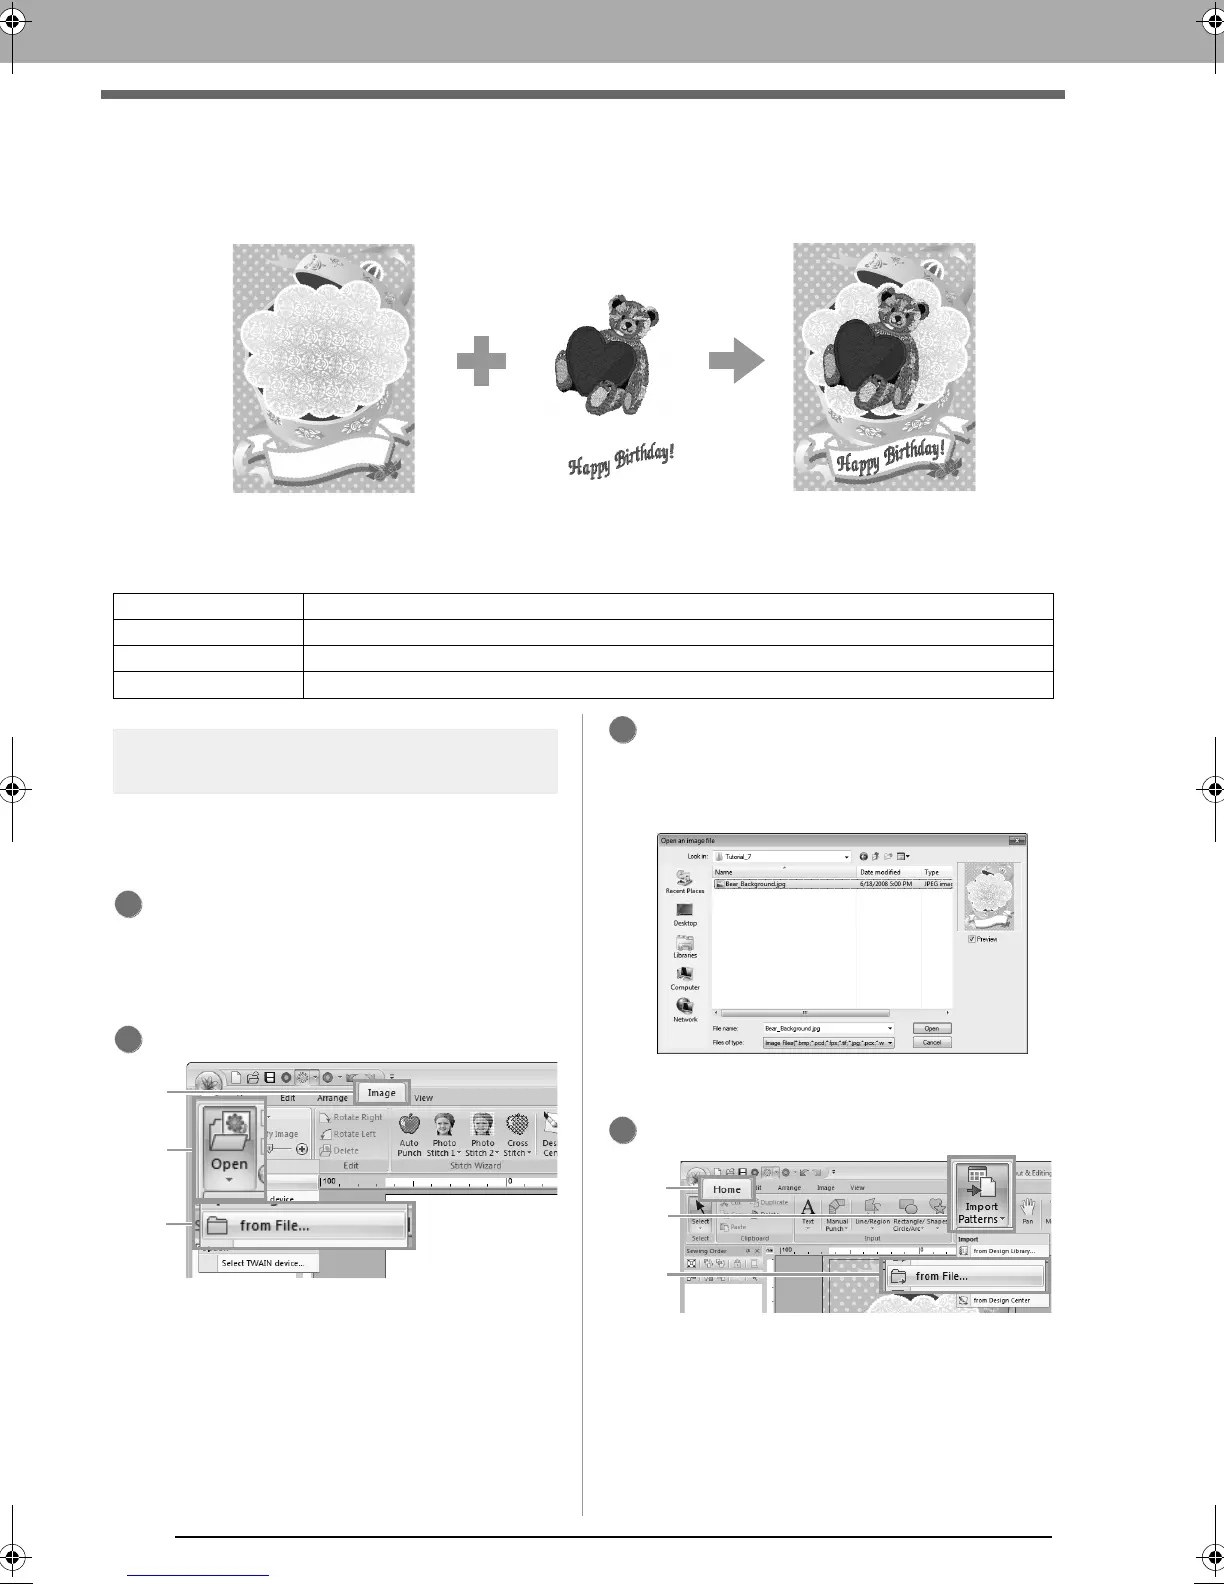
In this example, we will create a design that combines embroidery and an image.
The sample file for this tutorial can be found at the following location.
Documents (My Documents)\PE-DESIGN NEXT\Tutorial\Tutorial_7
Step 1
Creating a design combined
with a background image
For this example, we will use the gift box image
(Bear_Background.jpg) and the embroidery
pattern of the bear (Bear.pes).
Start up Layout & Editing.
Specify a Design Page size of 130 x 180 mm.
c
“Specifying the Design Page Size and
Color” on page 85
Click 1, then 2, then 3.
Import the file Bear_Background.jpg.
Select the file Bear_Background.jpg in the
folder Documents (My Documents)\
PE-DESIGN NEXT\Tutorial\Tutorial_7.
c
“Importing Image Data” on page 137.
Click 1, then 2, then 3.
Step 1 Creating a design combined with a background image
Step 2 Printing the background image
Step 3 Printing the positioning sheet
Step 4 Embroidering
Print the background image on fabric.
Embroider
3
4
le_image.fm Page 142 Thursday, May 27, 2010 8:20 PM
 Loading...


