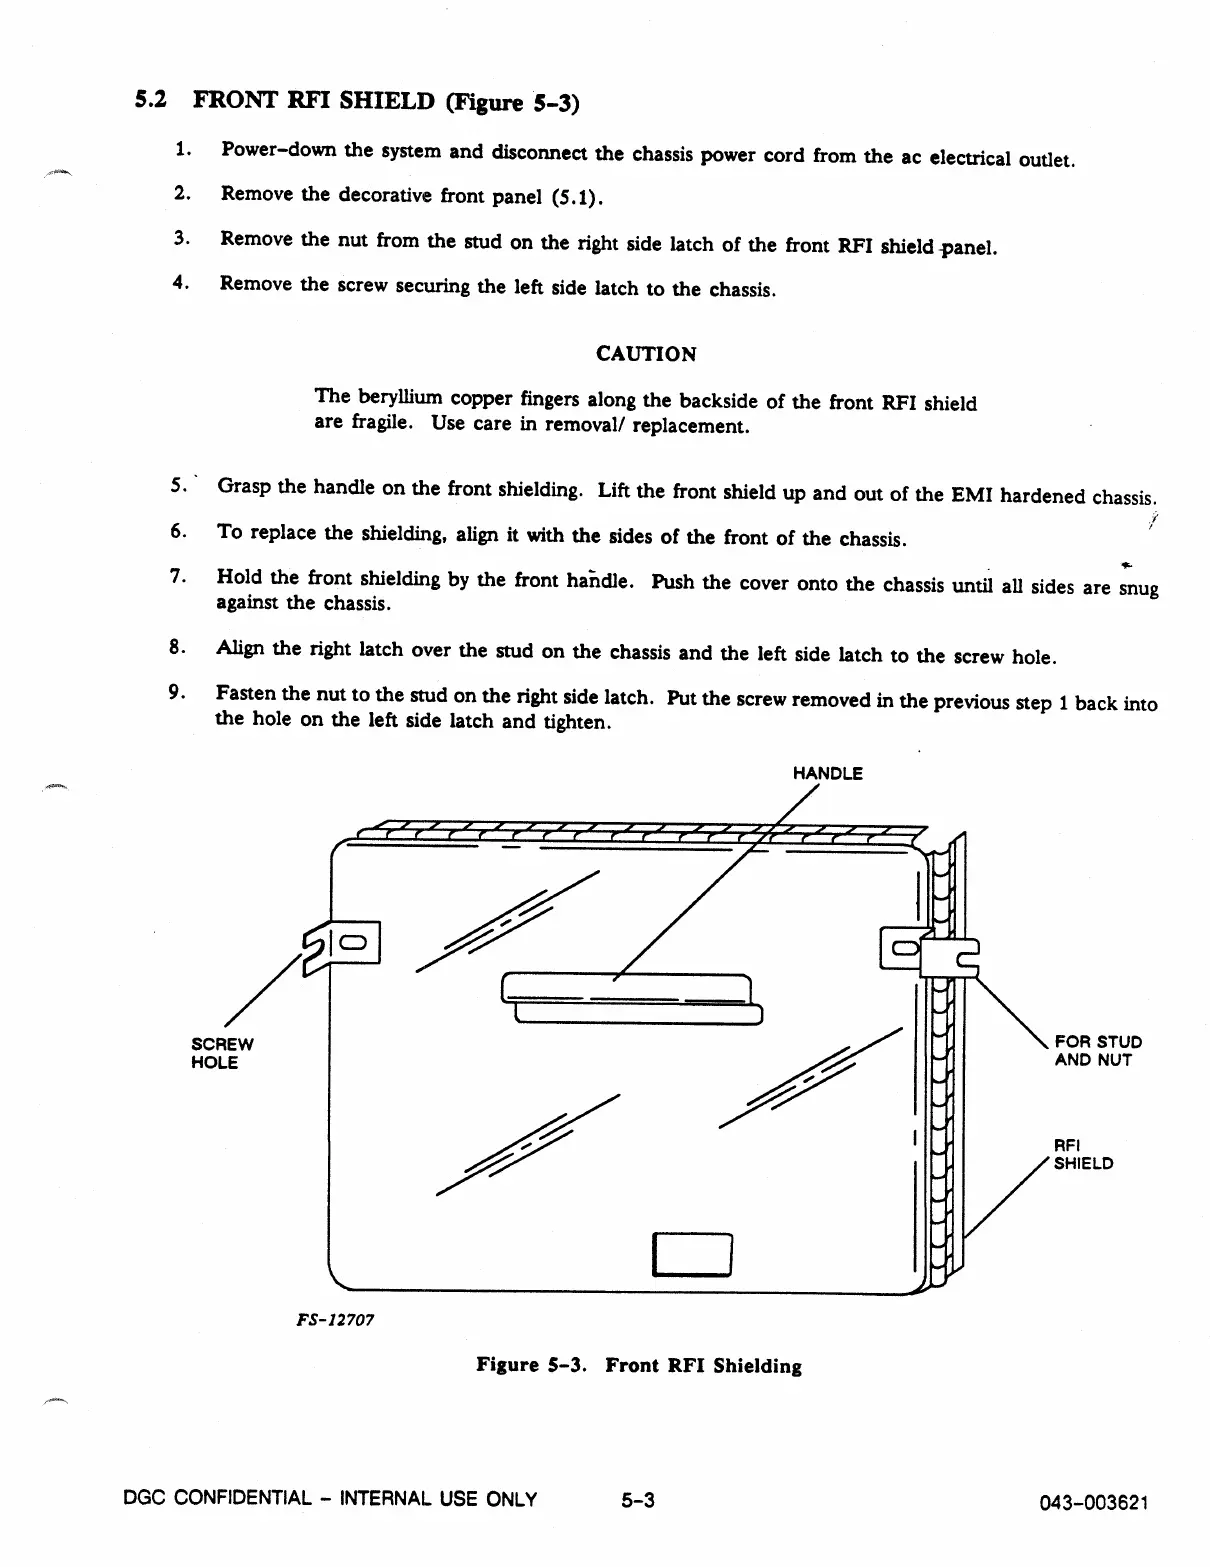
SCREW
HOLE
FS- 12707
5.2 FRONT RFI SHIELD (Figure 5-3)
1.
Power-down the system and disconnect the chassis power cord from the ac electrical outlet.
2.
Remove the decorative front panel (5.1).
3.
Remove the nut from the stud on the right side latch of the front RFI shield -panel.
4.
Remove the screw securing the left side latch to the chassis.
CAUTION
The beryllium copper fingers along the backside of the front RFI shield
are fragile. Use care in removal/ replacement.
5.
Grasp the handle on the front shielding. Lift the front shield up and out of the EMI hardened chassis.
7
6.
To replace the shielding, align it with the sides of the front of the chassis.
7.
Hold the front shielding by the front handle. Push the cover onto the chassis until all sides are snug
against the chassis.
8.
Align the right latch over the stud on the chassis and the left side latch to the screw hole.
9.
Fasten the nut to the stud on the right side latch. Put the screw removed in the previous step 1 back into
the hole on the left side latch and tighten.
HANDLE
FOR STUD
AND NUT
RFI
SHIELD
Figure 5-3. Front RFI Shielding
DGC CONFIDENTIAL - INTERNAL USE ONLY
5-3
043-003621