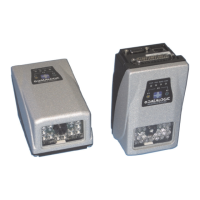
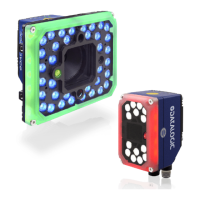
MATRIX 320 WITH SOFTWARE ADJUSTABLE FOCUS (LIQUID LENS)
PRODUCT REFERENCE GUIDE
3
Step 2A - Mount and Position the Reader
1. To mount the Matrix 320, use the mounting brackets to obtain the most suitable
position for the reader. The mounting solutions are provided in "
Mounting And
Positioning Matrix 320" on page 62
.
2. When mounting the Matrix 320 take into consideration these three ideal label
position angles: Pitch or Skew 10° to 20° and Tilt 0°, although the reader can read
a code at any tilt angle provided the code fits into the Field Of View (FOV).
Figure 6 - Pitch, Skew and Tilt Angles
3. Refer to the reading diagrams in Chapter 6, Reading Features for FOV calculation
and minimum distance requirements according to the base/lens combination
used for your application.
Step 3A - Aim and Autofocus the reader
Matrix 320 provides a built-in laser pointer aiming system to aid reader positioning. For
Liquid Lens models, the autofocus feature is also incorporated into this function. The
aiming system is accessed through the X-PRESS Interface.
1. Power the reader on. During the reader startup (reset or restart phase), all the
LEDs blink for one second. On the reverse side of the reader near the bracket, the
“POWER ON” LED (blue) indicates the reader is correctly powered.
2. Enter the Aim/Autofocus function by pressing and holding the X-PRESS push but-
ton until the Aim LED is on.
NOTE
Rapid Configuration of the Matrix 320 reader can be made either through
the X-PRESS interface (steps 4-6) which requires no PC connection, or
by using the DL.CODE Configuration Program (steps 7-8). Select the pro-
cedure according to your needs.
No Pitch,
Tilt or Skew
Pitch
Minimize
Tilt
any angle
inside FOV
Skew
assure at least 10°
 Loading...
