INSTALLATION
76
MATRIX 320
3. Make sure the new cover is free of dust, dirt and fingerprints. If necessary, wipe it
clean using soft material and alcohol. Avoid any abrasive substances.
4. Place the new cover on the reader and press the cover frame edges.
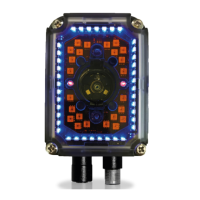
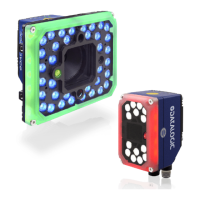
Figure 51 - Aligning the cover (14 LEDs model)
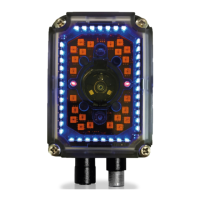
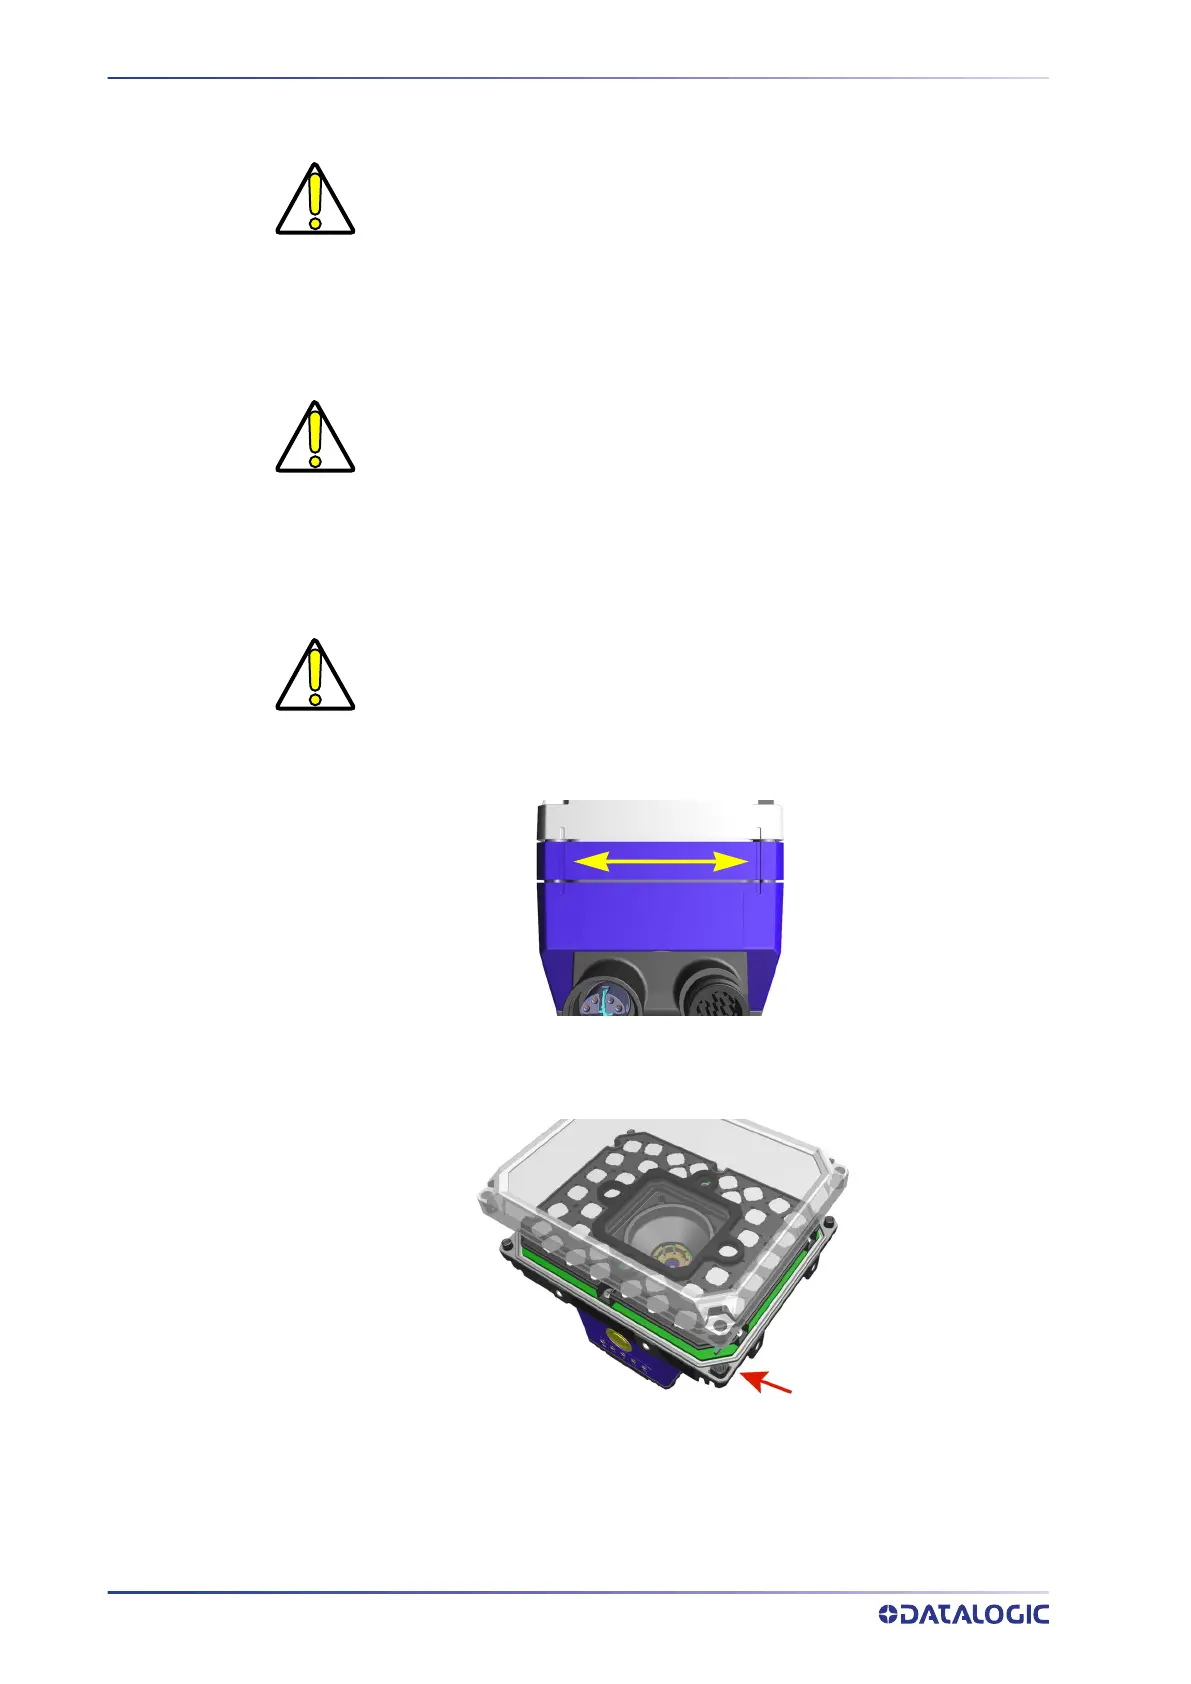
Figure 52 - Aligning the cover (36 LEDs model)
5. Insert the four screws and loosely tighten them in a clockwise direction.
6. Finally tighten the screws to a torque of 0.8 N m.
CAUTION
All accessory covers are supplied with a mounted gasket. When replac-
ing the cover, the gasket may remain attached to the base. Make sure to
remove the old gasket, since the new cover is already supplied with its
own gasket.
CAUTION
The cover has a predefined mounting direction (see Figure 51 and Figure
52). For the 14 LEDs model (Figure 51), make sure to align the identifi-
cation grooves to the right side. For the 36 LEDs model (Figure 52), the
illuminator has one pin different from the other three: make sure to
align this special pin with the correspondent cover seat.
CAUTION
To avoid damage, do not press on the window.
 Loading...