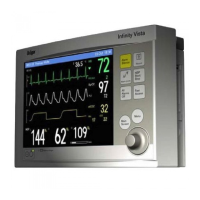
PULMONARY WEDGE PRESSURE DISPLAY
VF8 DELTA/DELTA XL/KAPPA 14-19
Follow your hospital’s procedures for setup, then take a PWP measurement as
follows:
1. Verify that a PA catheter has been properly inserted and the catheter tip is
situated in the pulmonary artery.
2. Press the Wedge fixed key on the pod acquiring the PA signals.
or
Open the
PA setup menu, scroll to Wedge Start and click.
The following screen appears:
3. Click on
Scale.
4. Scroll to the desired waveform scale (5, 10, 15, 20,
25, 30, 35, 40, 50, 75,
100, 125, 150, 175, 200, 225, 250,
or 300 mmHg) and click.
5. Click on
Sweep Speed.
6. Scroll to the desired sweep speed (
6.25, 12.5, 25, or 50 mm/s) and click.
7. Inflate the balloon and click on
Wedge to start the measurement. The
message, Wedge in Progress, appears.
When the calculation is complete, the PA and RESP waveforms stop, a
horizontal cursor line through the PA waveform indicates the new PWP value,
and the monitor instructs you to deflate the balloon.
Control keys at the bottom of the screen allow you to save, navigate or quit
the display. After four minutes, the monitor automatically saves the PWP
value and exits to the main screen. The PA and RESP waveforms resume their
previous size and sweep speed, PA systolic and diastolic values are restored,
and PA alarms are automatically enabled.
NOTE: You can also press the Wedge fixed key again to save the PWP value.