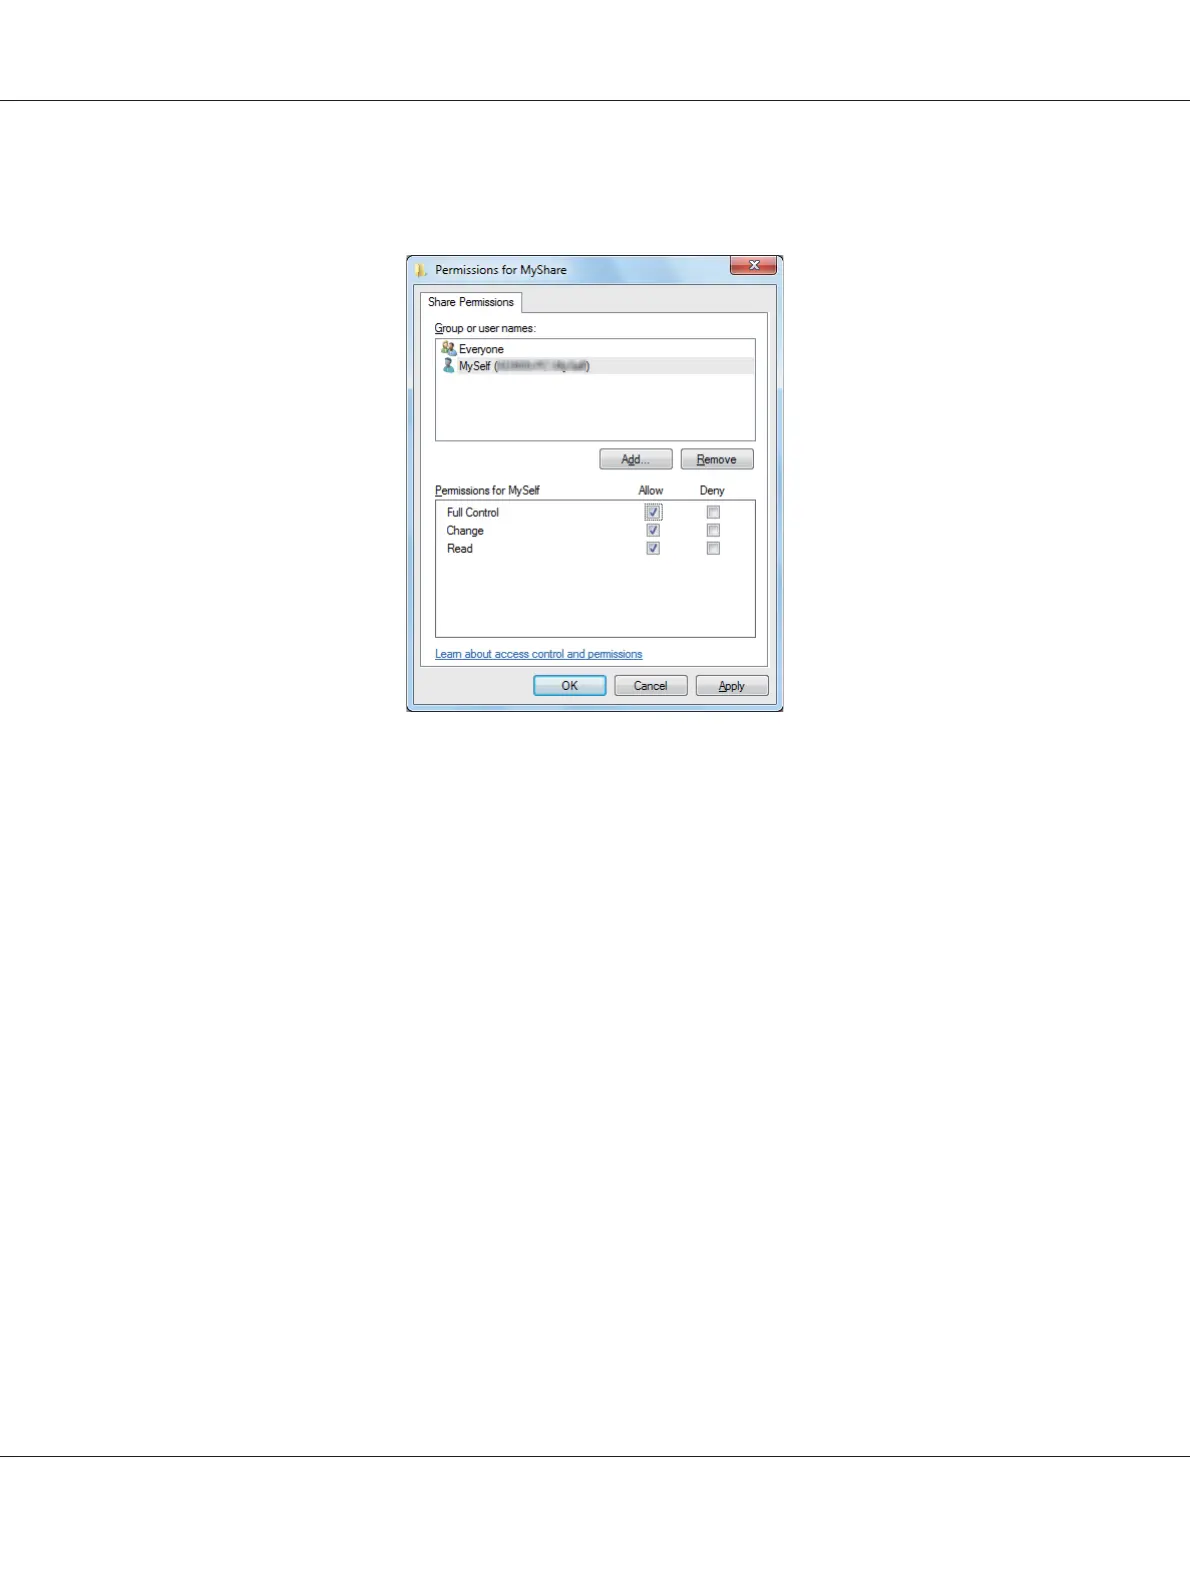
10. Click the user login name that you have just entered. Select the Full Control check box. This will
grant you permission to send the document to this folder.
11. Click OK.
12. Click OK to exit the Advanced Sharing dialog box.
13. Click Close.
Note:
To add sub-folders, create new folders in the shared folder you have created.
Example: Folder name: MyShare, Second-level folder name: MyPic, Third-level folder name: John
You should now see MyShare\MyPic\John in your directory.
When you are finished with creating the shared folder, go to “Configuring the Printer” on
page 203.
For Mac OS X 10.5/10.6/10.7:
1. Create a folder in the desired directory on your computer (Example of folder name, MyShare).
Note:
Note down the folder name as you need to use this name in the next setting procedure.
2. Select the created folder, and then select Get Info from the File menu.
AL-MX200 Series User’s Guide
Scanning 202