7. Select Enable, and then press the button.
8. Press the
(Back) button several times until the LCD panel shows Select Function.
While in the secure receiving mode, your printer stores received faxes in the memory and displays
Secure Receive in the Job Status screen to indicate it has faxes stored in the memory.
Note:
If you change the panel password while Secure Receive Set is set to Enable, perform steps 1
through 5 above, select Change Password, and then press the
button. Enter a new password,
and then press the
button.
To print stored faxes:
1. Press the Job Status button.
2. Select Secure Receive, and then press the
button.
3. Enter the password, and then press the
button.
The faxes stored in memory are printed.
To turn off the secure receiving mode:
1. Follow steps 1 through 6 in “To turn on the secure receiving mode:” to access the Secure
Receive Set menu.
2. Select Disable, and then press the
button.
3. Press the
(Back) button several times until the LCD panel shows Select Function.
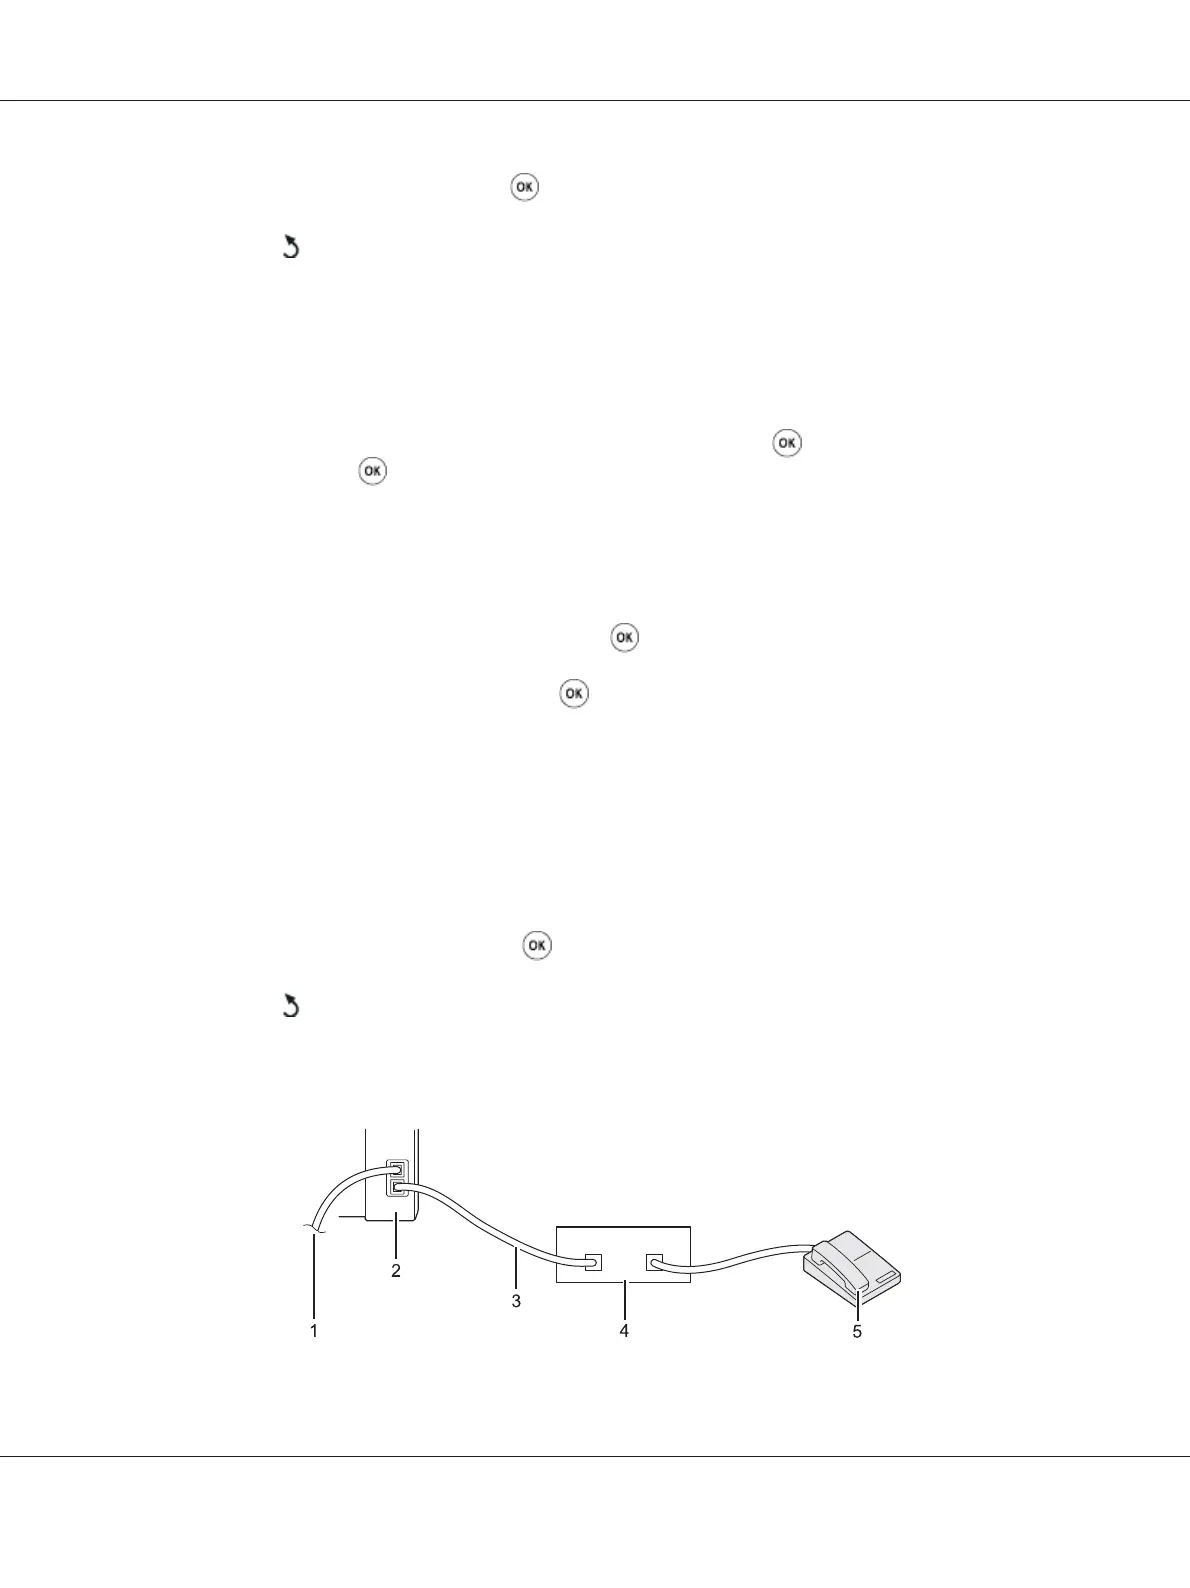
Using an Answering Machine
AL-MX200 Series User’s Guide
Faxing 255