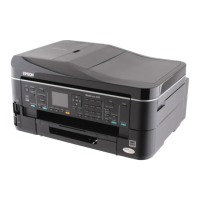
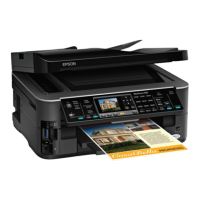
When you turn on the printer, a wizard appears on the LCD panel. Follow the steps below to configure
the initial settings.
Note:
If you do not start configuring the initial settings, Select Function appears on the LCD panel in three
minutes. After that, you can configure the following initial settings by selecting Power On Wizard on
the operator panel as needed.
For details on the operator panel, see “Understanding the Operator Panel Menus” on page 264.
1. Select the language you want to use on the operator panel, and then press the
button.
2. Press the
button to start setting the region.
3. Select your region, and then press the
button.
4. Select the appropriate time zone, and then press the
button.
5. Specify the current date, and then press the
button.
6. Specify the current time, and then press the
button.
7. Press the
button for fax setup.
If you want to skip the fax setup, press the
(Start) button.
8. Enter your fax number, and then press the
button.
9. Enter a name, and then press the
button.
10. Press the
button to complete the initial settings on the operator panel.
Printing the Panel Settings Page
The Panel Settings page shows current settings on the operator panel menus.
The Operator Panel
Note:
The reports and lists are all printed in English.
AL-MX200 Series User’s Guide
Basic Operation 30

 Loading...
