Scanning to a USB Storage Device
The Scan to USB Memory feature allows you to scan documents and save the scanned data to a USB
storage device. To scan documents and save them, follow the steps below:
1. Load a document(s) face up on the Automatic Document Feeder (ADF) with the top edge going in
first; or place a single document face down on the document glass and close the document cover.
See Also:
❏ “Making Copies From the Automatic Document Feeder (ADF)” on page 165
❏ “Making Copies From the Document Glass” on page 163
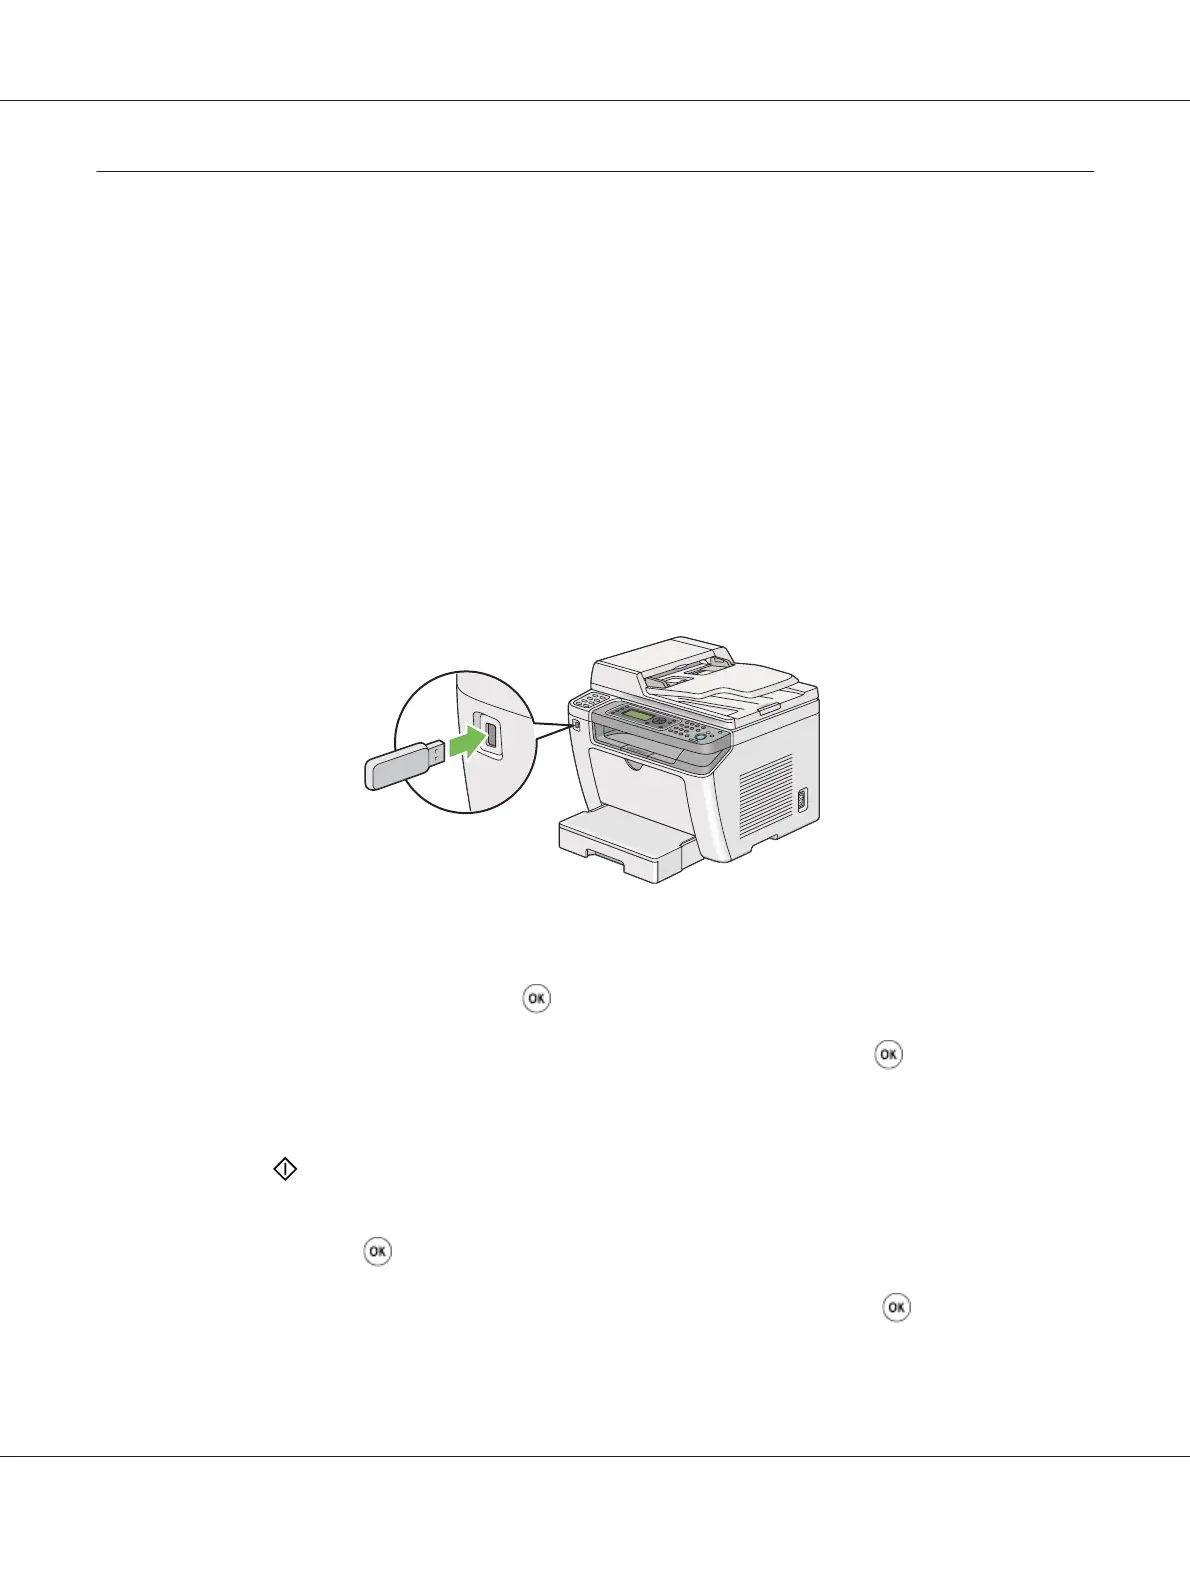
2. Insert a USB storage device into the front USB port on your printer.
USB Memory appears.
3. Select Scan to, and then press the
button.
4. Select Save to USB Drive or a folder to save a file, and then press the
button.
5. Select scanning options as required.
6. Press the (Start) button.
When the scan is complete, the LCD panel displays a prompt for another page. Select No or Yes,
and then press the
button.
If you have selected Yes, select Continue or Cancel, and then press the
button.
AL-MX200 Series User’s Guide
Scanning 211