Executing Calibration
79
Maintenance
3
Executing Calibration
The machine can automatically calibrate colors when the reproducibility of density or
color in copies and prints deteriorates. The available screen types are [Copy Job 1],
[Copy Job 2], [Print Job 1], and [Print Job 2].
We recommend executing auto calibration for all four screen types. When the
adjustment for one screen type is complete, specify the next screen type and repeat
the procedure.
Note • If color is not calibrated despite the periodic execution of auto calibration, contact your local
Fuji Xerox representative.
• Confirm the settings of the following items under [Tools] > [System Settings] > [Copy Service
Settings] > [Copy Defaults] in the System Administration mode before executing auto
calibration:
- Lighten/Darken: Normal
- Contrast: Normal
- Sharpness: Normal
- Saturation: Normal
- Color Balance: 0, 0, 0
- Color Shift: Normal
• After finishing the auto calibration, change the settings of [Copy Defaults] if necessary. For
information on [Copy Defaults], refer to "Copy Defaults" (P.134).
The following describes how to perform calibration.
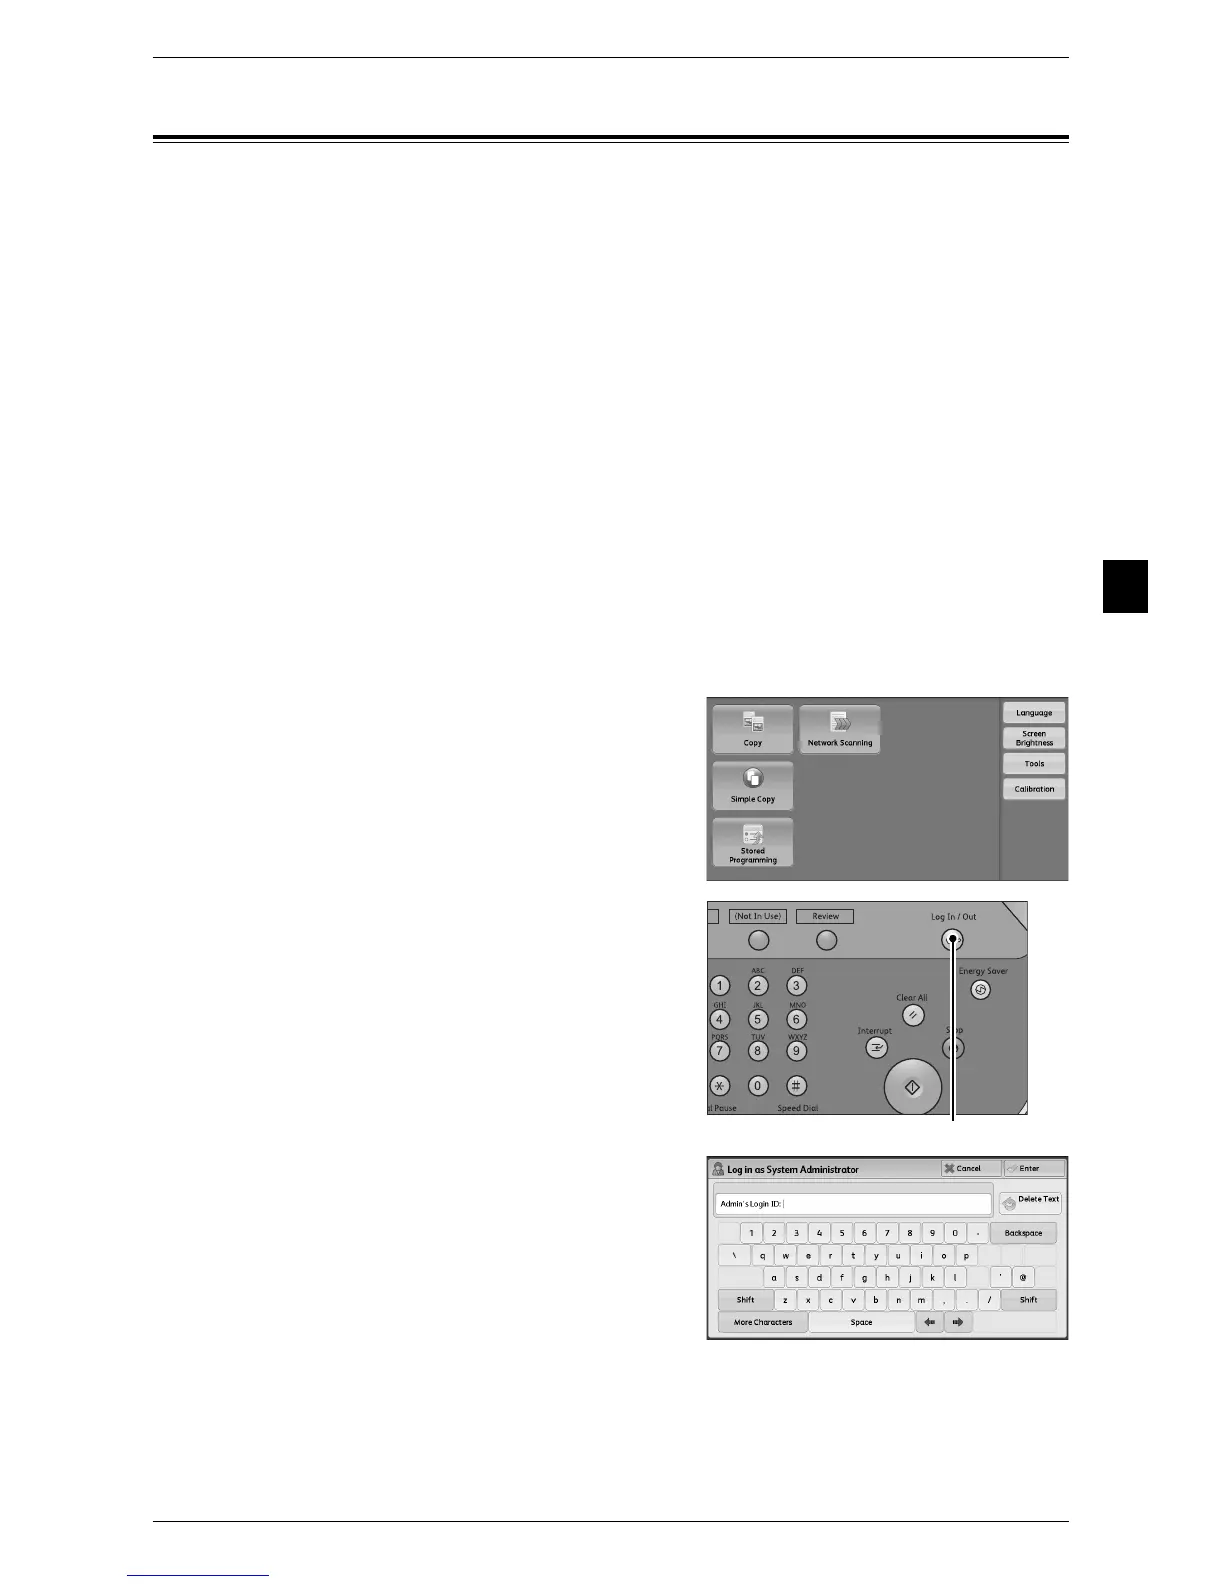
1 Select [Calibration] on the [Services Home]
screen.
If [Calibration] is not displayed, follow the
procedure below.
1) Press the <Log In/Out> button.
2) Enter the system administrator’s user ID
with the numeric keypad or the keyboard
displayed on the screen, and select
[Enter].
When a passcode is required, select [Next]
and enter the system administrator’s
passcode, and select [Enter].
Note • The default user ID is "11111".
• The default passcode is "x-admin".
 Loading...