Appendix
H000002007-RDS User Manual │Version 5.0.0 (2018-09-17) │186
M.1.1 PC-DMIS
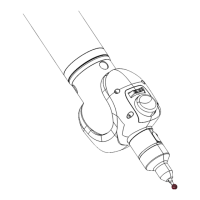
Contact probing
Probes are automatically created in PCDMIS. Any time a new probe is mounted on the arm, PCDMIS
selects the probe and receives all information about it from RDS.
Demo licences
For Demo licences, rename ROMERRDS.dll as interfac.dll and add the operator
“/portable:ROMERRDS” to the command “pcdlrn.exe”.
With a RS5, add the operator “/laser:ROMERINTEGRATED”
With a HP-L-20.8, add the operator “/laser:CMS”
HEXAGON
®
Scanners
For customer’s licences, no more configuration is necessary to use one of the HEXAGON
®
scanners, as
any contact probe, the scanners managed by RDS will be automatically recognized.
M.1.2 TUBESHAPER
During the 3DReshaper installation, select the RDS plug-in (for legacy versions, install the 3DReshaper
RDS Plug-In).
Then when access to “Measure / Digitize”, choose “RDS” (only if several plug-ins are
installed).
The tuning button gives access to RDS control Panel (Settings) or RDS data collector
(Alignment).