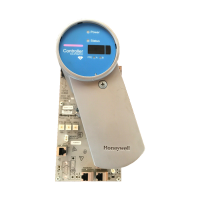
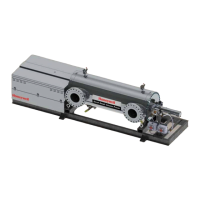
C300 Controller module and IOTA replacement
To replace a redundant or secondary controller IOTA
214 Experion C300 Controller User's Guide R301.1
Honeywell 11/06
Step Action
of the controller.
8
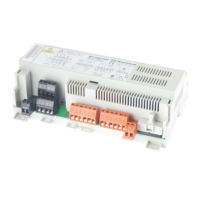
Connect IOTA board to GND and 24 Vdc bus bars.
• Install screw through right side of IOTA board to tap into the GND bus bar
of carrier.
• Install screw through left side of IOTA board to tap into the 24 V bus bar of
carrier.
9
Install the two-wire twisted pair Battery cable onto the BATTERY connector
on the left side of the IOTA board.
10
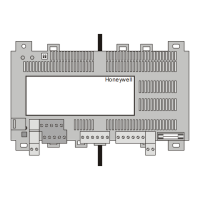
Insert the controller module onto IOTA board making sure that the controller
circuit board mates properly with the IOTA board connector.
Secure the controller module to the IOTA board with two screws located at
each side of the plastic cover.
11
The controller will boot-up into an ALIVE state or a NODB operating state.
12
In Control Builder, perform a ‘Load with Contents’ to the controller.
To replace a redundant or secondary controller IOTA
Step Action
1
In Control Builder open either the primary or secondary C300 FB and select
the Redundancy tab. Click the Disable Synchronization button to set the
Auto-Synchronization State parameter to "DISABLED."
2
On the defective IOTA, loosen the screws at each side of the plastic cover
that secures the controller module to the IOTA board. Remove controller
module from the IOTA board.
3
Remove 24 V power to the IOTA board.
• Remove the screw from the left side of the IOTA board that connects to the
24 Vdc bus bar.
• Remove the screw from the right side of the IOTA board that connects to
the GND bus bar.
4
Label and disconnect all cables from the IOTA board connectors, (orange
Redundancy cable, yellow and green FTE cables, gray and violet IOLink
cables and Battery cable).
 Loading...