9 Replacing components
166
HSD S.p.A. © - h0108k01a.fm120718
15
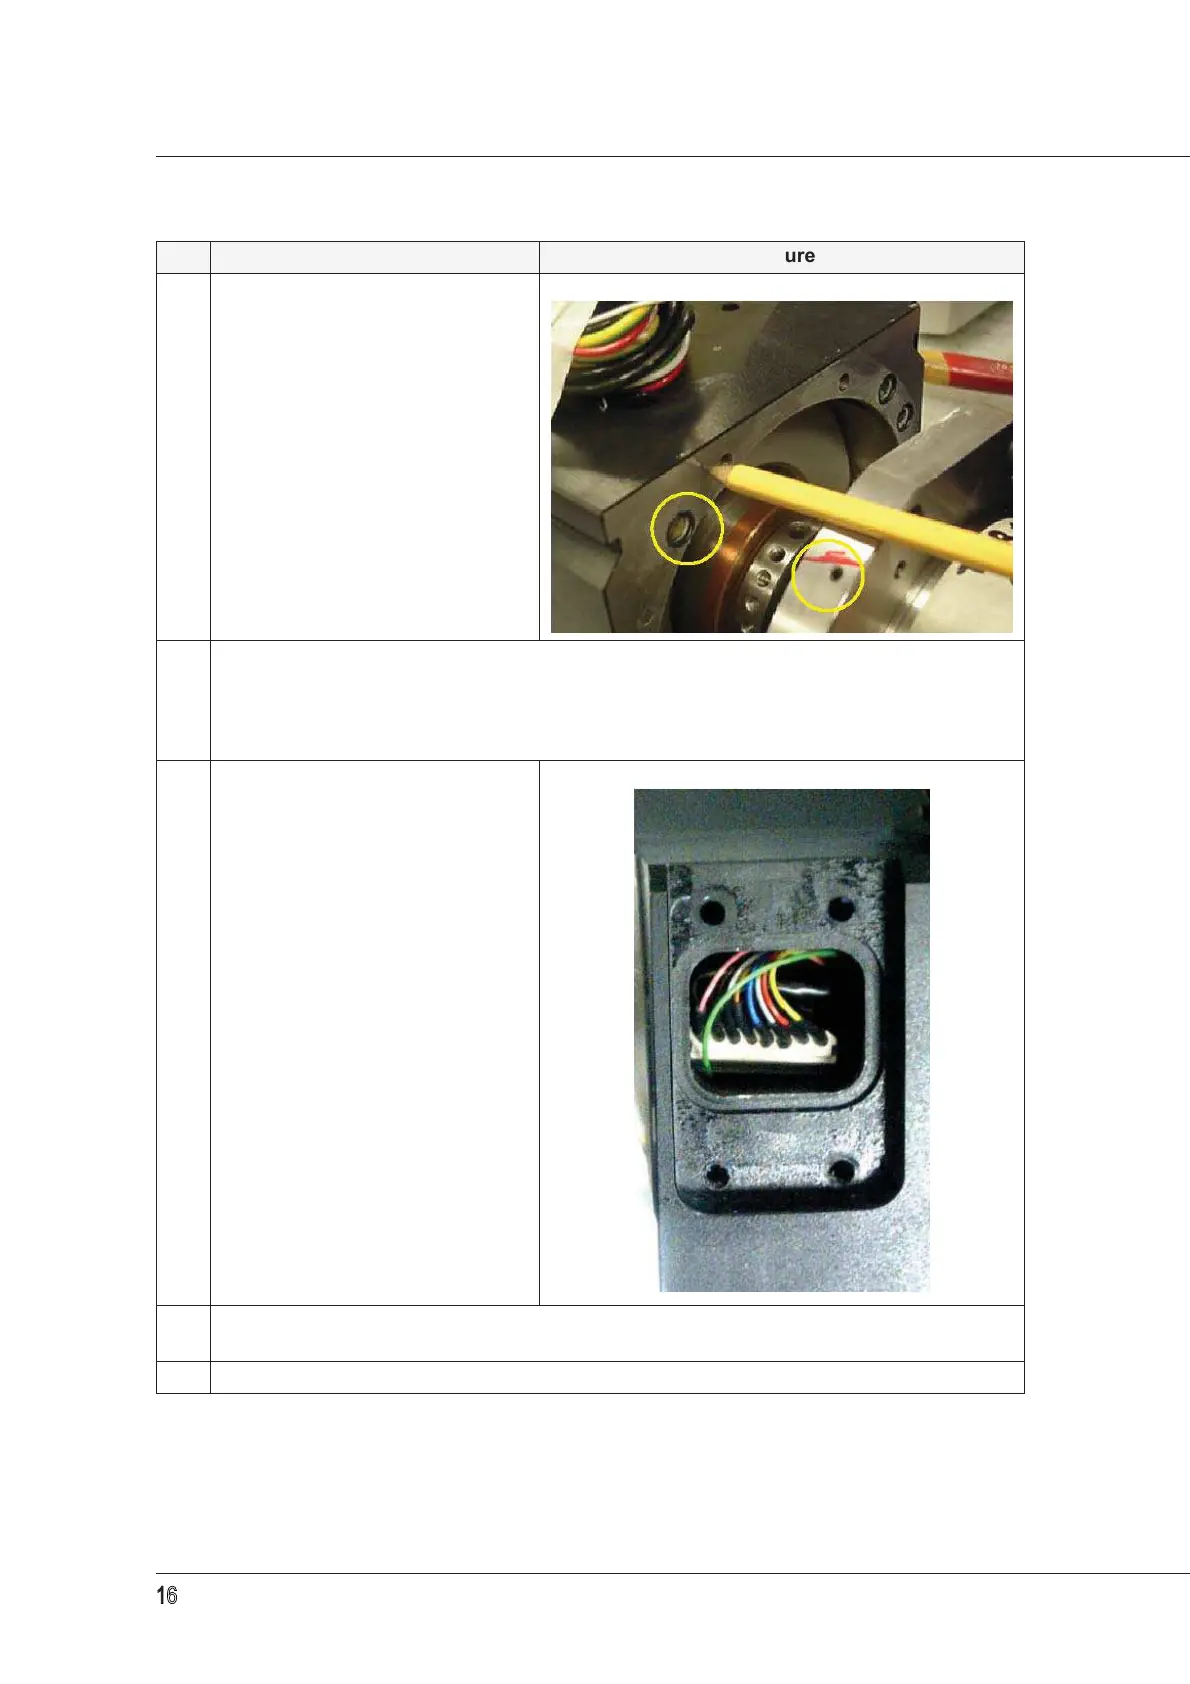
Partly insert the new shaft kit.
Make sure the pressurisation air
hole on the shaft is aligned with the
one on the flange.
16
VERSIONS WITH AN HSD ENCODER:
Connect the connector “C”.
VERSIONS WITH ENCODER L+B:
Connect the 3 connectors.
17
FOR ALL VERSIONS WITH AN
ENCODER:
Fully insert the shaft kit in the
electrospindle, carefully pulling the
encoder wires through the window.
Position the wiring and the encoder
connector so they don't interfere
with the rotating parts.
18
Fully insert the shaft in the electrospindle, paying attention to the OR rings highlighted in
point
11.
19 Reassemble the parts removed in points 9, 8, 4 and 1.
Op. Description Picture