SECTION 3 - CHASSIS, PLATFORM & SCISSOR ARMS
3-64 – JLG Lift – 3121642
6. If the oil level is below the "ADD" mark, proceed to Step
7 and 8 and reinstall the dipstick into the dipstick tube.
7. Remove the oil filter cap from the valve rocker arm
cover.
8. Add the required amount of oil to bring the level up to
but not over "FULL" mark on the dipstick.
9. Reinstall the oil fill cap to the valve rocker cover and
wipe away any excess oil.
Changing The Engine Oil
WHEN CHANGING THE OIL, ALWAYS CHANGE THE OIL FILTER. CHANGE OIL
WHEN THE ENGINE IS WARM FROM OPERATION AS THE OIL WILL FLOW
FREELY AND CARRY AWAY MORE IMPURITIES.
To change the oil use the following steps:
1. Start the engine and run until it reaches normal operat-
ing temperature.
2. Stop the engine.
3. Remove the drain plug and allow the oil to drain.
4. Remove and discard the oil filter and its sealing ring.
5. Coat the sealing ring on the filter with clean engine oil
and wipe the sealing surface on the filter mounting
surface to remove any dust, dirt and debris. Tighten the
filter securely (follow the filter manufacturer’s instruc-
tions). Do not over tighten.
6. Check the sealing ring on drain plug for any damage.
Replace if necessary. Wipe the plug with a clean rag and
wipe the sealing surface on the pan and reinstall the pan
plug. Do not over tighten.
7. Fill the crankcase with oil.
8. Start the engine and check for oil leaks.
9. Stop the engine and check the oil level to ensure the oil
level is at "FULL".
10. Dispose of the oil and filter in a safe manner.
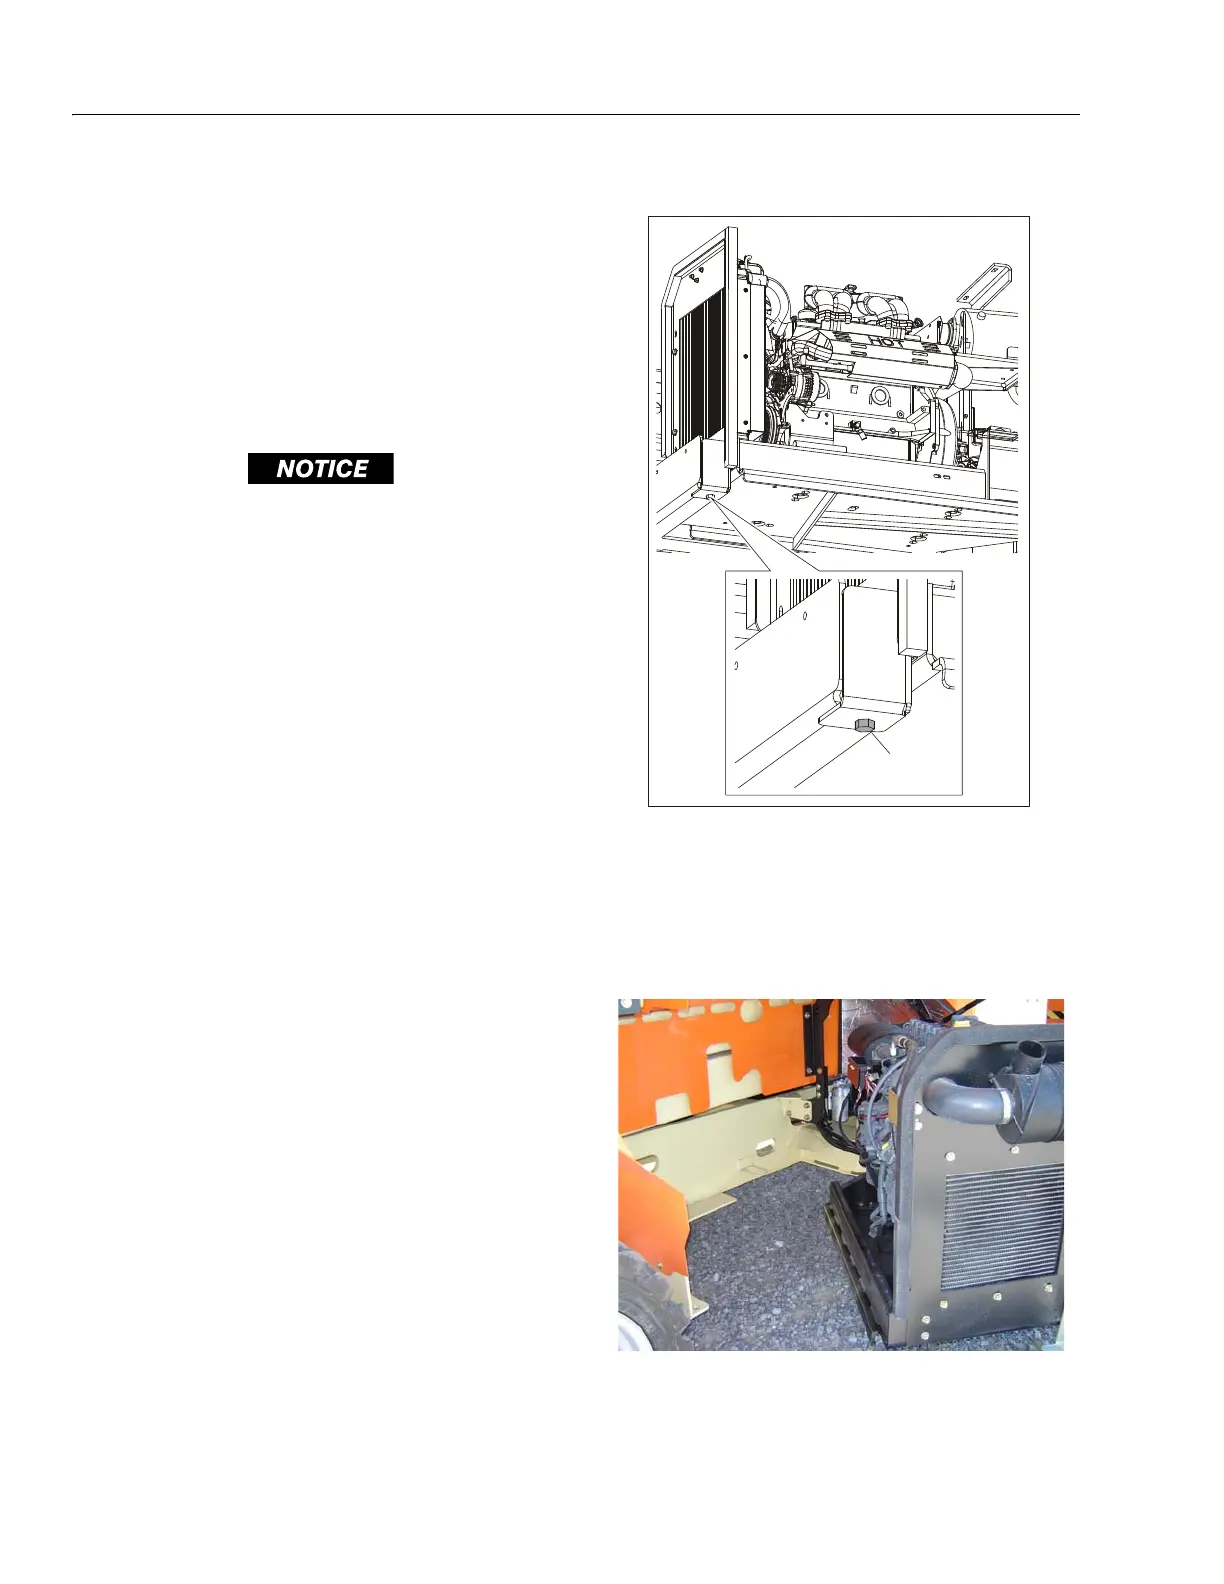
Engine Tray
1. Bolt, 5/8"-11NC x 2"
2. Nut
3. Washer
NOTE: When servicing the engine and components,
remove the bolt (1), nut (2) and washer (3) to swing
the engine tray out for better access (as shown
below).
Figure 3-70. Engine Tray Swing