604 Keysight N9010A EXA Service Guide
Post-Repair Procedures
Post-Repair Procedures
3. Confirm Agilent Technologies or Keysight Technologies splash screen
comes up within a few seconds. “Agilent Technologies” or "Keysight
Technologies" will appear in white letters on a black background.
4. Press “F2” and then “Delete” on the external keyboard when at the Agilent
Technologies or Keysight Technologies splash screen to enter the CPU
BIOS Setup Utility. The older CPUs (N9010A-PC1, N9010A-PC2, and
N9010A-PC3) respond to “F2” while the newer CPUs (N9010A-PC4,
N9010A-PC5, N9010A-PC6, and N9010A-PC7) respond to the “Delete”
key.
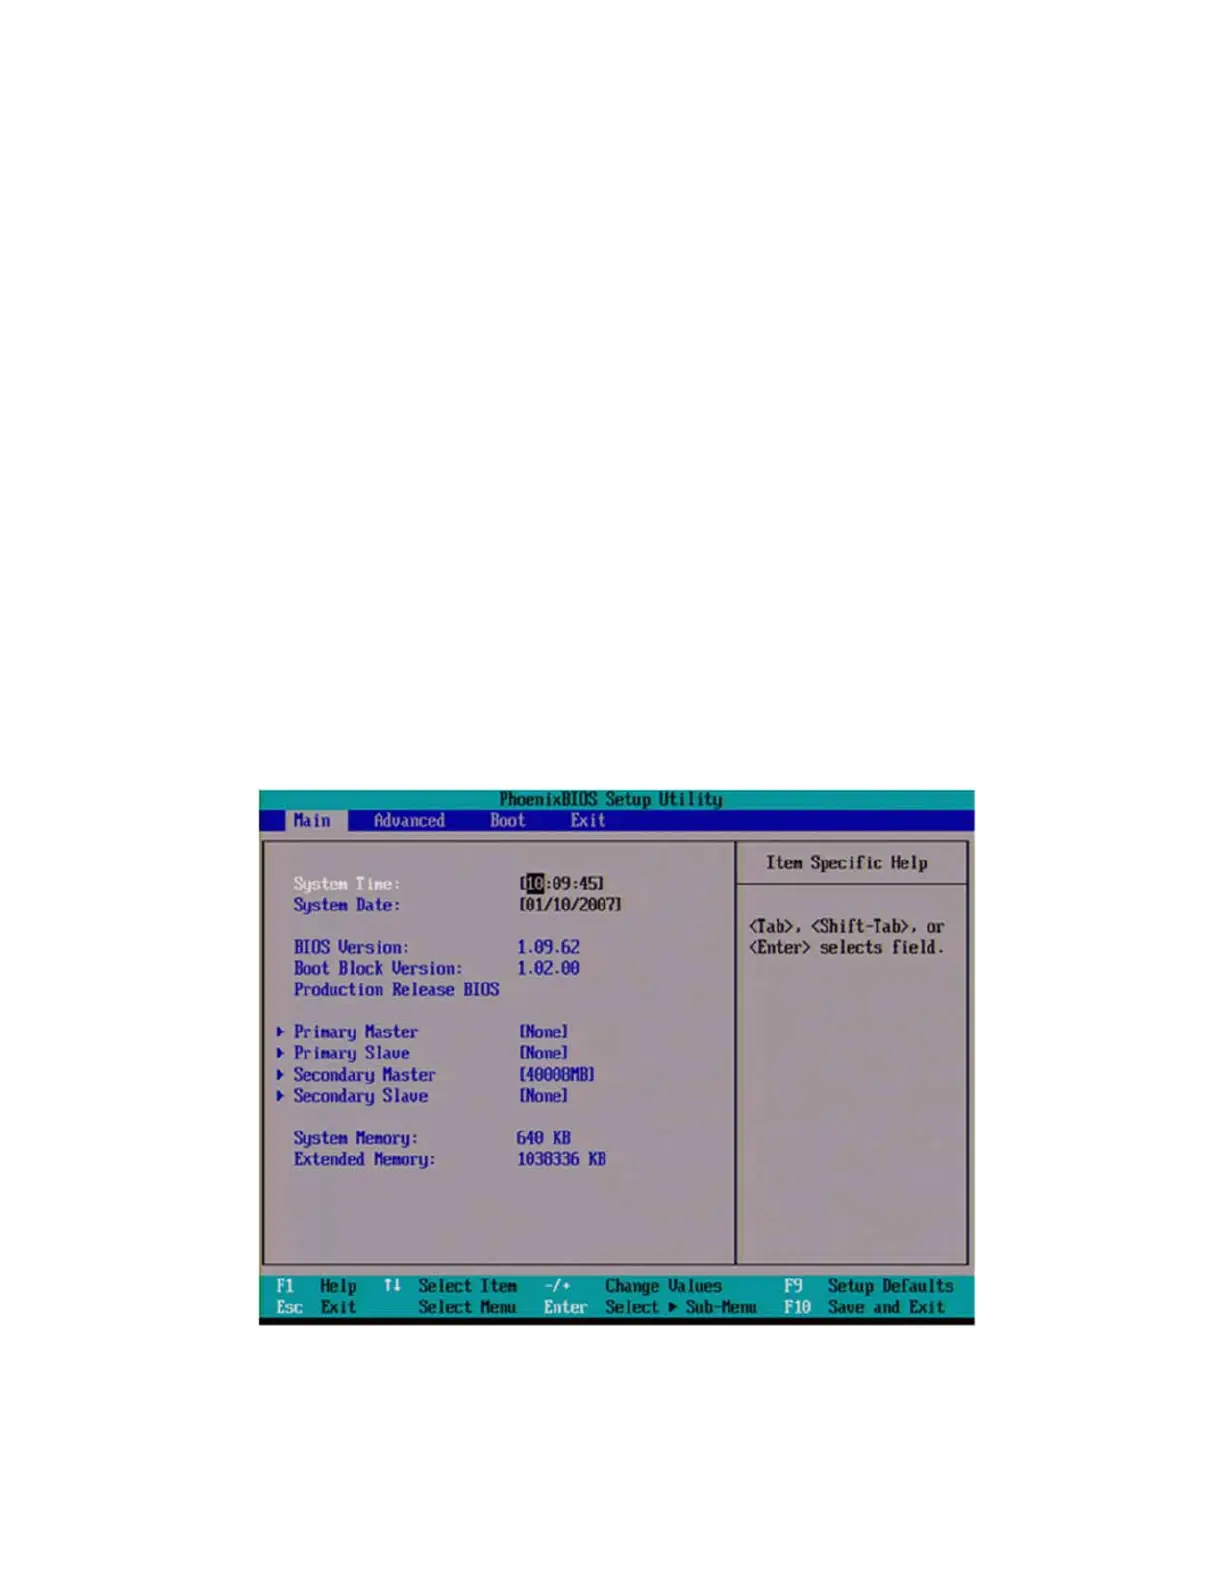
5. If the CPU BIOS Setup Utility main screen appears as in Figure 16-3, follow
the procedure for the Single-Core Processor.
6. If the CPU BIOS Setup Utility main screen appears as in Figure 16-4,
follow the procedure for the Older Dual-Core Processor
7. If the CPU BIOS Setup Utility main screen appears as in Figure 16-5, follow
the procedure for the Celeron.
8. If the CPU BIOS Setup Utility main screen appears as in Figure 16-5, follow
the procedure for the High-Performance Celeron/Dual-Core Processor.
9. For all others, follow the procedure for the 64-bit processors.
Figure 16-3 Single-Core Processor BIOS Setup Utility Main Screen

 Loading...


