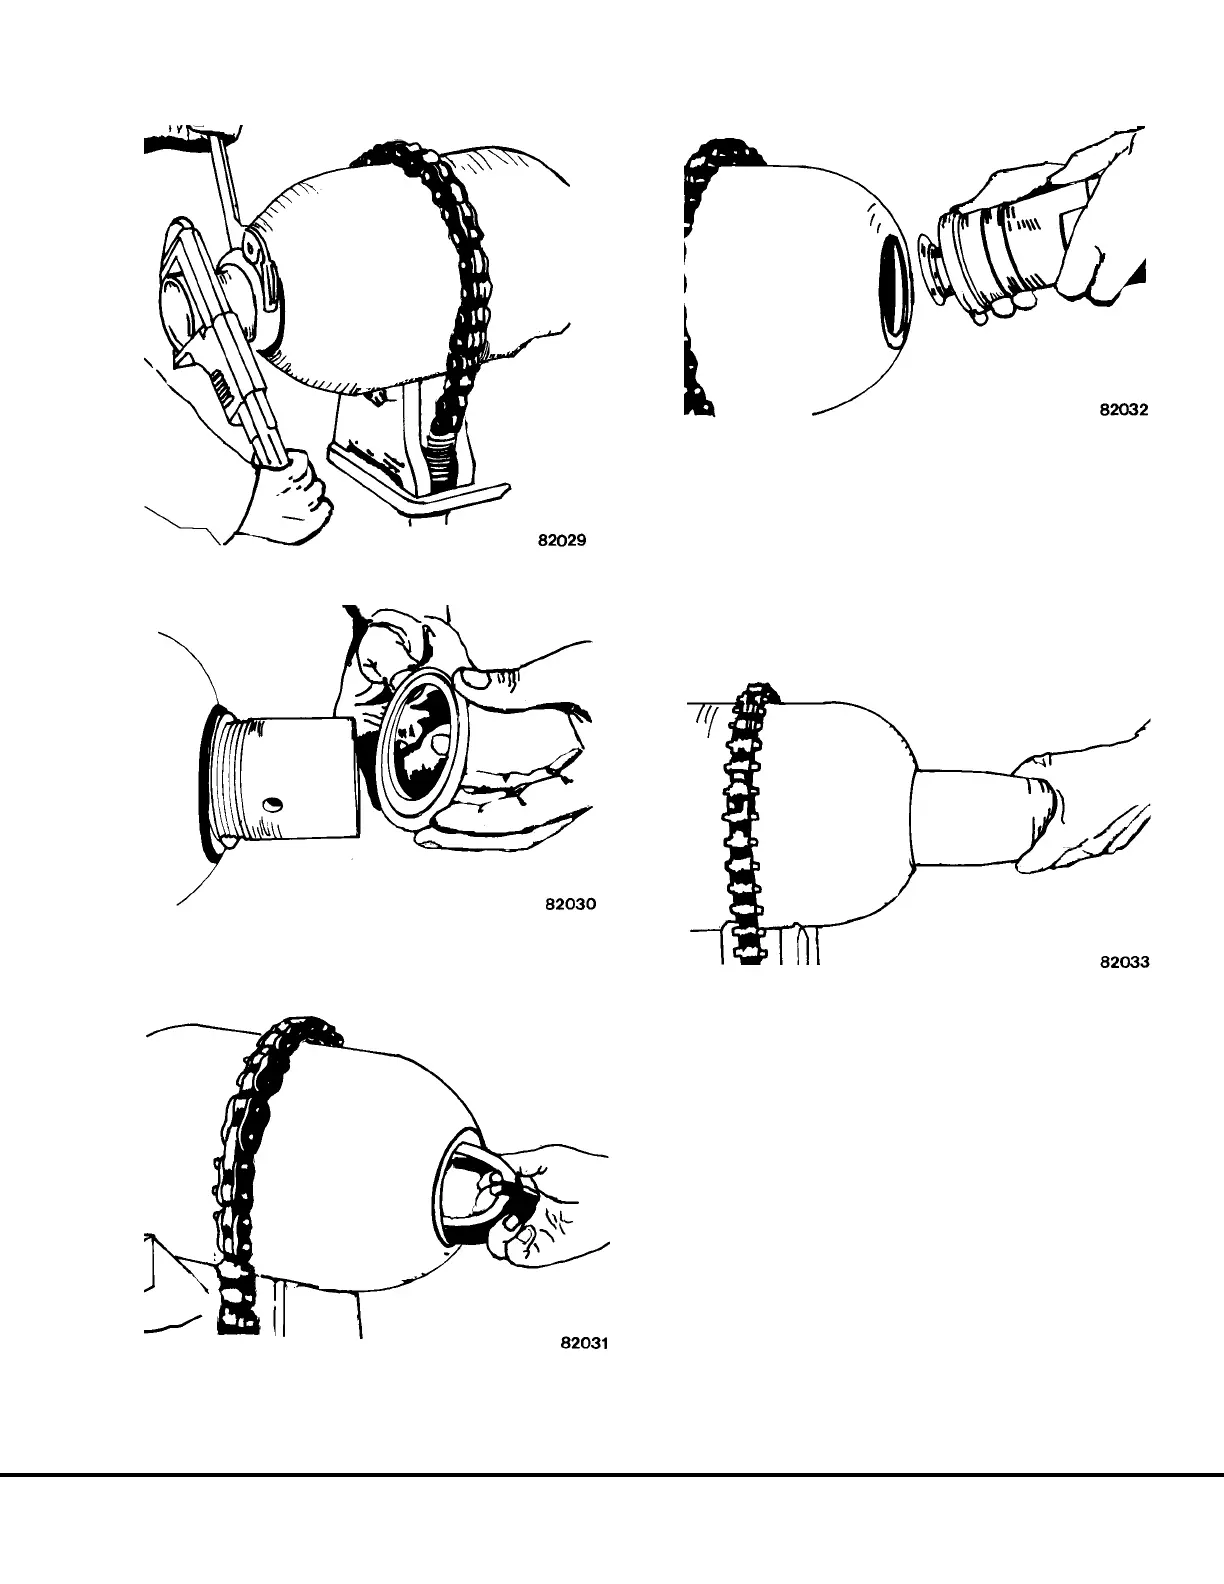
8. Remove plug and poppet assembly from shell.
(Refer to Figure 3-17.)
9. With wrench on valve stem flats, remove the nut
from the valve stem.
10. Insert hand into shell fluid opening. Depress bag
and eliminate as much gas pressure as possible.
11. Grasp heel of the bladder and withdraw from shell.
(Refer to Figure 3-18).
Cleaning and Inspection
1. After disassembly, clean all parts with an ap-
proved cleaning solution.
2. Blow all parts dry with air and keep free from
foreign matter.
3. Check all rubber items for deterioration, abrasion
marks, cracks, holes, bubbles or any similar de-
fects.
4. Replace all O-rings and any other items deemed
unsuitable for further usage.
FIGURE 3-14. LOCKNUT REMOVAL
FIGURE 3-15. SPACER REMOVAL
FIGURE 3-16. ANTI-EXTRUSION RING REMOVAL
FIGURE 3-17. PLUG AND POPPET REMOVAL
FIGURE 3-18. BLADDER REMOVAL
J03019 1/99 Brake Circuit Component Service J3-23