4-46 Service Manual
5041-030
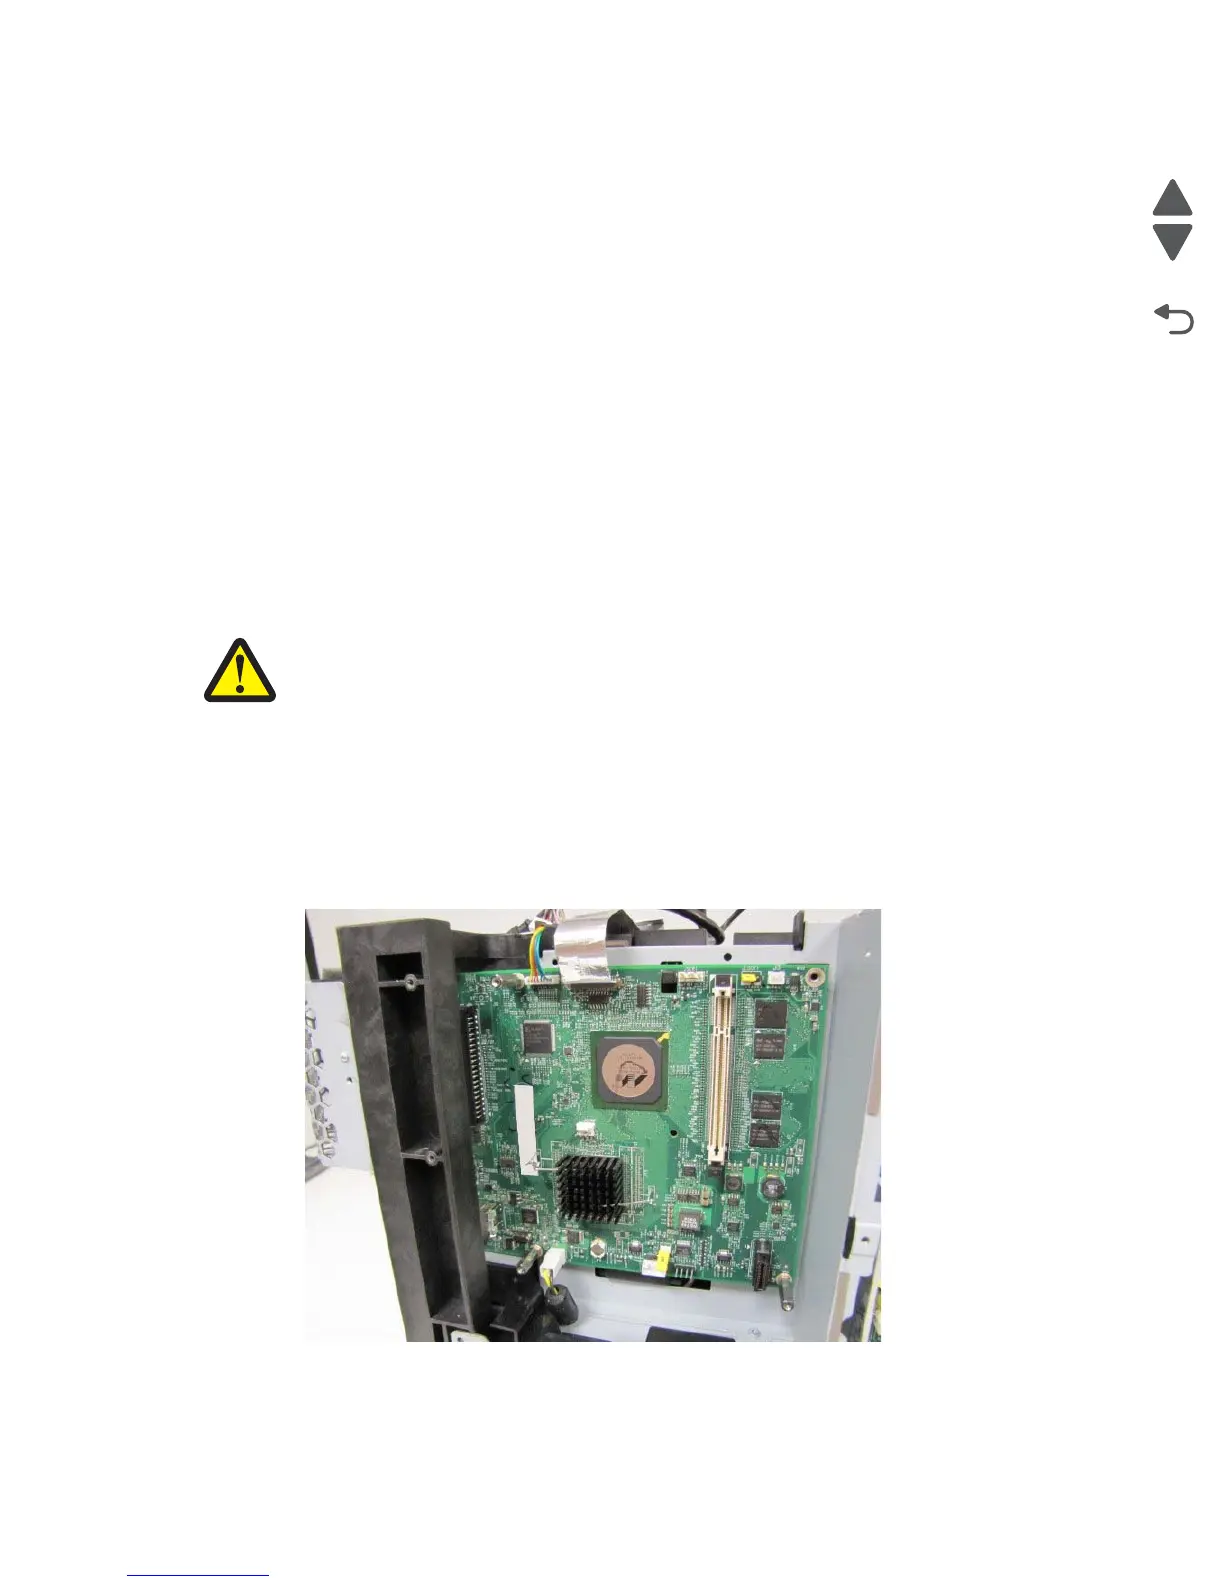
RIP board removal
Note: Before replacing the RIP board, ask the customer if there are any Lexmark E-task applications installed
on the machine. If there are applications installed and the machine can be accessed by a Web browser, connect
to the machine via Web browser and export the application and application settings. See “eSF solutions
backup” on page 4-3.
Warning: Observe all ESD precautions while handling electrostatic-discharge sensitive parts. See “Handling
ESD-sensitive parts” on page 4-1.
Warning: When replacing any one of the following components:
• Operator panel (UICC) assembly
• Controller (RIP) board
Replace only one component at a time. Replace the required component, and perform a POR before replacing a
second component listed above. If this procedure is not followed, the printer will be rendered inoperable. Never
replace both of the components listed above without a POR after installing each one, or the printer will be
rendered inoperable.
Warning: Never install and remove components listed above as a method of troubleshooting components.
Once a component has been installed in a printer, it cannot be used in another printer. It
must be returned to the manufacturer.
CAUTION - POTENTIAL INJURY: There is danger of explosion if a lithium battery is incorrectly
replaced. Replace it only with the same or an equivalent type of lithium battery. Do not recharge,
disassemble, or incinerate a lithium battery. Discard used batteries according to the manufacturer's
instructions and local regulations.
1. Remove the rear cover. See “Rear cover removal” on page 4-5.
2. Remove the top cover. See “Top cover removal” on page 4-11.
3. Remove the left cover. See “Left cover removal” on page 4-13.
4. Remove the left EMI shield. See “Left EMI shield removal (not a FRU)” on page 4-39.
5. Remove the video board. See “Video board removal” on page 4-47.
6. Disconnect all the cables from the RIP board.
Note: Use care when disconnecting the printhead controller ribbon cable from the ZIF connector.