11. Click Continue to complete the second phase of the calibration (volume scale). Status mes-
sages display until the calibration is complete.
12. Click Done to accept the new values, then click OK.
13. Do not remove the standard from the sample chamber until the operation is verified. See
Verify Operation on page10 - 11.
Field or Button
Description
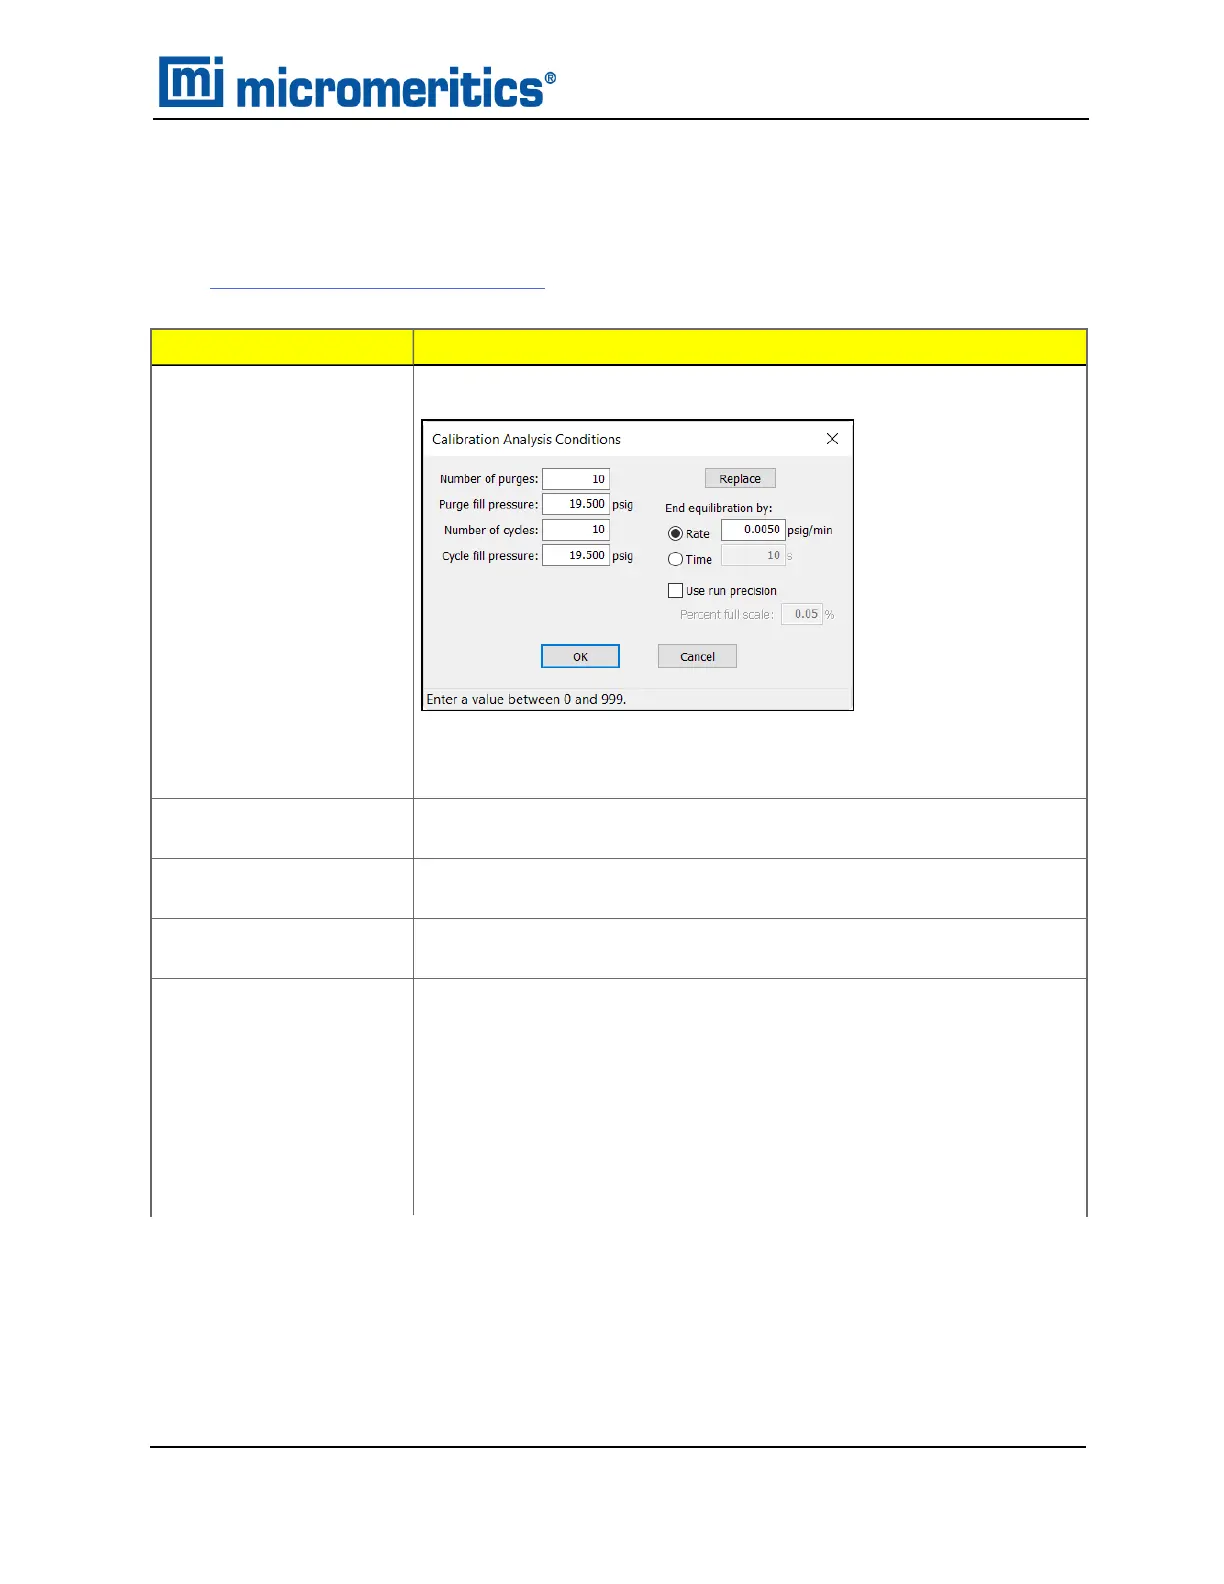
Analysis Conditions
Specify conditions for the calibration.
Click Replace to replace the values with those from an existing
Analysis Conditions file.
Cell Volume
Displays the current cell volume (without an insert), or the volume of
the selected insert.
Continue [button]
Place the standard into the sample cup and click Continue to com-
plete the volume scale calibration.
Expansion Volume
Displays the current expansion volume, and the date and time of cal-
ibration.
Insert
1 cm
3
unit None, 0.1 cm
3
10 cm
3
unit None, 3.5 cm
3
1.0 cm
3
100 cm
3
unit None, 35 cm
3
, 10 cm
3
350 cm
3
and 2000 cm
3
units None, Large, Small
If None is selected, place an empty sample cup in the chamber.
Calibrate Volume Scale
Calibrate Volume Scale
AccuPyc II 1345 Operator Manual
134-42851-01 (Rev A) — Jan 2021
10 - 9
 Loading...


