2 - S - 3
FIXING UNIT
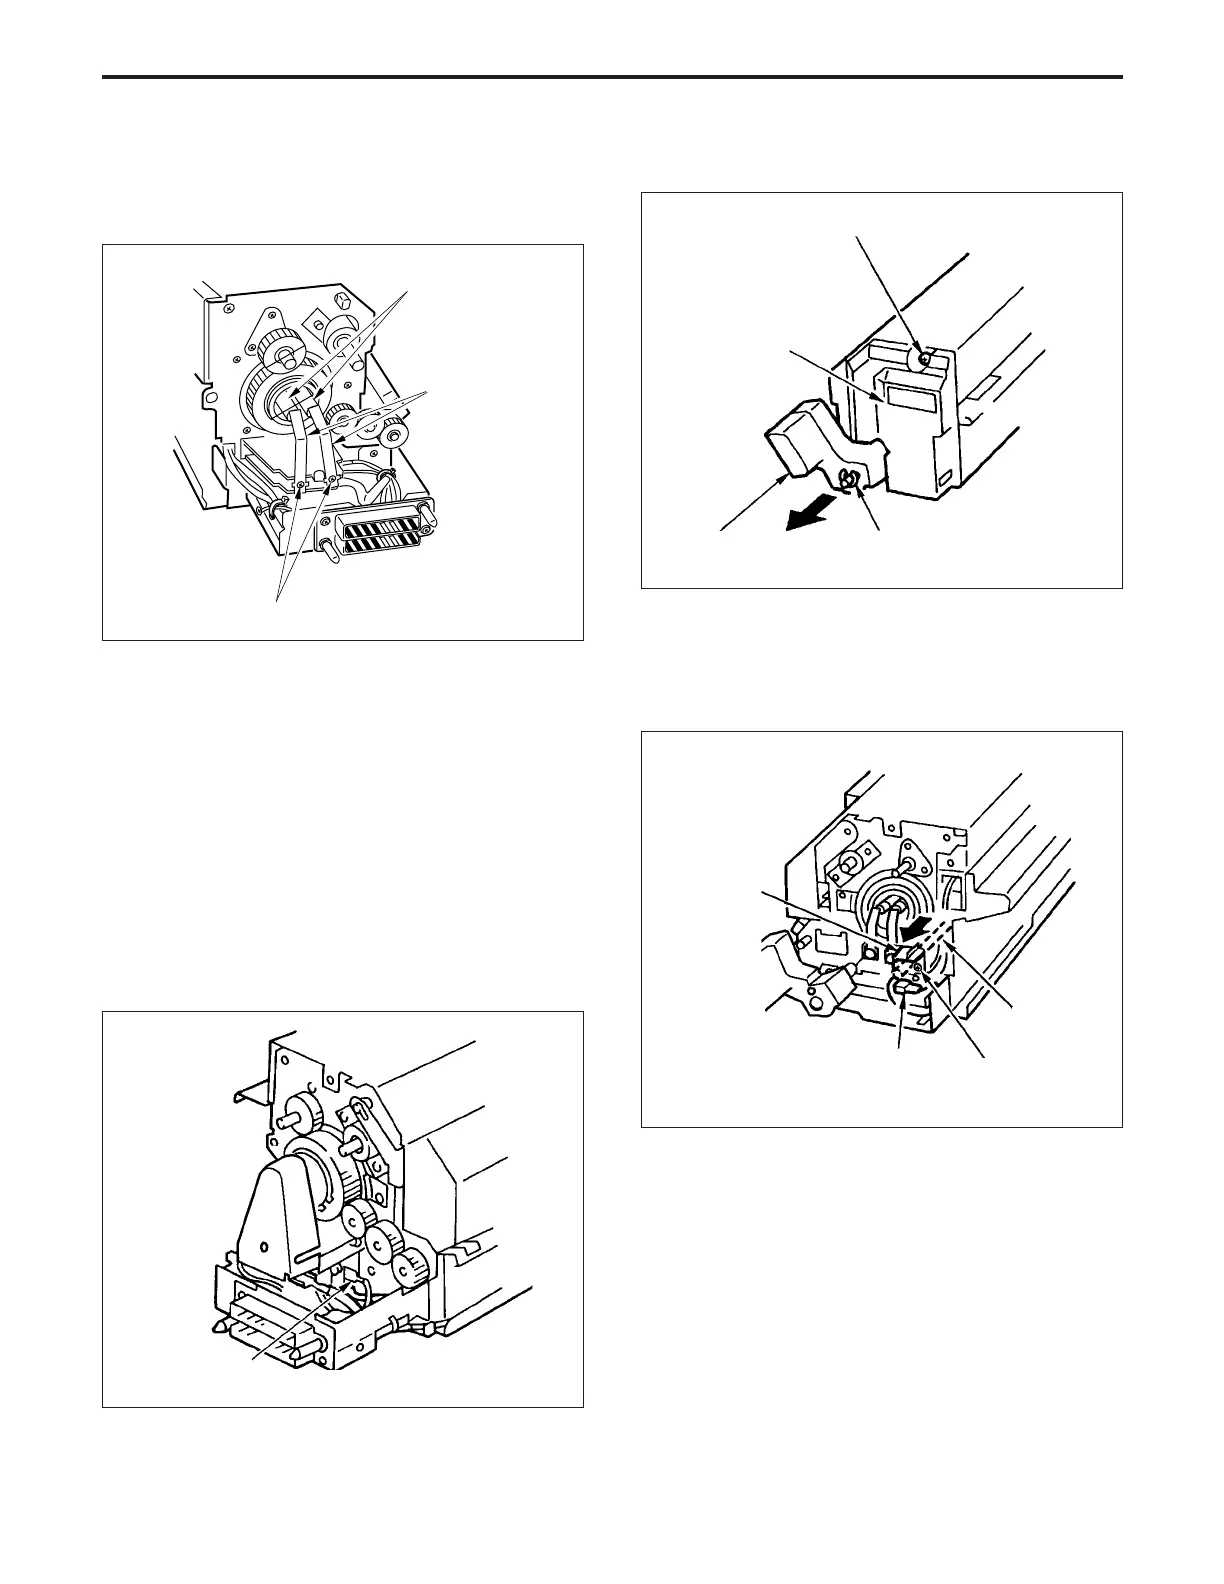
(4) Remove the set screw, then remove the lamp terminal.
(5) Pull out the fixing heater lamp (upper) from the upper
fixing roller.
(6) Re-install the fixing lamp (upper) in the opposite se-
quence to removal.
3. Replacing the Fixing Heater Lamp (lower)
Caution: Do not touch the fixing heater lamp (lower) with
the bare hands.
Caution: When disconnecting the faston of the fixing heater
lamp, be sure to use radio pliers and take care not
to apply an unreasonable force to the mating part
because it may break.
a. Procedure
(1) Remove the fixing unit from the main body.
(2) Disconnect the faston from the fixing heater lamp
(lower). (Rear side)
(3) Remove the set screw, then remove the fixing cover.
Faston
(4) Disconnect the faston from the fixing heater lamp
(lower). (front side)
(5) Remove the set screw, then remove the lamp holder.
(6) Pull out the fixing heater lamp (lower) from the lower
fixing roller.
E ring
Set screw
Pressure release lever
Fixing heater
lamp (lower)
Set screw
Faston
Lamp holder
Set screw
(7) Re-install the fixing heater lamp (lower) in the opposite
sequence to removal.
Lamp terminal
Fixing heater lamp
(upper)
Fixing cover
Lamp cover