FIXING UNIT
2 - S - 6
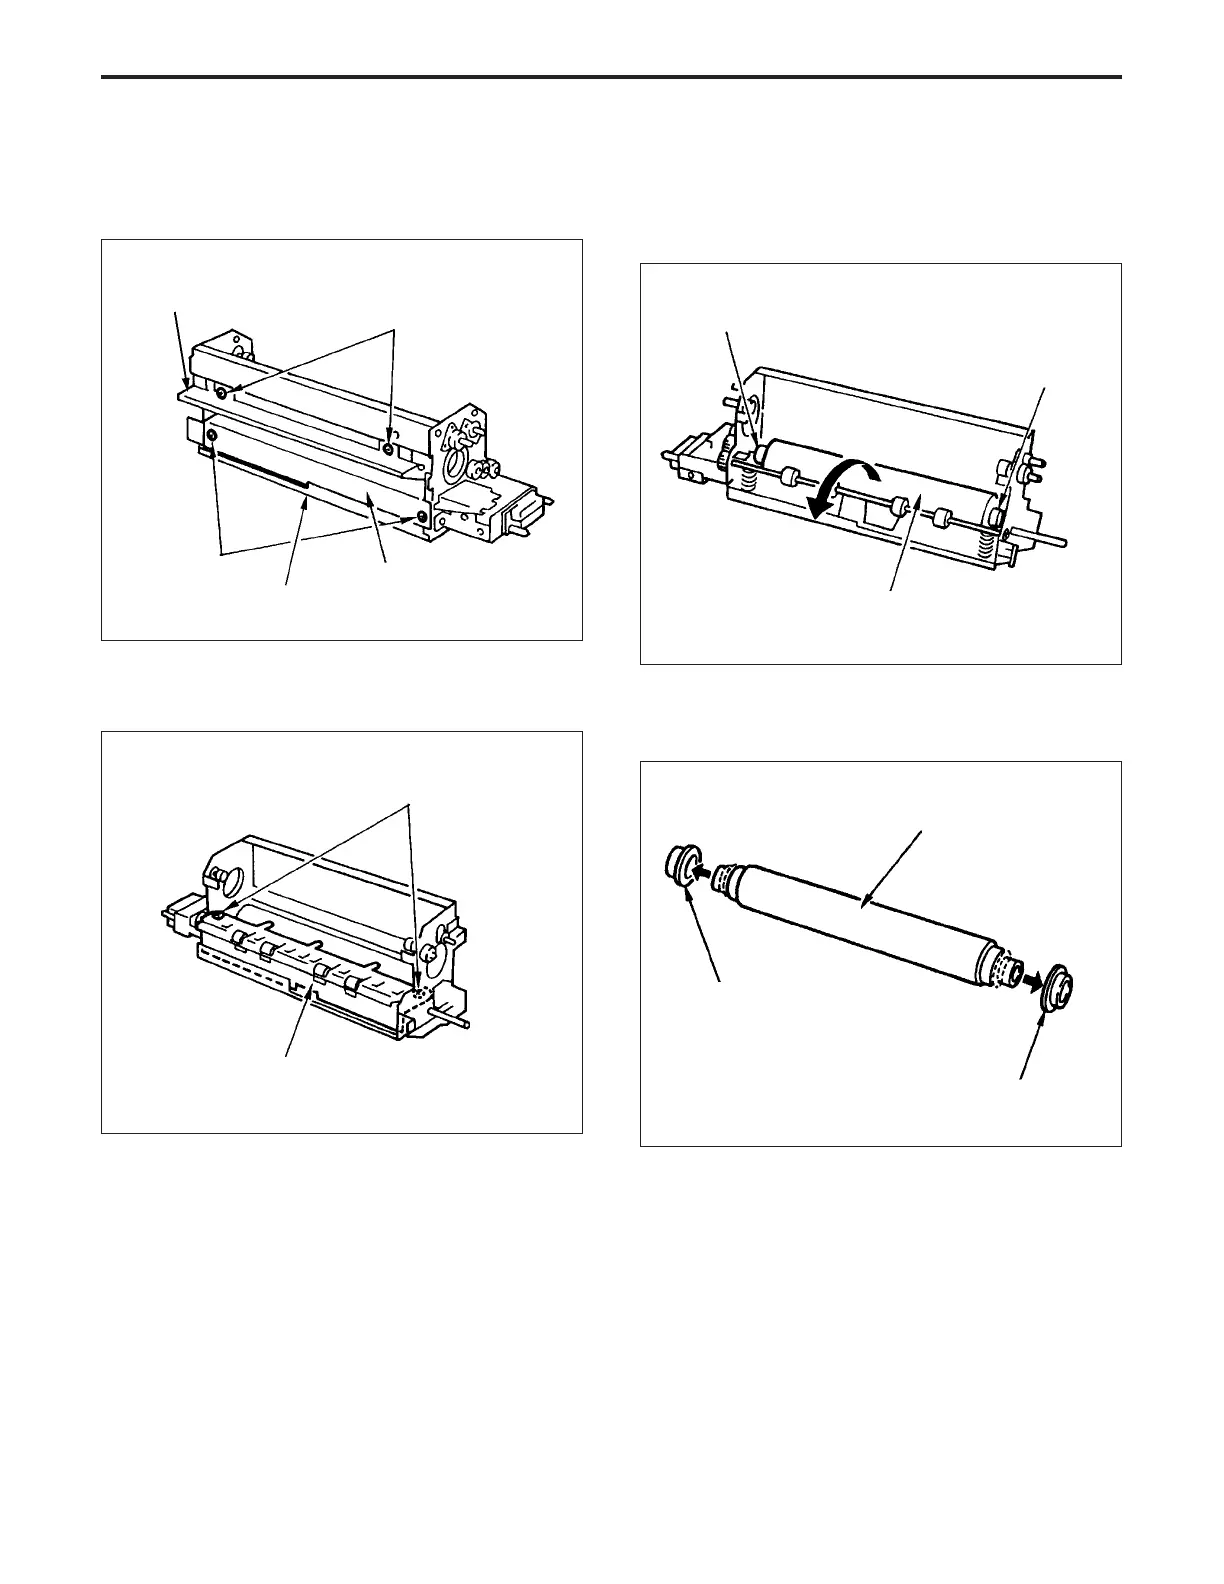
(5) Remove the two set screws, then remove the paper
exit plate.
Paper exit plate
Set screws
Entrance guide plate (upper)
Set screws
Entrance guide plate (lower)
Fixing lower plate
Set screws
(6) Raise the lower fixing roller, then remove it from the
paper exit side.
(7) Remove the two C rings from the lower fixing roller ,
then remove the two bearings.
Bearing
Bearing
Lower fixing roller
(9) Re-install the lower fixing roller in the opposite se-
quence to removal.
Heat insulation sleeve
Heat insulation sleeve
Lower fixing roller
(8) Remove the two heat insulation sleeves from the lower
fixing roller.
Note: When re-installing the entrance guide plate (lower),
push it down to the bottom so that it touches the fixing
base plate, then fix it in place.