DIAGNOSTICS
4 - 40
[15] RADF Original Stop Position
Adjustment
Adjust the RADF original stop position using the procedure
shown below.
If the 36 mode menu screen is opened, then
2
Timing Adjust-
ment selected, the timing adjustment menu screen will ap-
pear.
Open this screen, then select
8
RADF Original Stop Position
Adjustment.
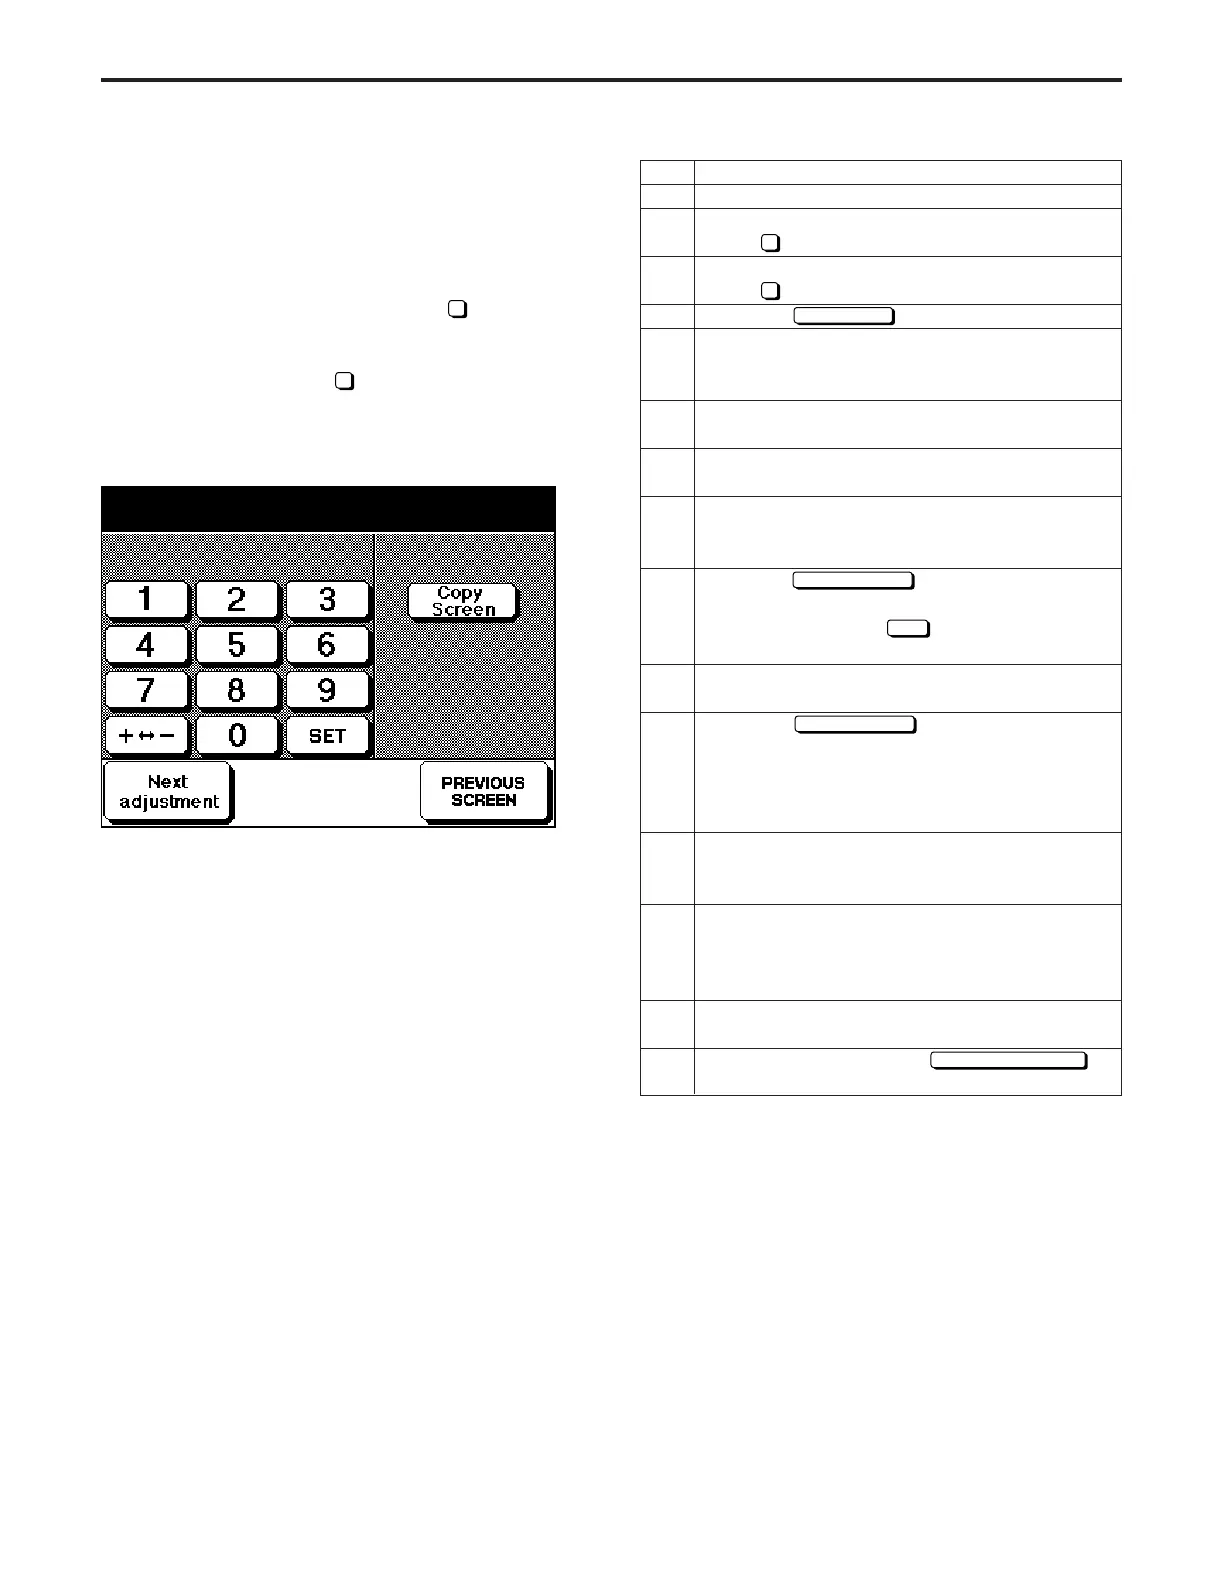
[RADF Original Stop Position Adjustment Screen]
Original pos. adj. (1 sided) 1/4
+0 +0 0 (-99 ~ +99) 1step + 0.39mm
Operation
Enter the 36 mode.
[36 MODE MENU SCREEN]
Press
2
Timing adjustment.
[TIMING ADJUSTMENT SCREEN]
Press
8
RADF original stop position adjustment.
Touch the
Copy Screen
key.
(One-sided original)
Select copy mode 1-1, then place A3/11"x17"
paper in a tray.
Place an A3/11"x17" original in the ADF, then press
the START PRINT button and make a copy.
Check the paper feed timing.
Standard: Within ±1 mm
If the paper feed timing does not conform to the
standard, press the C button while pressing the P
button.
Using the
Next adjustment
key, select "One-sided
original", then enter a value from the numeric
keypad and touch the
SET
key.
Setting range: -99 to +99; 1 step: 0.47 mm
Repeat steps 4 to 9 until the paper feed timing is
within the standard range.
Touch the
Next adjustment
key, and select the item
to be adjusted next.
* Two-sided original: Large (A3/11"x17")
* Two-sided original: Medium (A4R/8
1
/
2
"x11"R)
* Two-sided original: Small (A4/8
1
/
2
"x11")
(ex. a large two-sided original)
Select copy mode 2-1, then place A3/11"x17"
paper in a tray.
Place an A3/11"x17" original in the ADF, then press
the START PRINT button and make a copy.
(The subsequent adjustment is the same as the
adjustment procedure for a one-sided original.)
If you wish to perform further adjustment, repeat
step 11 and after.
After adjustment, touch the
PREVIOUS SCREEN
key.
Step
1
2
3
4
5
6
7
8
9
10
11
12
13
14
15
DIAGNOSTICS-1