5 - 7
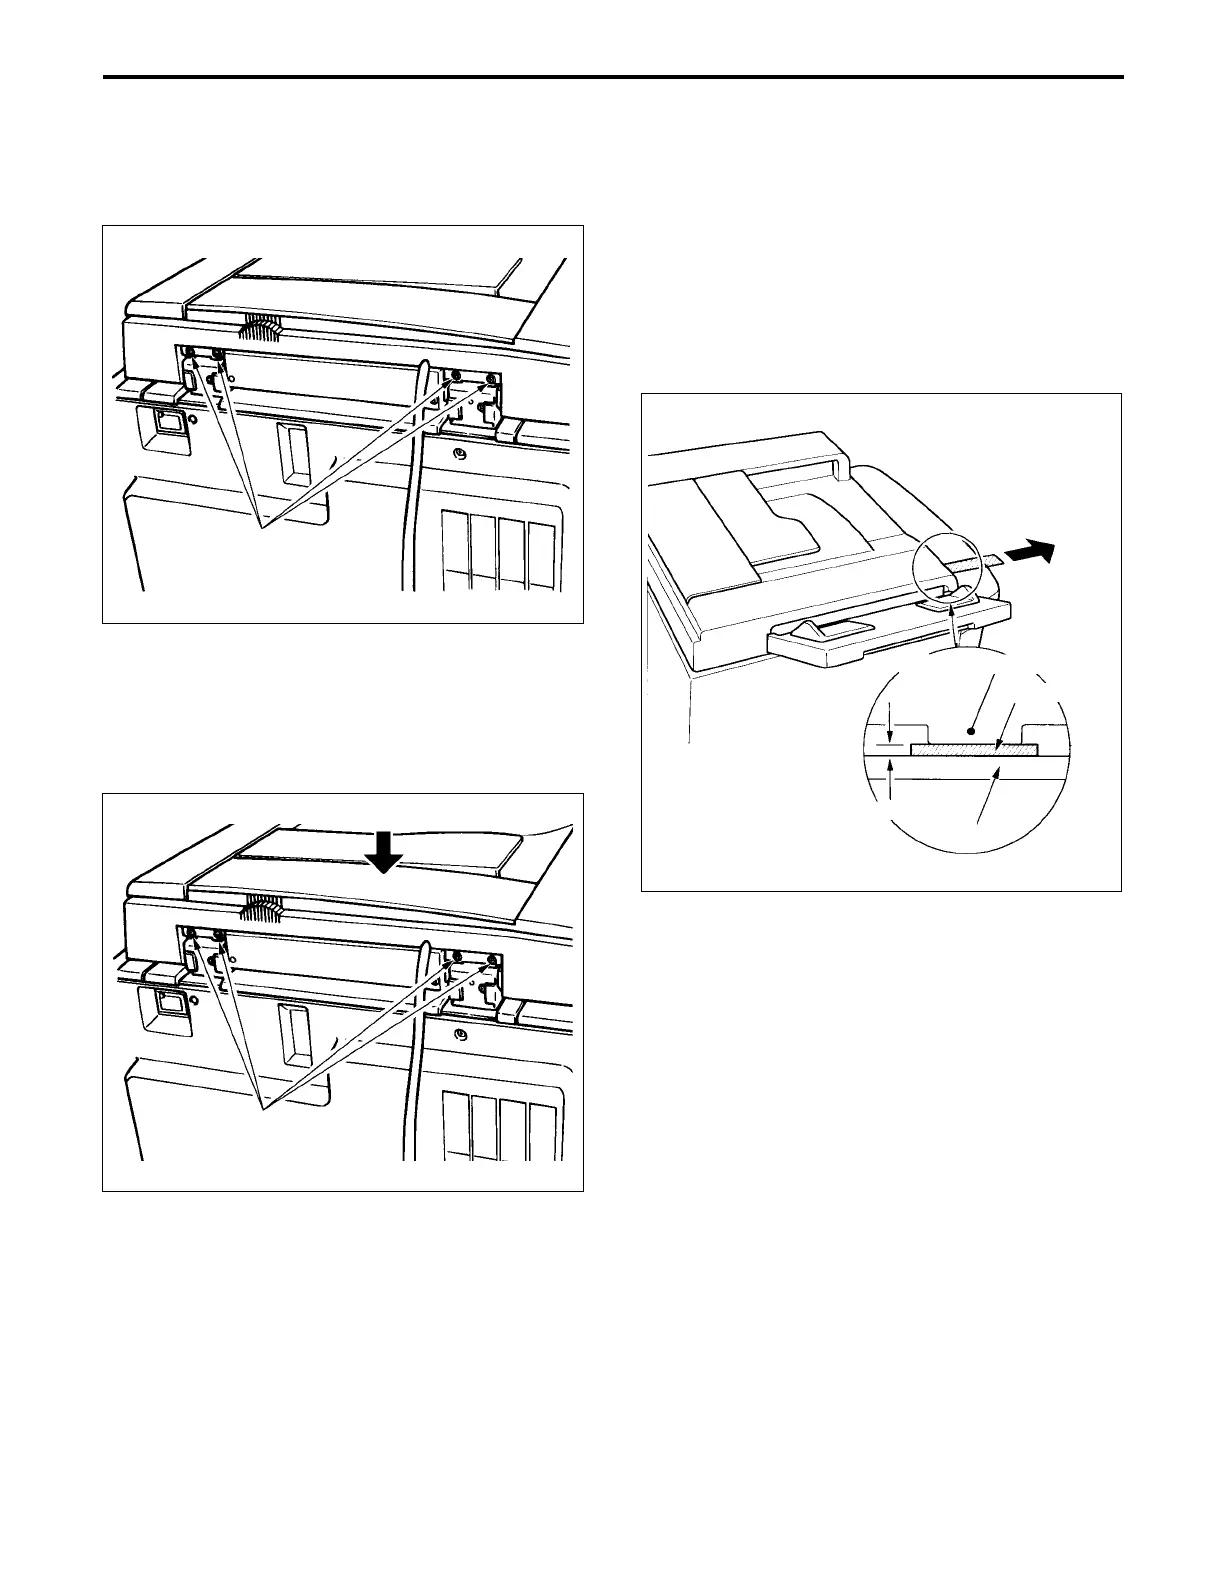
(6) Close the RADF unit slowly.
(7) Slacken the four height adjustment screws.
c. Check
Clearance between position piece (left side - front) and
platen glass of the RADF unit.
Standard: less than 0.1 mm
(1) Put the two sheet of the copy paper (80g/m
2
, 200mm
× 20mm) between positioning piece (left side - front)
and, and pull them.
(2) If they are pull lightly, since the clearance is too big,
readjust the height.
Clearance between the platen glass and the protrusion
(right side - front) of the RADF unit.
Standard: less than 0.6 mm
(1) Check that the clearance is less than 0.6 mm with a
visual inspection.
Height adjustment
screws
Copy paper
Platen glass
Less than 0.1mm
Positioning piece (left side - front)
(8)
Close the RADF and press the rear of the unit down so
that the positoning piece (rear) and the protrusion
(rear) contact the jigs. Tighten the four screws.
(9)
Open the RADF unit and remove the jigs.
Height adjustment
screw