2 - G - 4
DRUM UNIT
(6) Remove the spring and the E ring from the separation
claw unit.
(7) Remove the three set screws of the claws (one screw
each), then remove the three claws.
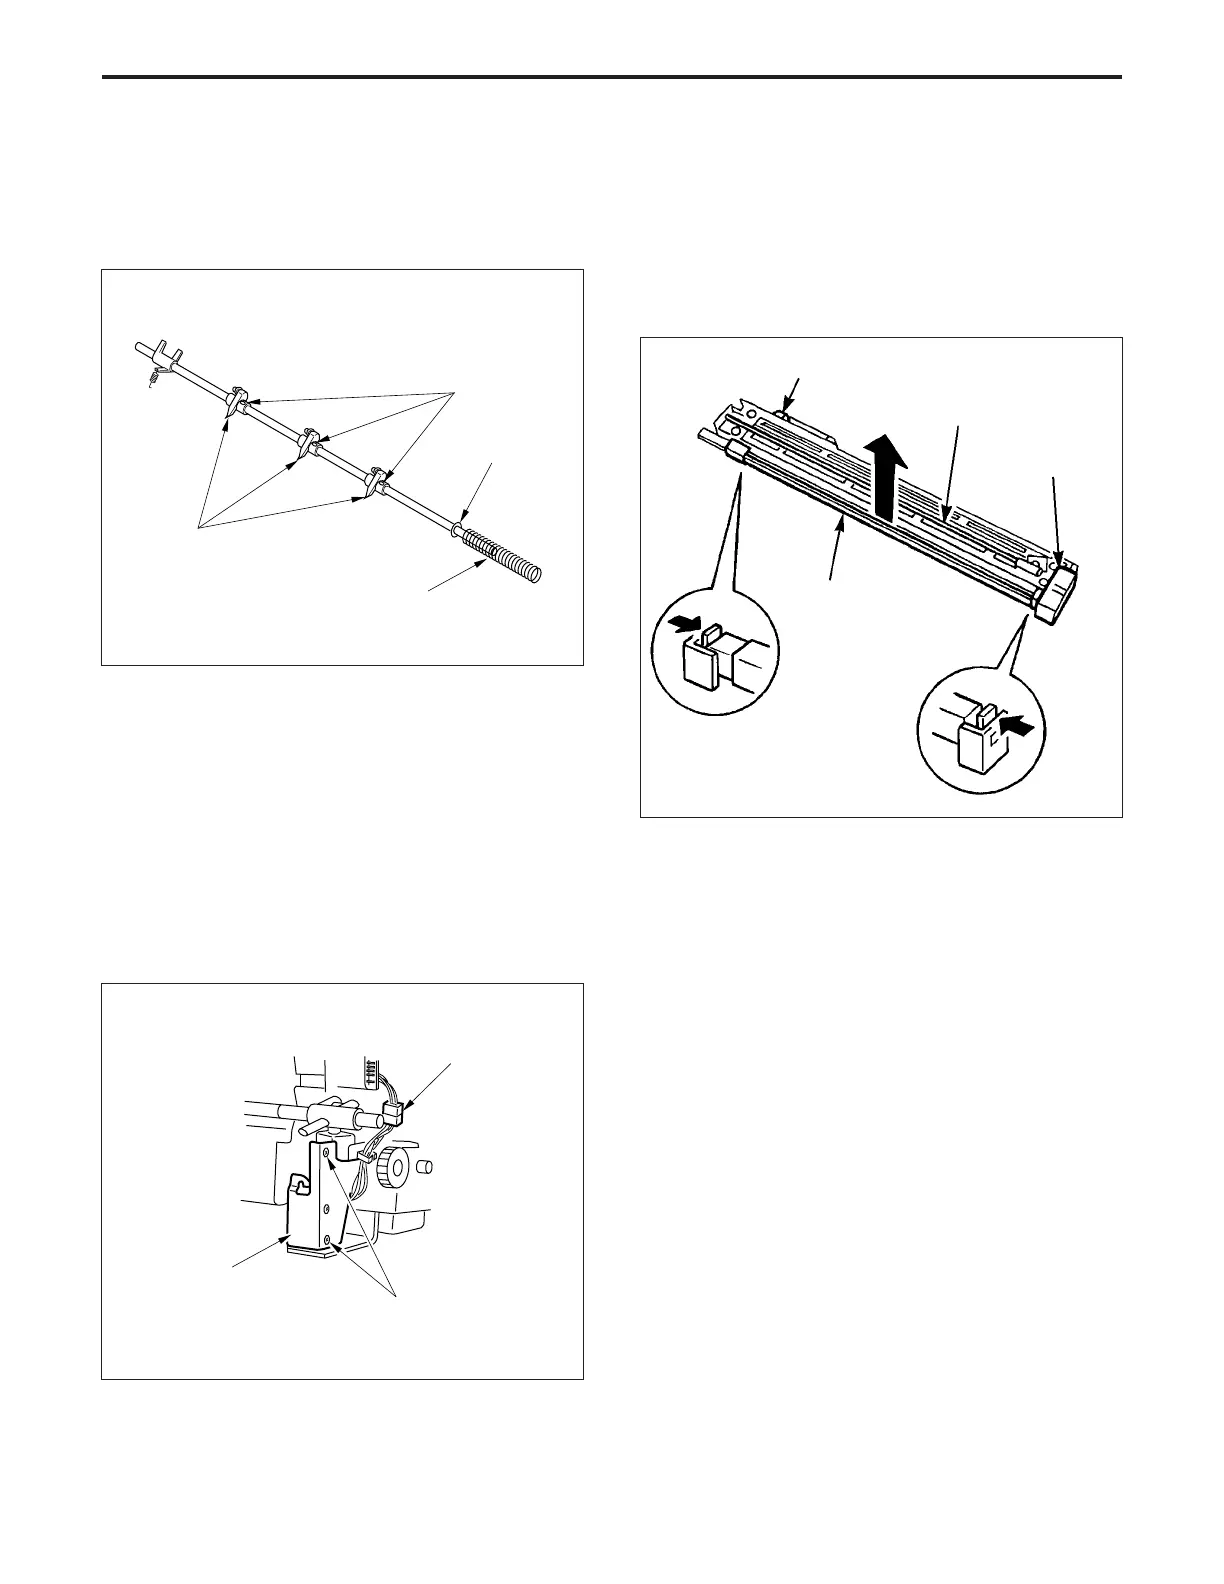
5. Removing and Re-installing the PCL
a. Procedure
(1) Remove the charging corona unit. (Refer to "Corona
unit section" for the method of removing the PCL.)
(2) Disconnect the connector (CN20) from the drum board.
(3) Push the front and rear hooks of the PCL cover inward,
then lift out the PCL.)
(4) Re-install the PCL in the opposite sequence to re-
moval.
(8) Re-install the separation claws in the opposite se-
quence to removal.
4. Removing and Re-installing the Separation
Claw Solenoid Press-fit Ass'y
a. Procedure
(1) Remove the drum unit from the main body.
(2) Remove the drum and separation claw unit from the
drum unit.
(3) Disconnect the connector (CN34).
(4) Remove the two set screws, then remove the separa-
tion claw solenoid press-fit ass'y.
Set screws
(5) Re-install the press-fit ass'y in the opposite sequence
to removal.
Connector (CN34)
Set screws
Separation claw
solenoid press-fit
ass'y
Connector (CN20)
Charging wire
cleaning motor (M7)
Charging corona unit
Separation claws
Spring
E ring
PCL