Introduction
22
NETGEAR ProSAFE VPN Firewall FVS318G v2
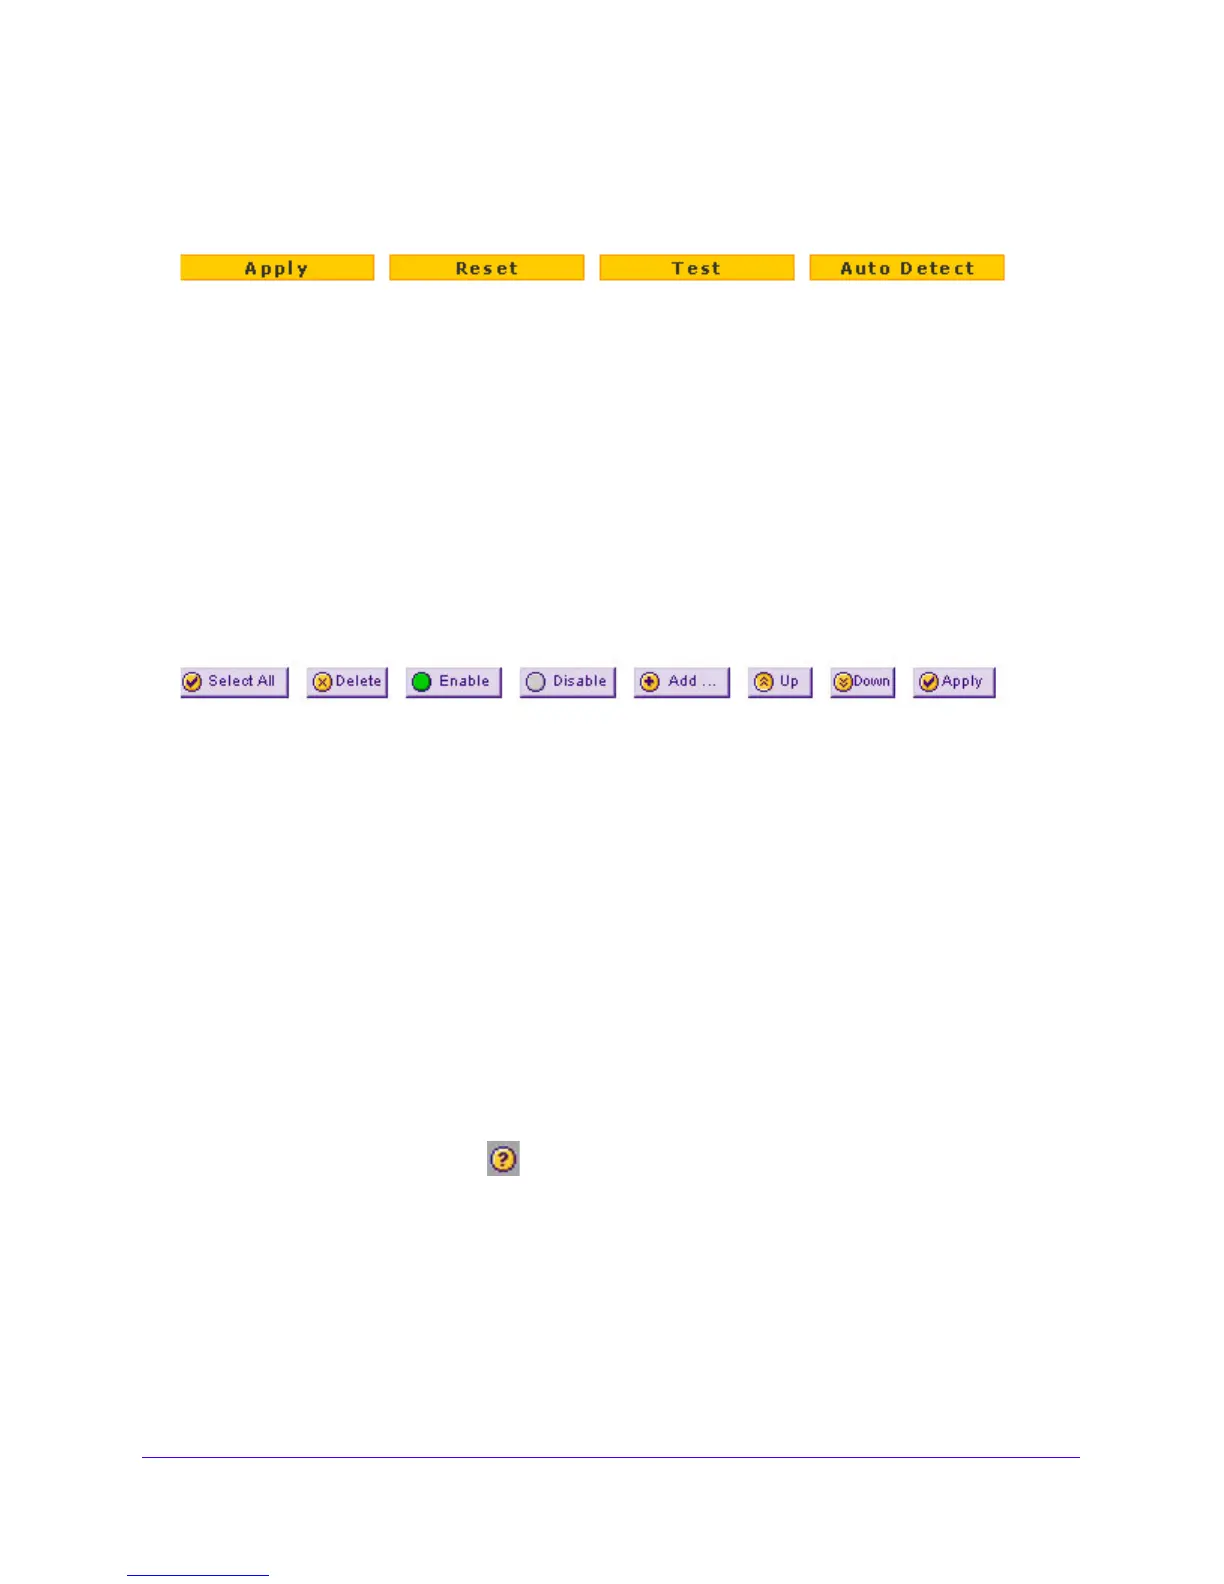
The bottom of each screen provides action buttons. The nature of the screen determines
which action buttons are shown. The following figure shows an example:
Figure 7. Action buttons
Any of the following action buttons might display onscreen (this list might not be complete):
• Apply. Save and a
pply the configuration.
• Reset. Reset the con
figuration to the previously saved configuration.
• Test. T
est the configuration.
• Auto Detect. En
able the VPN firewall to detect the configuration automatically and
suggest values for the configuration.
• Cancel. Ca
ncel the operation.
When a screen includes a table, table buttons display to let you configure the t
able entries.
The nature of the screen determines which table buttons are shown. The following figure
shows an example:
Figure 8. Table buttons
Any of the following table buttons might display onscreen:
• Select All. Select all entries in the
table.
• Delete. Delete the se
lected entry or entries from the table.
• Enable. En
able the selected entry or entries in the table.
• Disable. Disab
le the selected entry or entries in the table.
• Add. Add an entry to th
e table.
• Edit. Edit the selected en
try.
• Up. Move up the selected entry in the table.
• Down. Move down the selected entry in the table.
• Apply. Apply the selected
entry.
Almost all screens and sections of screens connect to an accompanying help
screen. To
open the help screen, click the (question mark) icon.
Requirements for Entering IP Addresses
To connect to the VPN firewall, your computer must be configured to obtain an IP address
automatically from the VPN firewall, either an IPv4 address through DHCP or an IPv6
address through DHCPv6, or both.