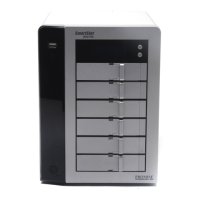
Chapter 4: Management with WebPAM PROe
105
Managing Disk Arrays
Disk Array Management includes the following functions:
• Viewing Disk Arrays (page 105)
• Creating a Disk Array (page 105)
• Deleting a Disk Array (page 109)
• Locating a Disk Array (page 110)
• Viewing Disk Array Information (page 110)
• Making Disk Array Settings (page 111)
• Creating a Logical Drive (page 111)
• Deleting a Logical Drive (page 113)
• Migrating a Disk Array (page 113)
• Rebuilding a Disk Array (page 114)
• Running PDM on a Disk Array (page 116)
• Transitioning a Disk Array (page 116)
• Preparing a Disk Array for Transport (page 117)
Viewing Disk Arrays
To view the disk arrays in this enclosure plus any expanded or cascaded
enclosures:
1. Click the Subsystem icon in Tree View.
2. Click the Disk Arrays icon.
A list of disk arrays appears in Management View.
Click the DA link to view a specific disk array. See “Viewing Disk Array
Information” on page 110.
Creating a Disk Array
The CLU provides three methods of creating a disk array:
• Automatic – Creates a default disk array and logical drive based on
unconfigured physical drives in the system. No user choices. See “Creating
a Disk Array – Automatic” on page 106.
• Express – You select the RAID characteristics and type of application.
Creates a disk array and logical drive(s) based on your input. See “Creating
a Disk Array – Express” on page 106.
• Advanced – You specify all parameters for a new disk array. One logical
drive will be made automatically when you create the disk array. If you select
less than the total available capacity, you can use the remaining space to
 Loading...