BRP-Rotax
REPAIR MANUAL
INSTALLATION OF PISTON
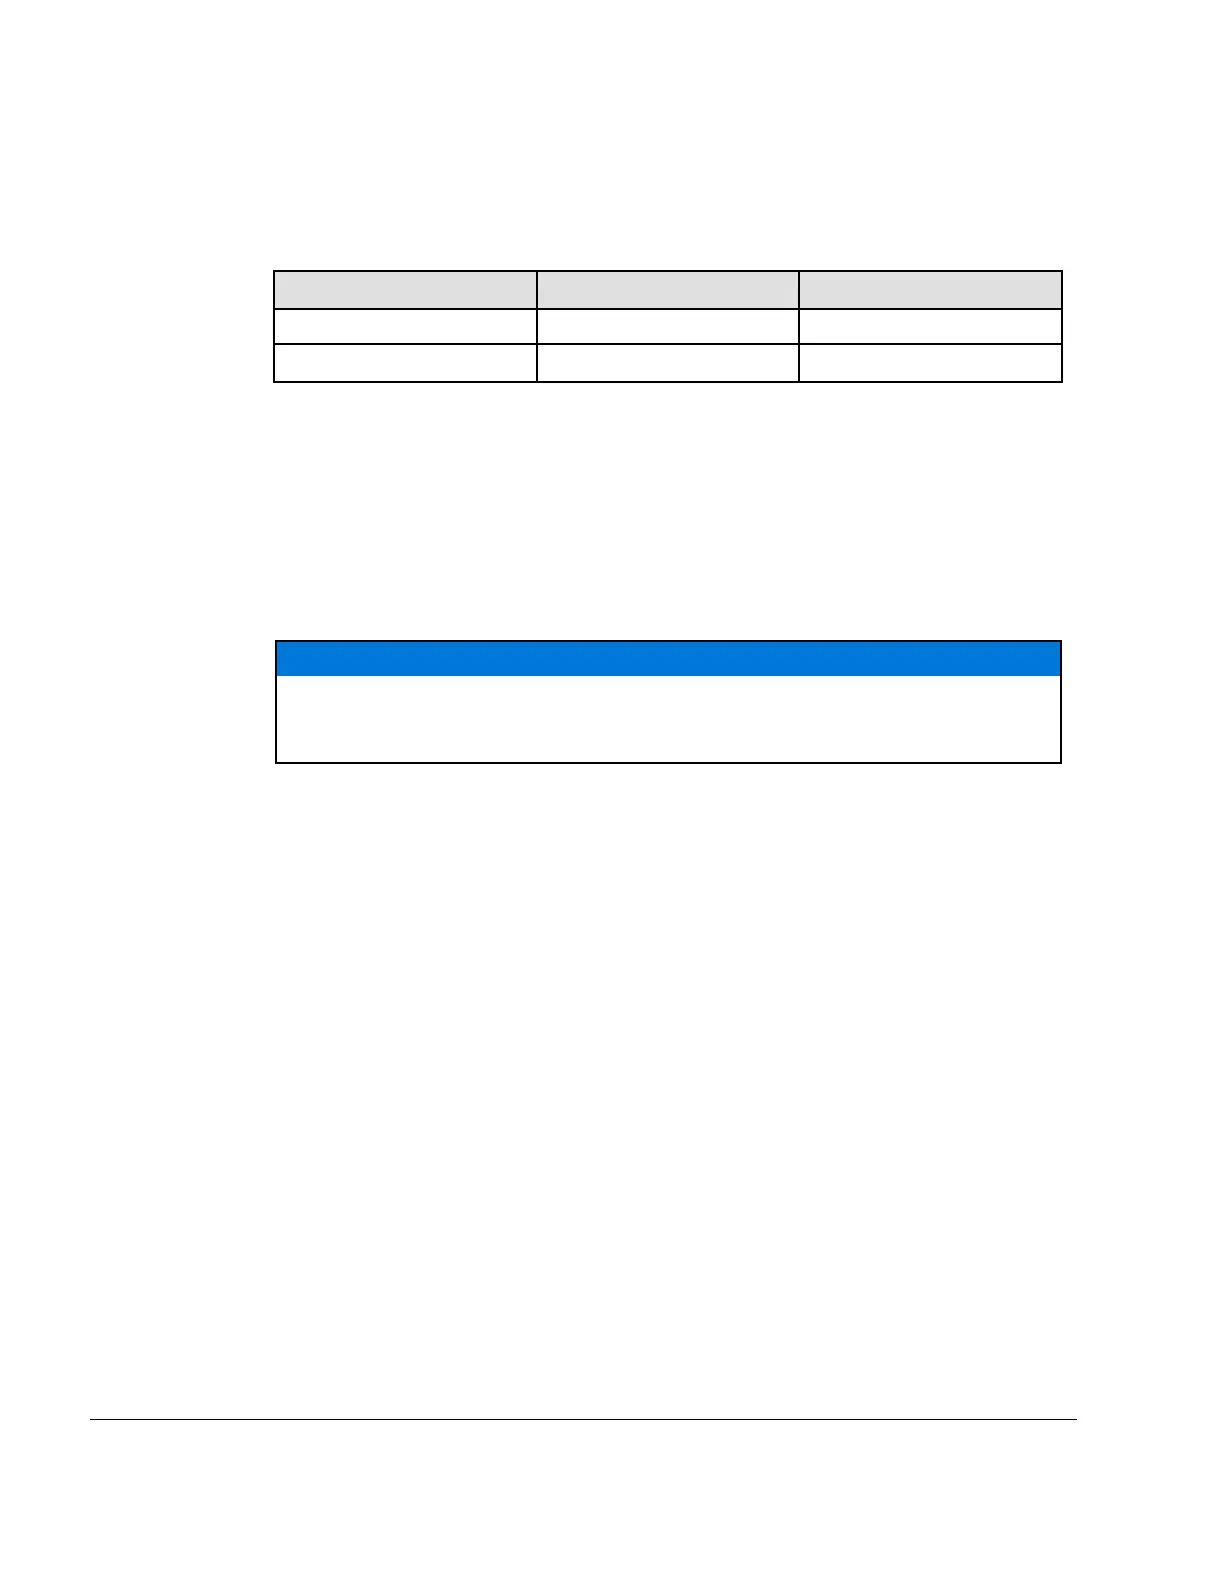
Special tools The following special tools and equipment are required:
Part number
Description Field of application
676035 Installation tool Piston
n.a.
Engine oil Piston pin
NNOOTTEE
Cover your eyes with safety goggles during this work!
Mount the piston with the locking pin of the piston ring facing the intake port.
NNOOTTEE
The piston pin is fixed in the piston with two circlips (left and right).
ATTENTION
Always use new circlips. Used or previously installed circlips have too little tan-
gential tension, and they may twist and work their way out of the groove in the
piston.
NNOOTTEE
For easier installation we recommend installing one circlip before installing the
piston.
Instruction See Figure: Piston pin.
Proceed as follows to install the piston pin:
1. Coat the piston pin needle cage (2) with Engine oil.
2. Insert the piston pin needle cage (2) into the upper connecting rod eye.
3. Mount the piston (3) and piston pin (4) on the con rod.
4. Place the new circlip (1) flat on a level surface.
5. Push the mounting sleeve (5) with the circlip over it.
6. Push the circlip deeper into the mounting sleeve with the tapered side of the installation tool
(6).
7. Rotate the installation tool and continue to push the mounting sleeve until the circlip locks in-
to the mounting sleeve groove.
8. Place the installation tool with the cutout of the circlip down on the piston (3).
9. Protect the piston with your hand and press into the piston with the hook ring.
NNOOTTEE
The installation tool centers itself in the piston pin.
Chapter 4
Page 24
Effectivity: 125 MAX evo, Junior MAX
evo, Mini MAX evo, Micro MAX evo
Edition - February 01 2018 /Rev. 0

 Loading...


