PN 9001098
Rev. A
2-37
SATO M-10e TT/DT Printers Service Manual
Section 2. Configuration
STEP PROCEDURE
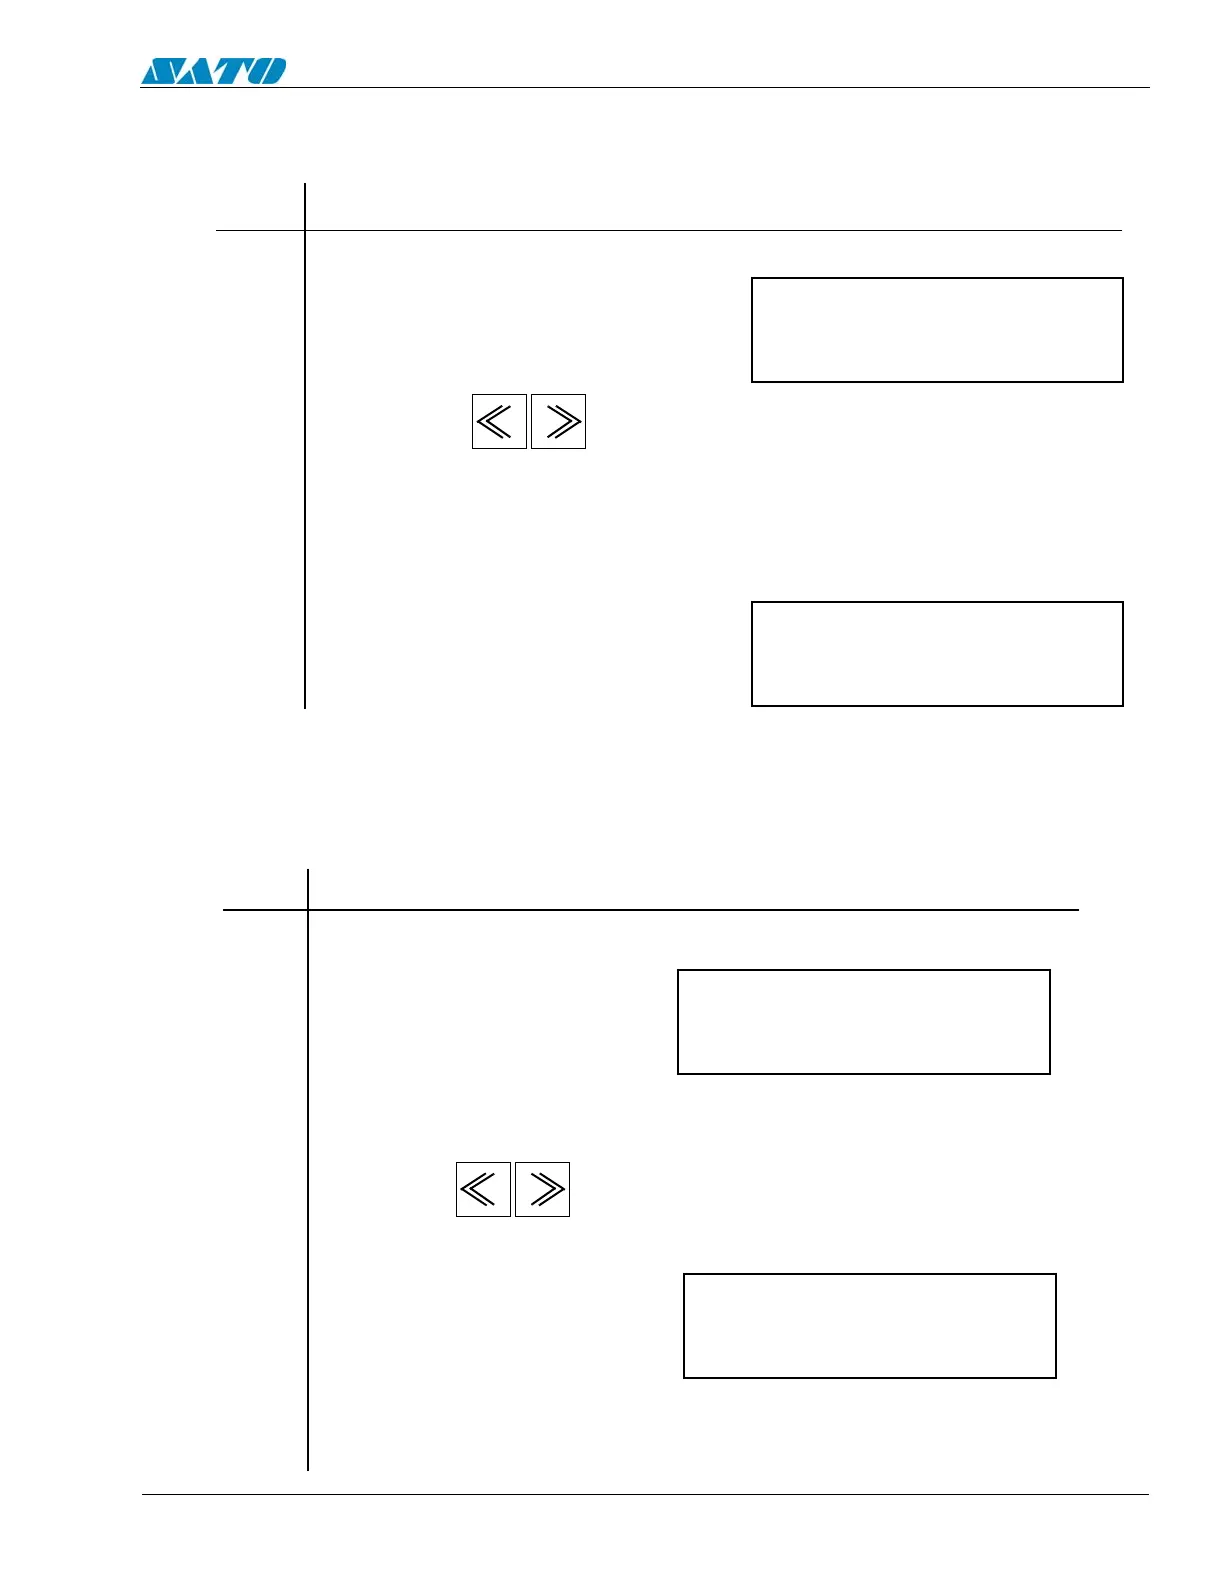
7. Press the ENTER key to confirm your selection and advance to setting of
test print paper size.
8. Use the keys to select either SMALL (128mm) or LARGE
(266mm). The initial value is LARGE.
9. Press the ENTER key to confirm your selection. The test print will start.
When ENTER is pressed during printing, the test print will be suspended.
Press ENTER key again to restart the test print.
LCD Panel — Maintenance Mode — Factory Mode
Maintenance Mode — Factory Mode (Cont)
print size
small large
press enter key
to stop printing
All Clear Mode
This selection is used to clear counters and reset the firmware and doesn’t produce a test label.
STEP PROCEDURE
1. From the Factory Mode screen press the ENTER key to switch to all
clear mode screen.
2. Press the ENTER key to enter the ALL CLEAR COUNTER EEPROM
Mode.
3. Use the keys to select either COUNTER (Counter All
Clear) or EEPROM (EEPROM All Clear).
When the COUNTER is selected, clear value becomes zero. When the
EEPROM is selected, the clear value becomes the default.
all clear mode
all clear
Counter eeprom

 Loading...


