68
Installation
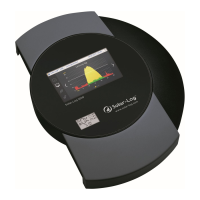
14.3 Initial set up of the Solar-Log 1200
The initial configuration of the Solar-Log 1200 can be performed either with the touch display or the So-
lar-Log™’s web browser menu.
Requirements
•
All cables and accessories (if any) have been connected to the Solar-Log 1200.
•
The Solar-Log 1200 is connected to an Internet router.
•
The DHCP service is enabled on the Internet router.
•
The DHCP service is also enabled on the PC or laptop.
Easy Installation
After selecting the language and country, the initial set up can be carried out with the „Easy Installation“
configuration wizard. However, Easy Installation can currently only be used with certain inverters. Depen-
ding on the country, different inverter brands are integrated into the Easy Installation mode.
The Solar-Log
TM
then carries out the initial set up intuitively step by step.
For more information, please refer to the Quick Start Guide that was included with the device.
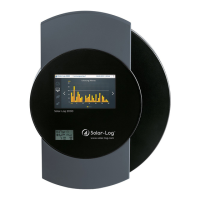
14.4 Setting up of the Solar-Log™ with the confi guration wizard
After the initial set up of the Solar-Log™ (see chapter 14.2 and 14.3), the Solar-Log™ starts to ask about the
following settings:
•
Language
•
Country and time
•
Display access control
At the end, a pop-up window appears where you can start the Solar-Log™ configuration wizard. (See the
following image: „Startup screen of the Solar-Log™ configuration wizard“).
At this point, if you do not want to continue with the setup, the configuration wizard can be stopped by
clicking on the „Cancel“ button. After clicking on „Cancel,“ the local „Cockpit“ WEB page is started. The
setup can be done manually from this menu. The Solar-Log™ configuration wizard can also be started at
any time from the
Configuration | System | Configuration Wizard menu.
Note
The configuration wizard can be stopped at any time by clicking on the „Cancel“ button
(left below the progress bar). The previously entered settings remain active.