26
www.teejet.com
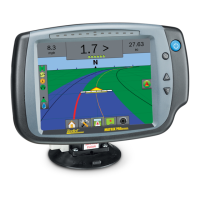
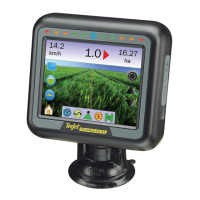
MATRIX
®
Pro 570GS
•
MATRIX
®
Pro 840GS
HOME GUIDANCEFULL SCREEN IMPLEMENTINTRODUCTION GNSS RATE CONTROL APPENDIXSETUP
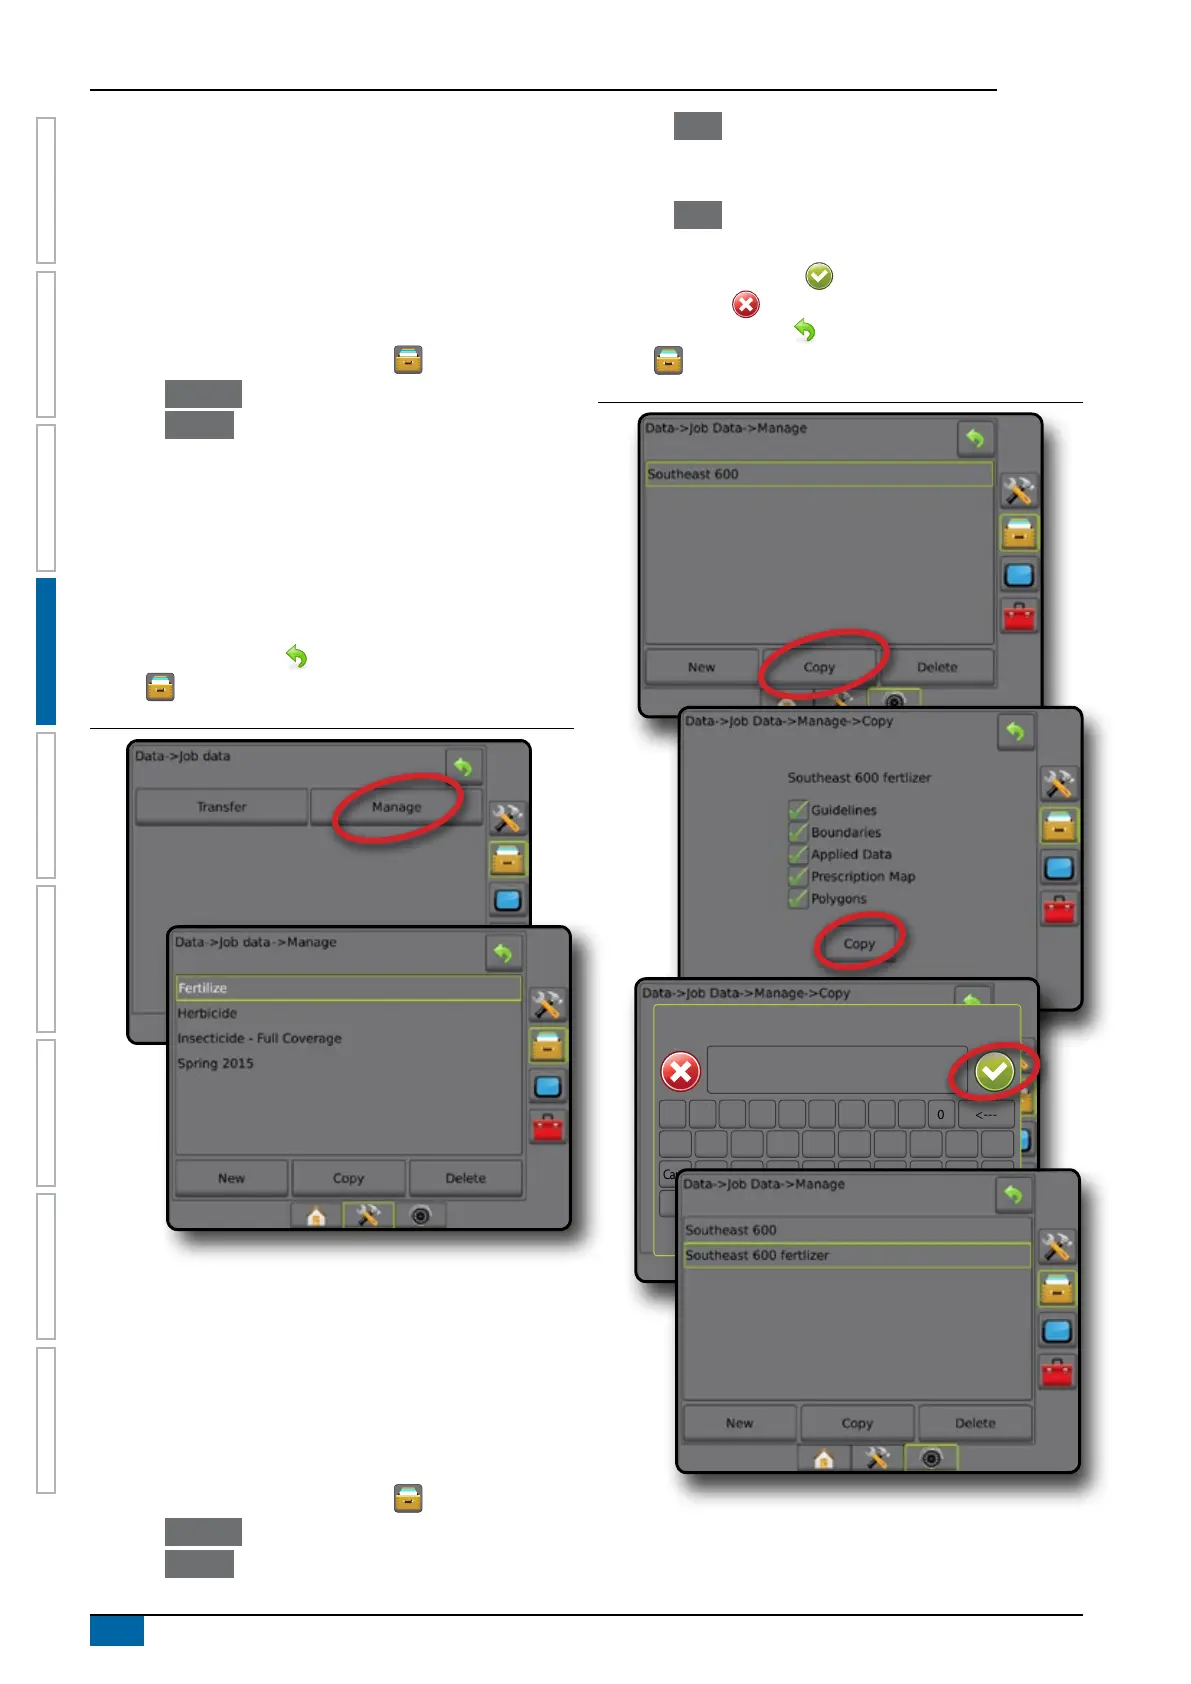
Manage
When in advanced job mode, the job data manage screen allows
the creation of a new empty job, copying of a selected job's
Guidelines, Boundaries, Applied Data, and/or Prescription Map to
a new job, as well as deleting a selected job.
NOTE: When a job is active/started, Manage options are not
available for selection. Stop the current job to enable the
function.
1. Press DATA MANAGEMENT side tab .
2. Press Job Data .
3. Press Manage .
4. Select from:
►New – used to create a new empty job with no associated
Guidelines, Boundaries, Applied Data, or Prescription Map
►Copy – used to copy the selected job’s Guidelines,
Boundaries, Applied Data, Prescription Map and/or
polygons into a new job
►Delete – used to delete job data from internal storage
5. Press RETURN arrow or DATA MANAGEMENT side
tab to return to the main Data Management screen.
Figure 4-32: Job data – manage
NOTE: Copying applied data is not recommended as the user
will end up with two copies that can be changed. When
backing up data, it is best to transfer the Job to Fieldware
Link and make a backup of the catalog.
Copy job data
When in advanced job mode, the copy job data option is used to
duplicate job information (guidelines, boundaries, applied data,
prescription map and/or polygons) to a new job.
1. Press DATA MANAGEMENT side tab .
2. Press Job Data .
3. Press Manage .
4. Press Copy .
5. Select the job’s guidelines, boundaries, applied data,
prescription map and/or polygons to be copied into a new job.
6. Press Copy .
7. Name the new job.
8. Press the ACCEPT icon to save the new job or the
CANCEL icon to leave the keyboard without saving.
9. Press RETURN arrow or DATA MANAGEMENT side
tab to return to the main Data management screen
Figure 4-33: Job data – copy data
Enter name
1 5 92 6 03 74 8
q
Caps
Alt
t
f
v
o
k
Shift
w
a
z
y
g
b
p
l
e
s
x
u
h
n
r
d
c
i
j
m
<---