Installation
Step 2: Set Up LAN Connection to Strata CTX
Strata CTX Programming - Part 2: CTX WinAdmin Programming 04/03 3-7
Installation
Step 2B: Set Up IP Address of CTX NIC
Note This setup is only for direct connection to the Strata CTX or for simple Hub or LAN connections.
For more complex LAN, WAN or Internet connections, refer to “Wide Area Networks and/or
Internet Connections” on page 3-5.
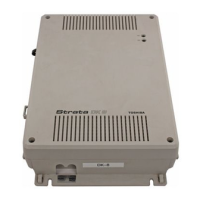
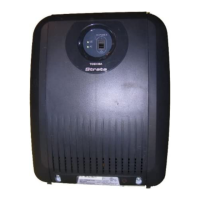
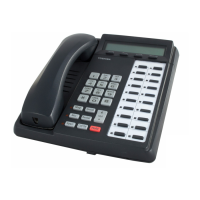
1. Connect a 20-button LCD DKT to the Strata CTX System.
2. Enter the programming mode by pressing
+ROG✱✱✱✱✱.
3. At the
PASSWORD= prompt, enter .
4. Press
+ROG.
5. At the
PROG= prompt enter and press +ROG.
6. Press Feature Button 1.
7. At the
TCP IP1= prompt enter the Static IP address D6SNU, E6SNU, F6SNU, G +ROG.
Possible Values of CTX TCP/IP address octets a.b.c.d = 0~255.
Default = 192.168.254.253, where
D = 192, E = 168, F = 254, G = 253
Example: At the
TCP IP1= prompt the LCD displays 192. This is the first octet of the default CTX IP
address. Pressing
Spkr key three more times will display the remaining octets in succession as follows:
192.168.254.253
8. Press Feature Button 2.
9. At the
SNM IP1= prompt enter the subnet mask H 6SNU, I 6SNU, J 6SNU, K +ROG.
Possible Values of CTX Subnet mask octets e.f.g.h = 0~255
Default = 255.255.255.0, where
H = 255, I = 255, J = 255, K = 0
10. Press Feature Button 3.
11. At the
DGW IP1= prompt enter default gateway L 6SNU, M 6SNU, N 6SNU, O +ROG.
Possible Values for CTX Gateway octets i.j.k.l = 0~255
Default = 0.0.0.0, where
L = 0, M = 0, N = 0, O = 0
12. Press
+ROG(twice).
Important! Windows XP: Choose Step 2C; Windows 2000: Choose Step 2D.

 Loading...


