Diagnostics and Troubleshooting
224
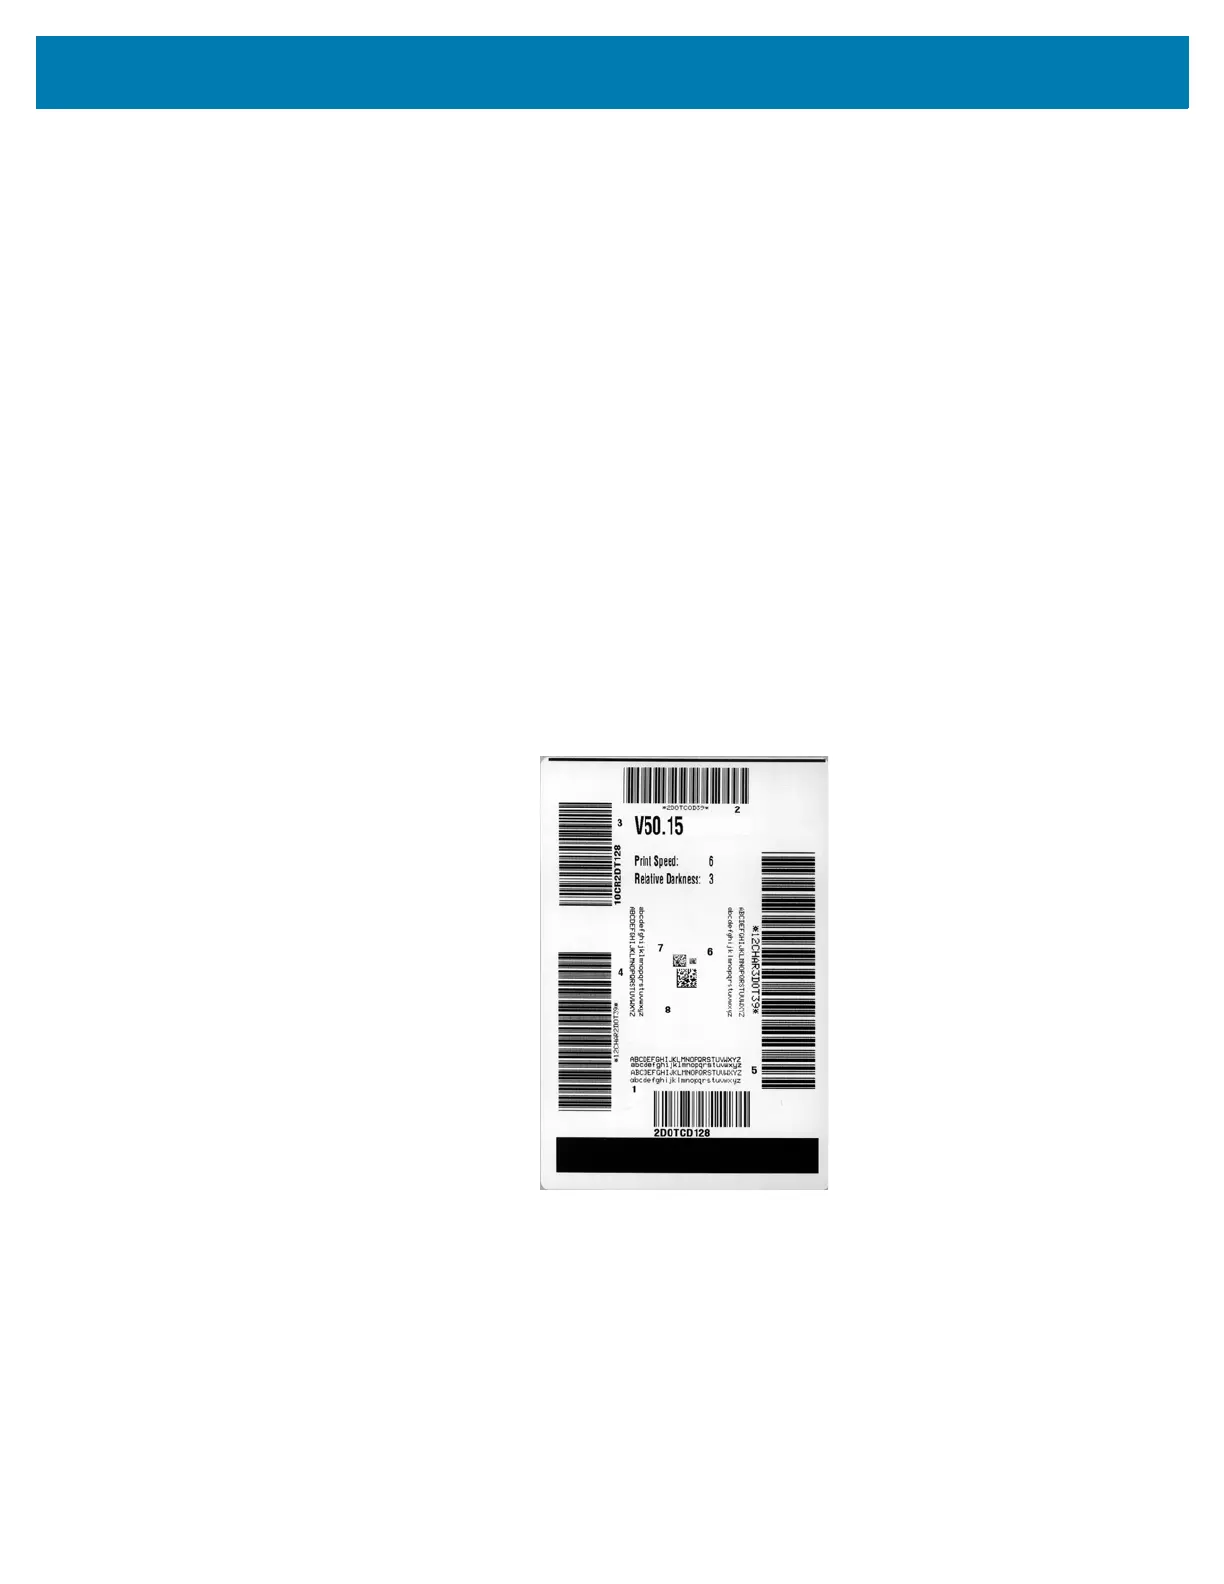
Optimal Darkness and Speed Test
(This test was formerly called the FEED self test.) Different types of media may require different darkness
settings. This section contains a simple but effective method for determining the ideal darkness for printing
barcodes that are within specifications.
During this test, labels are printed at different darkness settings and at different print speeds. The relative
darkness and the print speed are printed on each label. The barcodes on these labels may be ANSI-
graded to check print quality.
The darkness value starts at three settings lower than the printer’s current darkness setting (relative
darkness of –3) and increase until the darkness is three settings higher than the current darkness value
(relative darkness of +3).
1. Print a configuration label to show the printer’s current settings. (See PRINT INFORMATION
on page 109.)
2. Turn off (O) the printer.
3. Press and hold FEED while turning on (I) the printer. Hold FEED until the first control panel light turns
off.
The printer prints a series of labels (Figure 18) at various speeds and at darkness settings higher and
lower than the darkness value shown on the configuration label.
Figure 18 • Sample Darkness and Speed Test Label
4. See Judging Barcode Quality onpage216. Inspect the test labels and determine which one has the
best print quality for your application. If you have a barcode verifier, use it to measure bars/spaces and
calculate the print contrast. If you do not have a barcode verifier, use your eyes or the system scanner
to choose the optimal darkness setting based on the labels printed in this self test.
5. Note the relative darkness value and the print speed printed on the best test label.
6. Add or subtract the relative darkness value from the darkness value specified on the configuration
label. The resulting numeric value is the best darkness value for that specific label/ribbon combination
and print speed.
 Loading...