Diagnostics and Troubleshooting
225
7. If necessary, change the darkness value to the darkness value on the best test label.
8. If necessary, change the print speed to the same speed as on the best test label.
Communication Diagnostics Test
The communication diagnostics test is a troubleshooting tool for checking the interconnection between the
printer and the host computer. When the printer is in diagnostics mode, it prints all data received from the
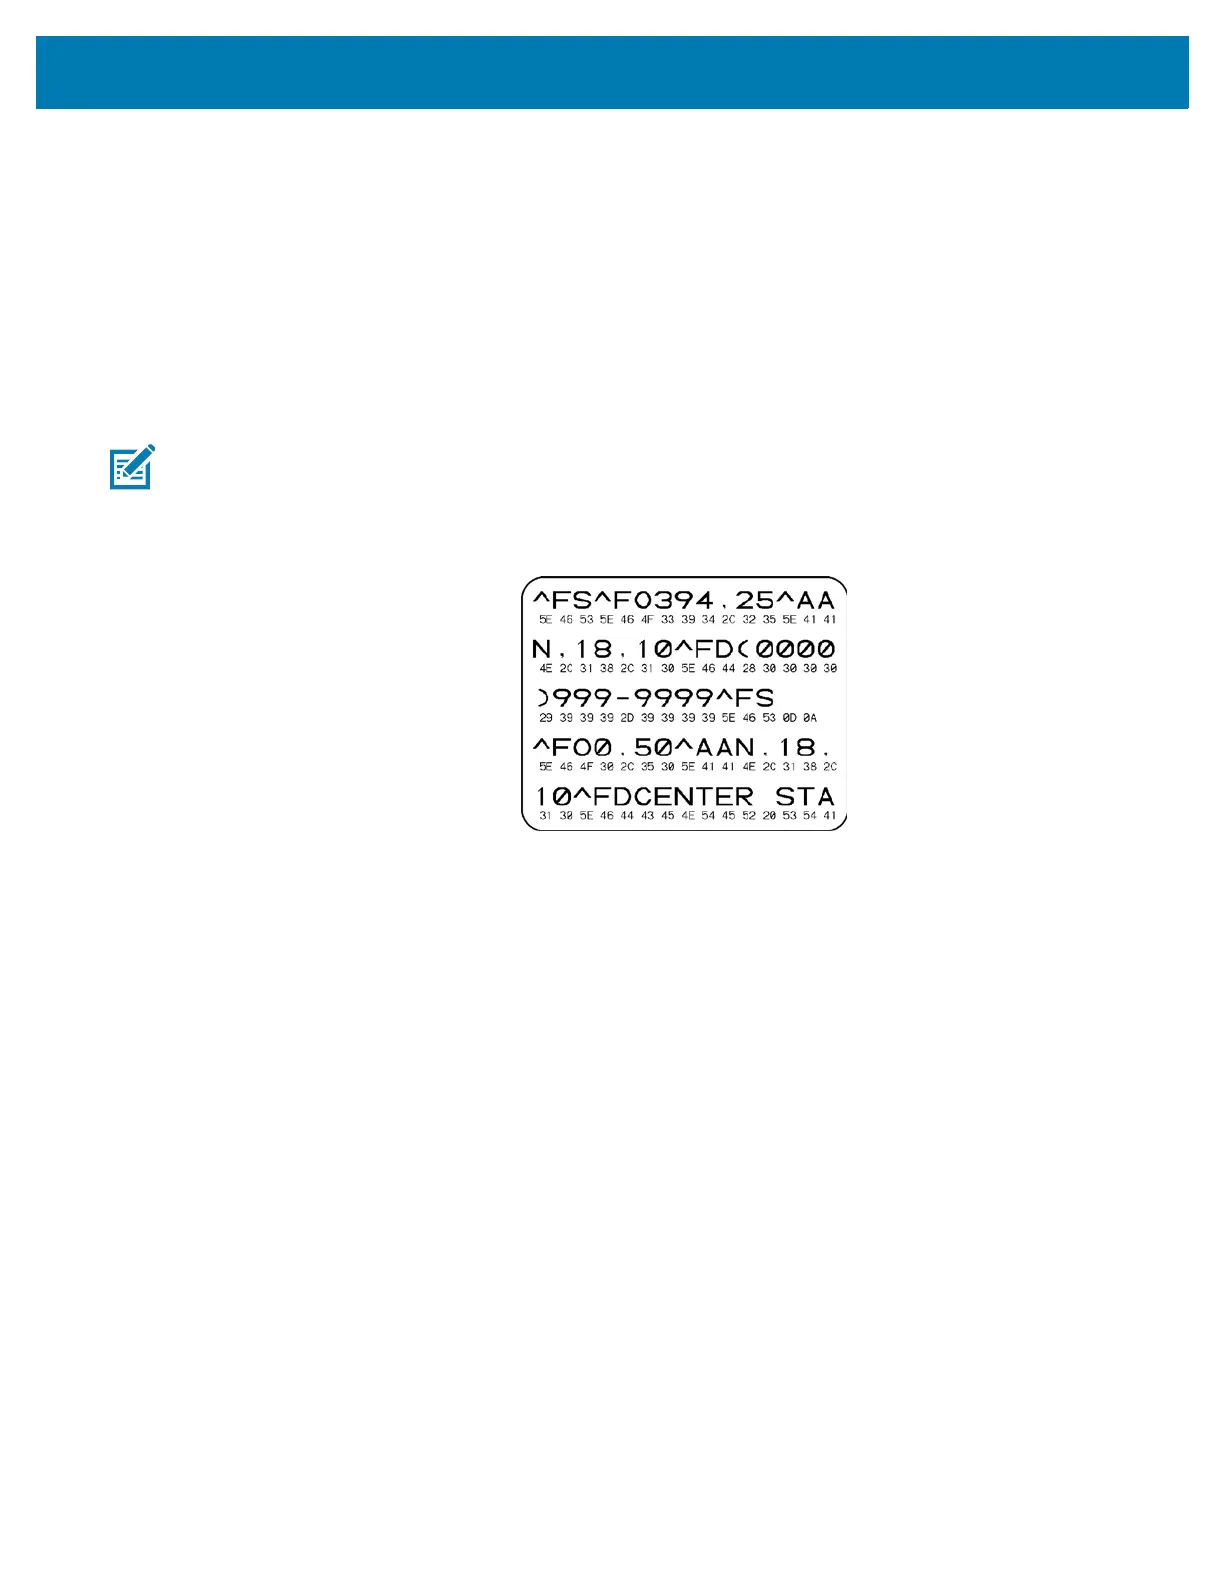
host computer as straight ASCII characters with the hex values below the ASCII text. The printer prints all
characters received, including control codes such as CR (carriage return). Figure 19 shows a typical test
label from this test.
Figure 19 • Sample Communications Diagnostics Test Label
1. Set the print width equal to or less than the label width being used for the test. (See PRINT WIDTH
on page 99.)
2. Set the DIAGNOSTIC MODE option to ENABLED. (See DIAGNOSTIC MODE on page 117 for more
information.)
The printer enters diagnostics mode and prints any data received from the host computer on a test
label
3. Check the test label for error codes. For any errors, check that your communication parameters are
correct.
Errors show on the test label as follows:
• FE indicates a framing error.
• OE indicates an overrun error.
• PE indicates a parity error.
• NE indicates noise.
4. To exit this self test and return to normal operation, power cycle the printer or set the DIAGNOSTIC
MODE option to DISABLED.
Note • The test label prints upside-down.
 Loading...