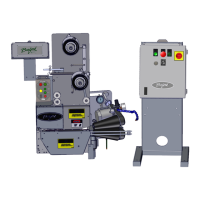
Settings and Adjustments 91
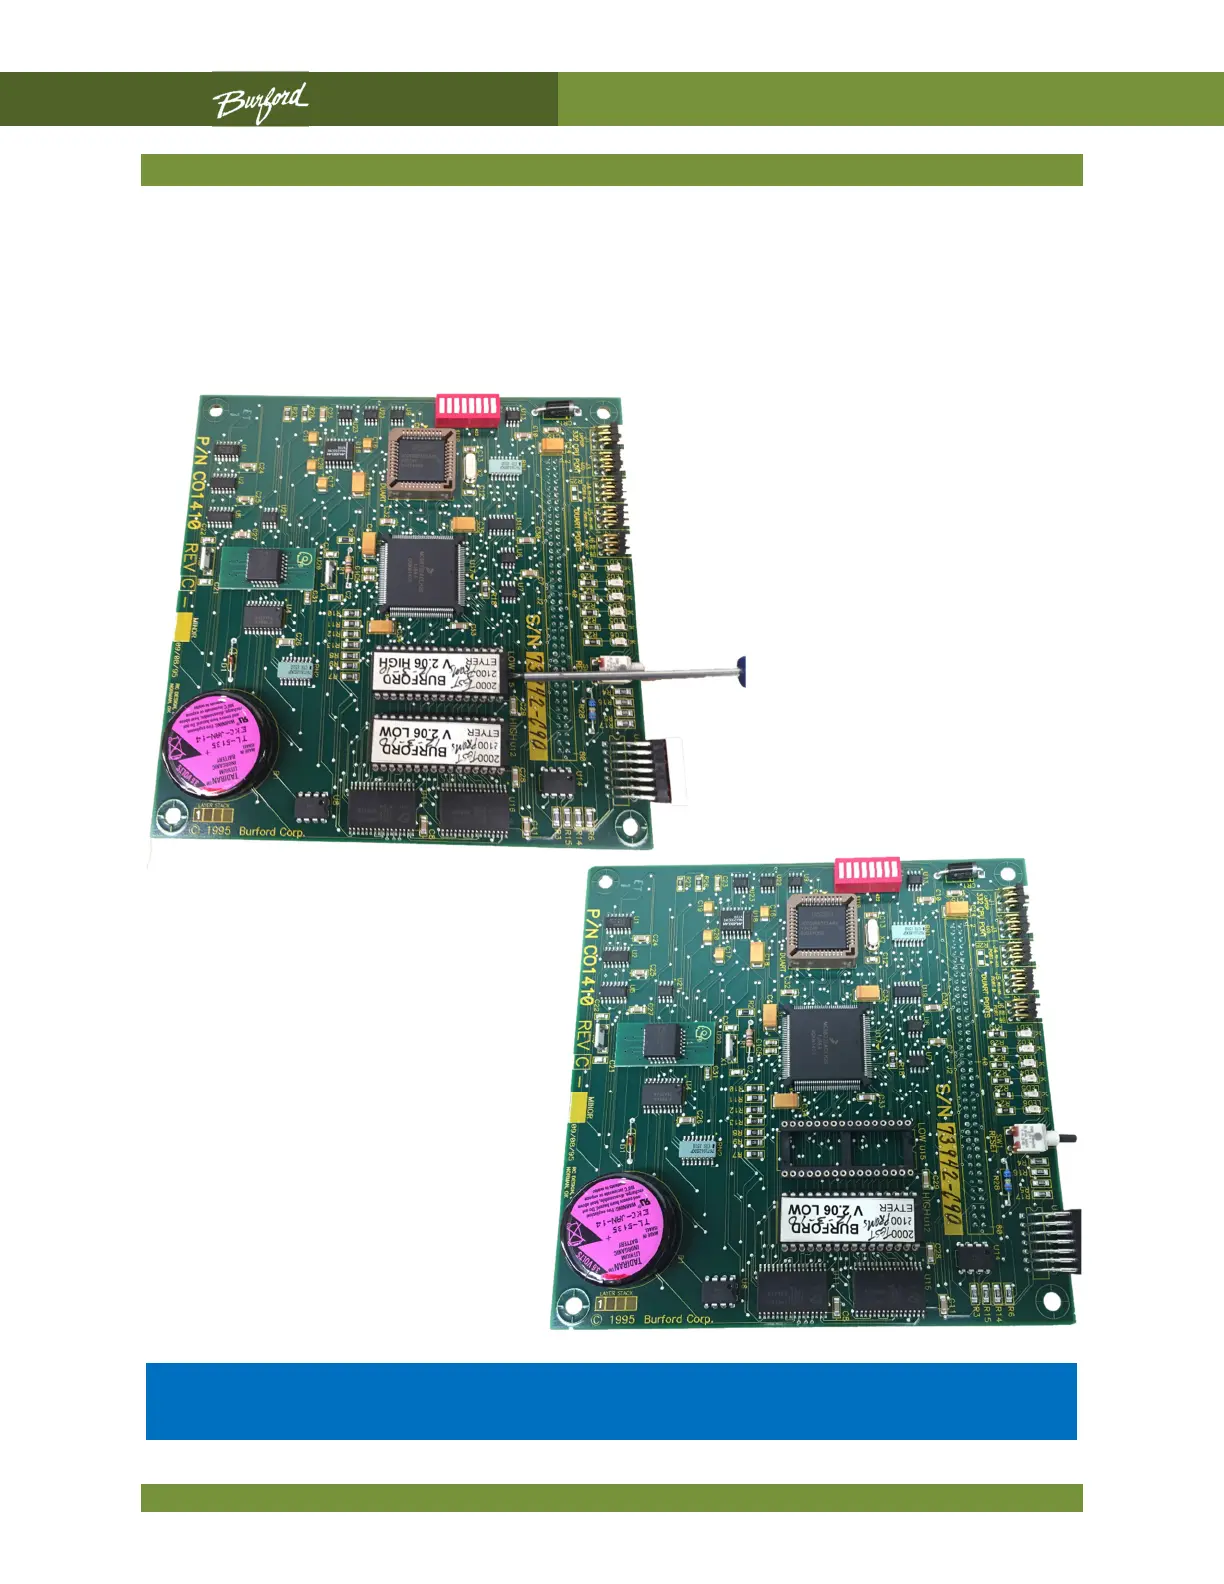
PROM Replacement, cont’d
Slowly push the screwdriver under the PROM while twisting the blade. Work your way
towards the back of the PROM. Do not pry the front of the PROM up too quickly or you
will bend the pins in the back.
Carefully remove the PROM straight up from the socket, being careful not to bend any
pins.
The notch on the PROM is to the right. Be sure to orient the new
PROM in the same direction.