92
Chapter 5
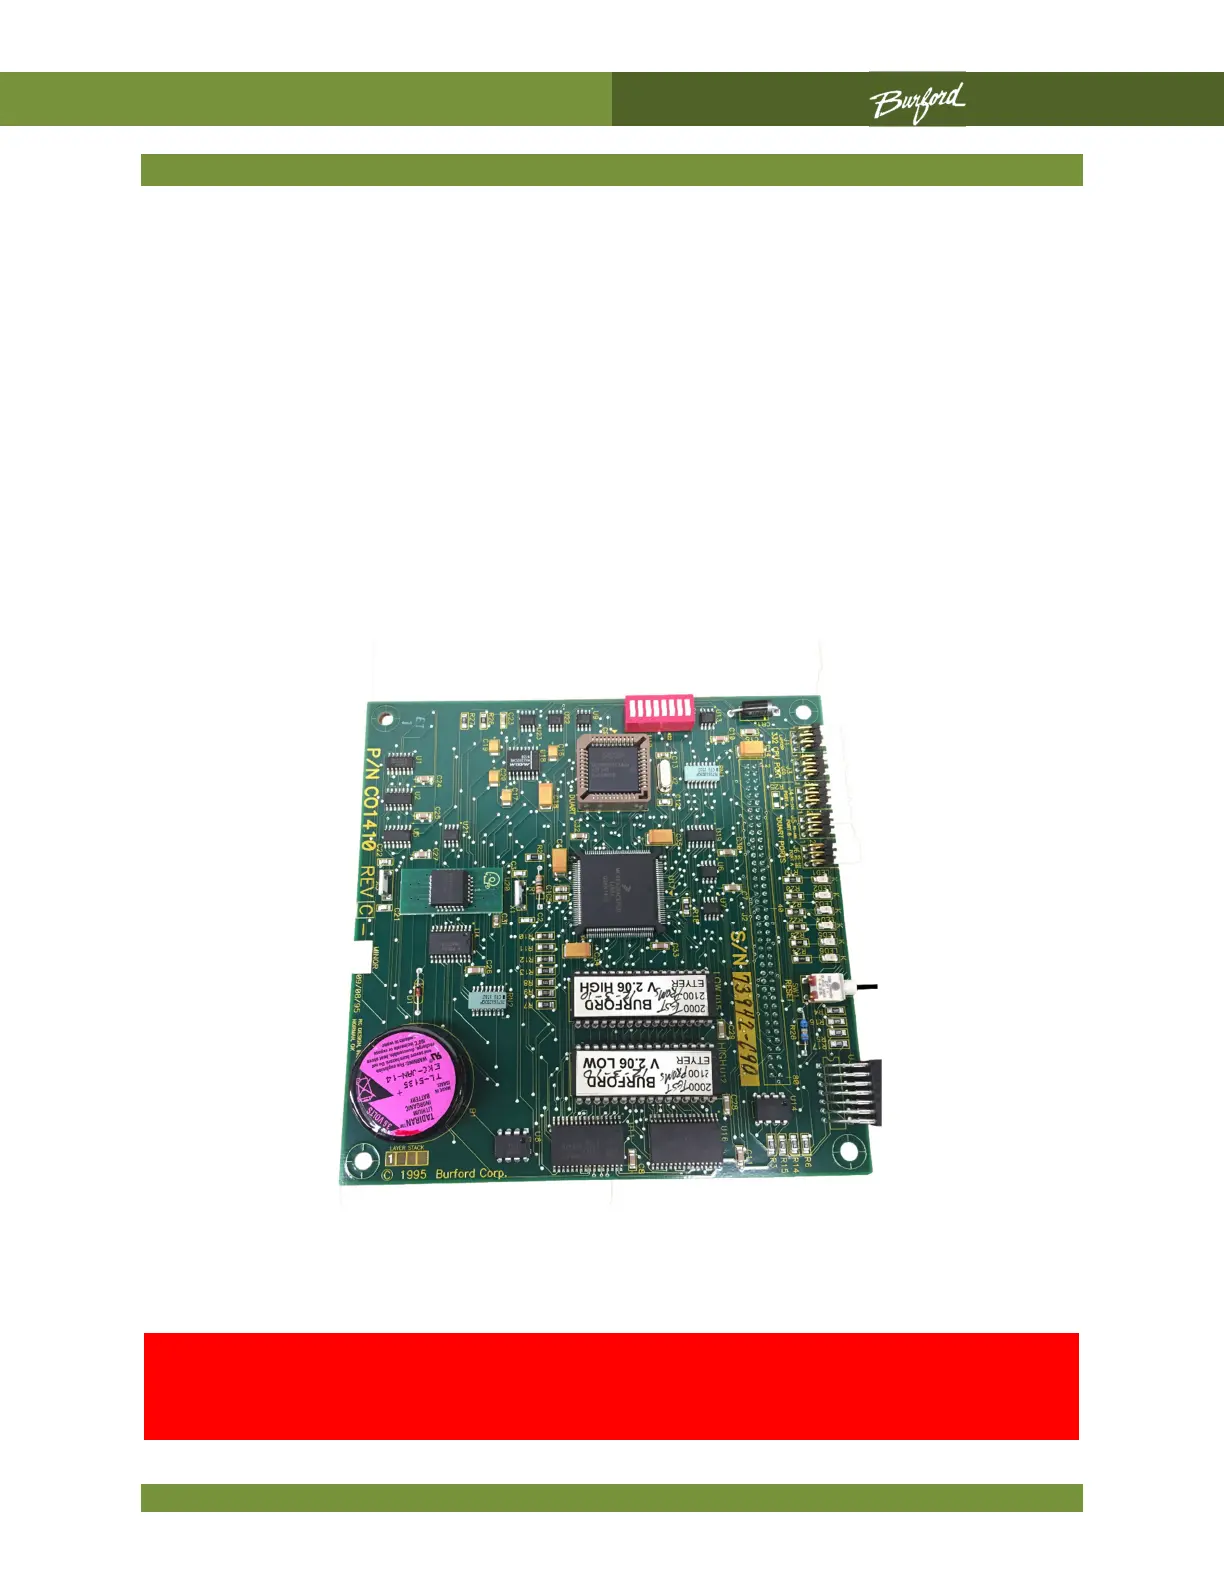
PROM Replacement, cont’d
With the notch on the PROM to the right, align it with the socket. Ensure each pin lines
up with its receptacle. Usually the pins on new PROM's tend to be bent a little wider than
the socket. If this is the case, lay the PROM on its side on a flat surface and bend the
entire row of pins together to keep them all straight. Work the PROM into the socket by
pressing it down little by little along its length. As you press, check that each pin is seating
in the receptacle and not buckling.
After both PROM's have been replaced, insert the board set into the card guides and
press it firmly into place. Verify that the Dip Switch settings have not changed. Reconnect
the 5V/12V connector to the power supply. Apply power to the Servo Tyer and push the
Main Enclosure “ON” button. If the Servo Tyer fails to perform its normal startup
sequence, remove power, remove the board set, and check the PROMs for correct
orientation, bent pins, or unseated pins.
WARNING: If a PROM is inserted with the notch towards the
left, the PROM will be destroyed when power is turned on, and a
replacement set will need to be